
Ask This Old House Season 23 Episode 2: Drywall Cracks, Brick History, and a Radiator Cover That Snaps On
Mauro Henrique fixes a returning drywall crack with mesh tape, Tom Silva baffles the crew with an inflatable lifting tool, Mark McCullough walks through a thousand years of brick, and Richard Trethewey upgrades two baseboard covers without tearing out the old heating.
Season 23, Episode 2 of Ask This Old House splits its time between a wall crack that keeps returning, a workshop guessing game, a brick history lesson, and two baseboard heating covers. The through line is repair versus replacement: sometimes you embed mesh tape, sometimes you snap a new cover over old hardware, and sometimes you just learn why the old brick is older than the country.
Mauro's Drywall Crack Repair: Mesh Tape Is the Missing Ingredient
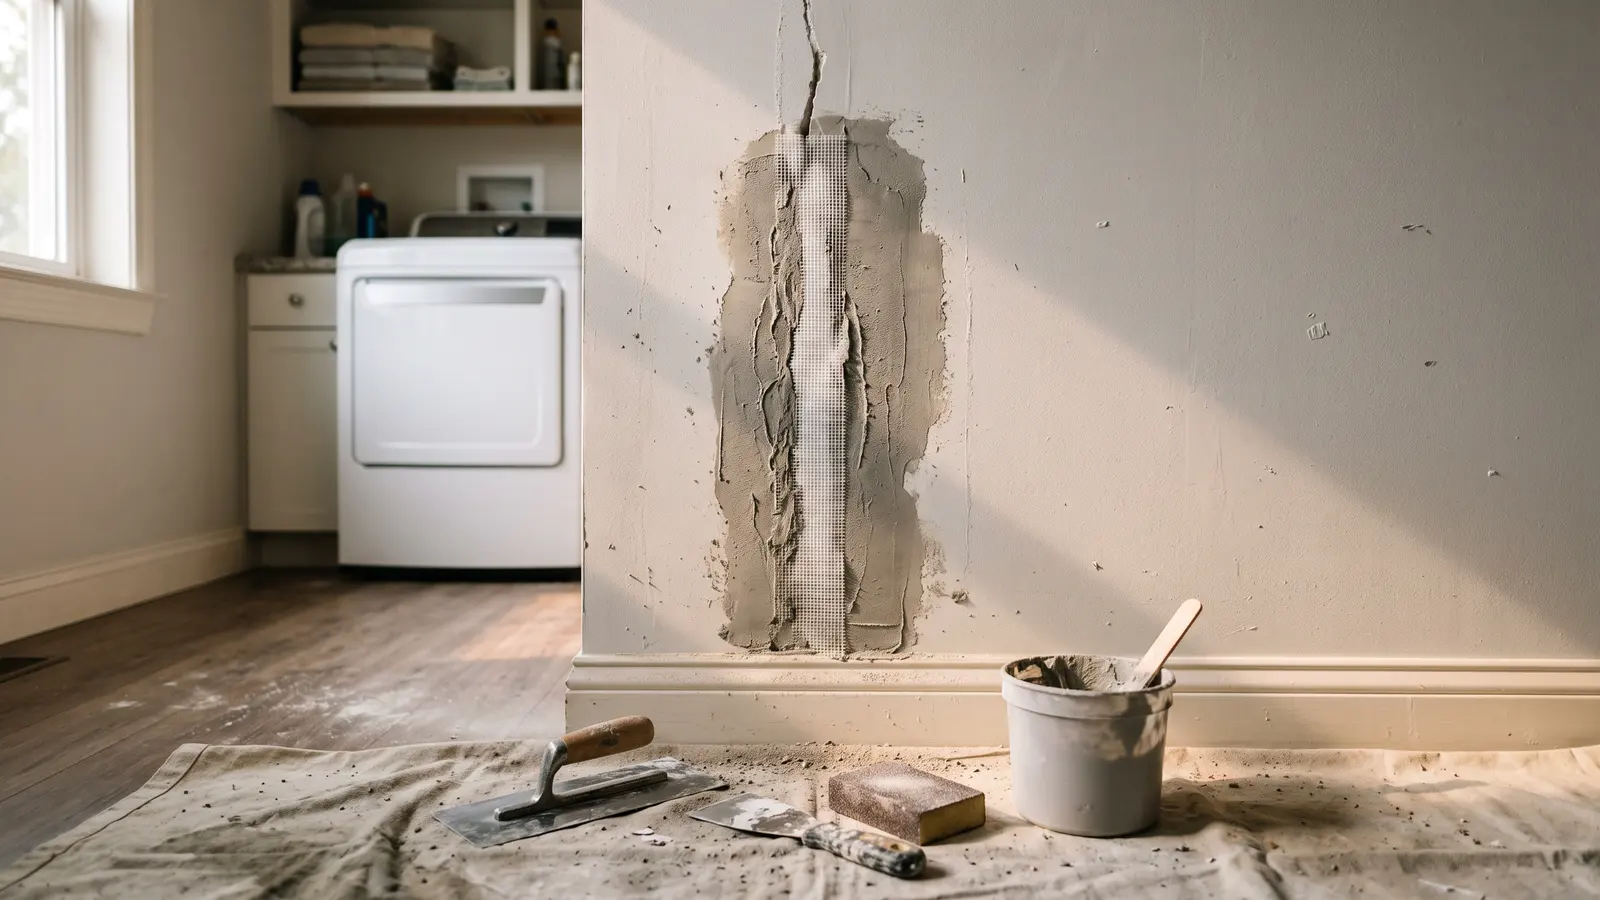
Chris lives in a house built in 2013. He and his wife moved in a year later, then added two kids and moved the laundry upstairs to handle the extra loads. A plumber opened a wall for that laundry work, and a crack appeared. Chris tried to patch it himself, but it kept coming back. Mauro Henrique took one look and diagnosed the missing piece: no mesh tape had been embedded in the joint.
That diagnosis matters because the crack was not just a surface scar. When Mauro knocked on the wall, he could hear that the two pieces of drywall were moving independently. The surface looked flat, but the panels were shifting and opening the crack. Mesh tape gives the joint something to move behind, so the crack may still happen within the assembly but does not telegraph through the finished wall.
The repair sequence was straightforward, though not fast. Mauro opened the crack slightly so joint compound could get in. He mixed a fast-setting dry joint compound with water by eye, noting it dries in about five minutes. He filled the crack, embedded mesh tape, pressed it down, cut it to length, and then covered it with additional passes of mud. Sanding between passes is part of the job, not an optional polish. After the patch dried, he primed only the repaired area, feathered the primer edges so they would not show under paint, waited about an hour, then applied two coats of paint that Chris had in the basement.
The edit compresses the waiting, sanding, and recoating into a few minutes. In a real house, that repair spans at least a couple of days if you are respecting dry times. For a homeowner, a small drywall crack like this is a reasonable DIY project if you accept the patience tax. The tools are simple: a utility knife or crack opener, a margin trowel, a putty knife, mesh tape, joint compound, sanding sponge or paper, primer, and matching paint. I would not promise a perfect invisible patch on the first try, but a crack that keeps returning is often a tape problem, not a paint problem. Mauro's work in Episode 4's paint and masonry recap followed the same trade logic: prep and materials decide whether the finish lasts.
What Is It? Tom's Black Inflatable Square
Tom Silva opened the workshop game with a description so thin it was almost cruel: black, square, ball on the end. Kevin, Richard, and Jenn took turns guessing. Jenn called it a fresh air purse. Kevin turned it into a fake gym pump. Richard suggested it was a multi-tool for live performances and whoopee cushions. Then Tom revealed the actual object: an inflatable lifting bag, often called an air wedge or air shim.
Tom uses it for hanging doors and windows. You slide the bag into a gap, pump it up, and it lifts about 300 pounds. That lets him plumb and level an opening while he places shims. Once the gap is set, the shims take over and the bag comes out. The comedy was good, but the tool is not a toy. It is for controlled lifting in a contained gap, not for lifting a random overhead load or flattening a floor. You still need to understand where the load is going, how the shims are placed, and whether the opening can tolerate the movement. For most homeowners, this is a watch-and-learn tool. If you are hanging a heavy door alone, it can save your back, but only if you already know how to shim and secure the jamb.
Mark McCullough's Brick Timeline
Mark McCullough brought Kevin a table full of brick that spanned roughly a thousand years. The oldest was a handmade molded brick. Another came from a 1600s chimney on the oldest house in Connecticut. Mark explained that brick can be dated by sending a sample to an engineer, who analyzes the material and places it in a timeline. Handmade brick has soft edges and a rough face. Machine-made brick has crisp lines and consistent dimensions.
Then came the details that make brick more than a red rectangle. Waterstruck brick is made in a wet mold and fired longer, which makes it denser and heavier. Modular brick measures 7 5/8 inches long, so a 3/8-inch head joint brings the coursing to an even eight inches. That is not trivia for a pub quiz; it is how masons lay out windows, doors, and openings. The cores in a hollow brick help mortar fill and create a stronger bond. Clay and lime vary by region, which is why Milwaukee has so much yellow brick, and color can also come from dye rather than a local clay deposit.
The future wall Mark showed was a different animal: thin brick sliced off a regular brick, applied over a steel stud wall, sheathing, waterproofing, and insulation, then grouted like tile. It is a reminder that masonry is not frozen in time. Even the materials change as wall assemblies prioritize water management and insulation. Mark's chimney connection also gives the chimney-nemesis theme another reason to return. In Episode 5's chimney crown recap, water infiltration and efflorescence were the villains. Here, the old chimney is a history lesson, but the lesson still points to how masonry handles water, structure, and time.
For a homeowner, this segment is mostly education. Rebuilding a brick wall or matching historic brick is not a weekend DIY project. Repointing a small area is more realistic, but only with the right mortar and joint profile. The brick timeline is useful because it explains why the wrong repair material can damage old masonry. Hard mortar in a soft historic brick can trap moisture and spall the face. If you own an old brick house, the first step is identifying what you have, not grabbing the nearest bag of mortar.
Richard's Baseboard Cover Upgrades
Phil had already painted the wainscoting in his dining room and the walls in his basement. The old baseboard heating covers no longer matched. In the basement, he had also replaced outlet covers to match the trim, so the discolored covers stood out even more. Richard Trethewey started with measurements: overall length and overall height. Standard snap-over covers come in one-foot increments from two feet to eight feet. A 16-foot run becomes two eight-footers, or in the basement, two six-foot sections with a cut piece in the corner.
The basement solution was a heat-resistant plastic cover that snaps over the existing baseboard enclosure. It has holes to let heat into the room. Richard cut one piece with a circular saw, though a handsaw or snips would work since the end cap covers the cut. The end cap had a knockout for the pipe that continues through the wall, and perforation lines let him shorten the cap to fit the height. He also trimmed back a little wood trim. That is the hidden prep: measuring the existing enclosure, accounting for floor trim, finding the pipe pass-through, and checking airflow clearance at the bottom.
That last point is easy to miss. The basement had a heavy rug and pad, which reduced the gap where air enters the baseboard. Richard told Phil that if he ever changes the rug, a lighter pad would help. He also said the house had plenty of baseboard, so the reduced output was not a crisis. That is the kind of field judgment television can show in a sentence and a homeowner can miss entirely. Covers are not just decorative. They affect convection.
Upstairs, Phil had removed the old baseboard, which allowed a different system. Richard showed a bracket-mounted cover with a copper finned heating element. The brackets mount to the wall, hold the element, and support the cover. The key is hitting good structure. Phil used a stud finder to double-check the bracket locations. Richard kept the brackets level and warned against over-tightening the screws. The copper finned element expands longitudinally as it heats, so plastic release pieces fit onto the element and press against the brackets to prevent crinkling noises. End caps and cover plates snap on last.
The snap-over cover is the friendlier DIY job. Measure twice, cut once, and make sure the end caps and splices land where they will look intentional. The bracket-mounted system is more involved because it touches the heating element and wall structure. If you are not comfortable working around hydronic baseboard, this is a good place to call a pro. Richard's segment also proves Phil's original complaint: there was no how-to video for this exact cover replacement. Now there is one.
What the Edit Leaves Out
Drywall repair is mostly drying, sanding, and recoating. The segment shows the sequence, but not the full calendar. Baseboard cover fit depends on measuring the existing enclosure, the floor trim, the pipe pass-throughs, and the airflow gap. Mark's brick history is a reminder that masonry choices are regional, structural, and aesthetic at the same time. None of that fits neatly into a half-hour episode, which is why the show is better watched as a starting point than a complete instruction manual.
DIY Confidence Scale
Mauro's drywall crack repair: 3/5. A small crack with mesh tape is approachable, but patience and sanding decide the result. The fast-setting compound helps, and matching paint makes the final difference.
Tom's inflatable lifting bag: 2/5. Understanding what it does is easy. Using it safely for a door or window requires knowing how to shim and secure the opening. It is a helper tool, not a solo solution.
Mark's brick timeline: 1/5. This is watch-and-learn territory. Matching historic brick, mixing mortar, and grouting thin brick are trade skills, not starter projects.
Richard's snap-on baseboard cover: 4/5. If measurements are right, the plastic cover snaps over the old enclosure and the end caps hide the cuts. The bracket-mounted system drops to 2/5 for most homeowners because it involves the heating element and wall structure.
Additional Resources
If a crack keeps returning after you patch it, are you fixing the drywall or just repainting the symptom?
From the captions
Spotted on the job
Tools, materials, and techniques the episode actually showed or discussed. Names stay generic unless the episode said a brand. A name links to an Amazon search only when it is something a person could buy.
As an Amazon Associate, This Old Recap earns from qualifying purchases.
Material
DIY-friendly
mesh tape
Mauro applied mesh tape over the filled crack and covered it with joint compound to stop the crack from returning.
Material
DIY-friendly
joint compound
Amazon search for joint compound (opens in a new tab)
Mauro mixed dry joint compound with water and used it to fill the opened crack and cover the mesh tape.
Tool
DIY-friendly
margin trowel
Amazon search for margin trowel (opens in a new tab)
Mauro used the margin trowel to mix the water and dry joint compound into mud.
Tool
DIY-friendly
putty knife
Amazon search for putty knife (opens in a new tab)
Chris used the putty knife to press the mesh tape into place and cut it down.
Material
DIY-friendly
primer
Amazon search for primer (opens in a new tab)
Mauro primed only the patched area and faded it out before painting.
Product
DIY-friendly
baseboard cover
Richard supplied new snap-on baseboard covers to update the old baseboard heating covers.
Tool
DIY-friendly
circular saw
Amazon search for circular saw (opens in a new tab)
Richard used a circular saw to cut the baseboard cover piece to length.
Tool
DIY-friendly
stud finder
Richard had Phil use the stud finder to confirm wall structure for mounting the new brackets.
The weekly recap
Get each new recap in your inbox the week it airs.
One email the week the new episodes are up, with links back to the full write-ups. Confirm once. Unsubscribe any time.
Keep reading
Related recaps
Also uses putty knife
Ask This Old House · S24 E7
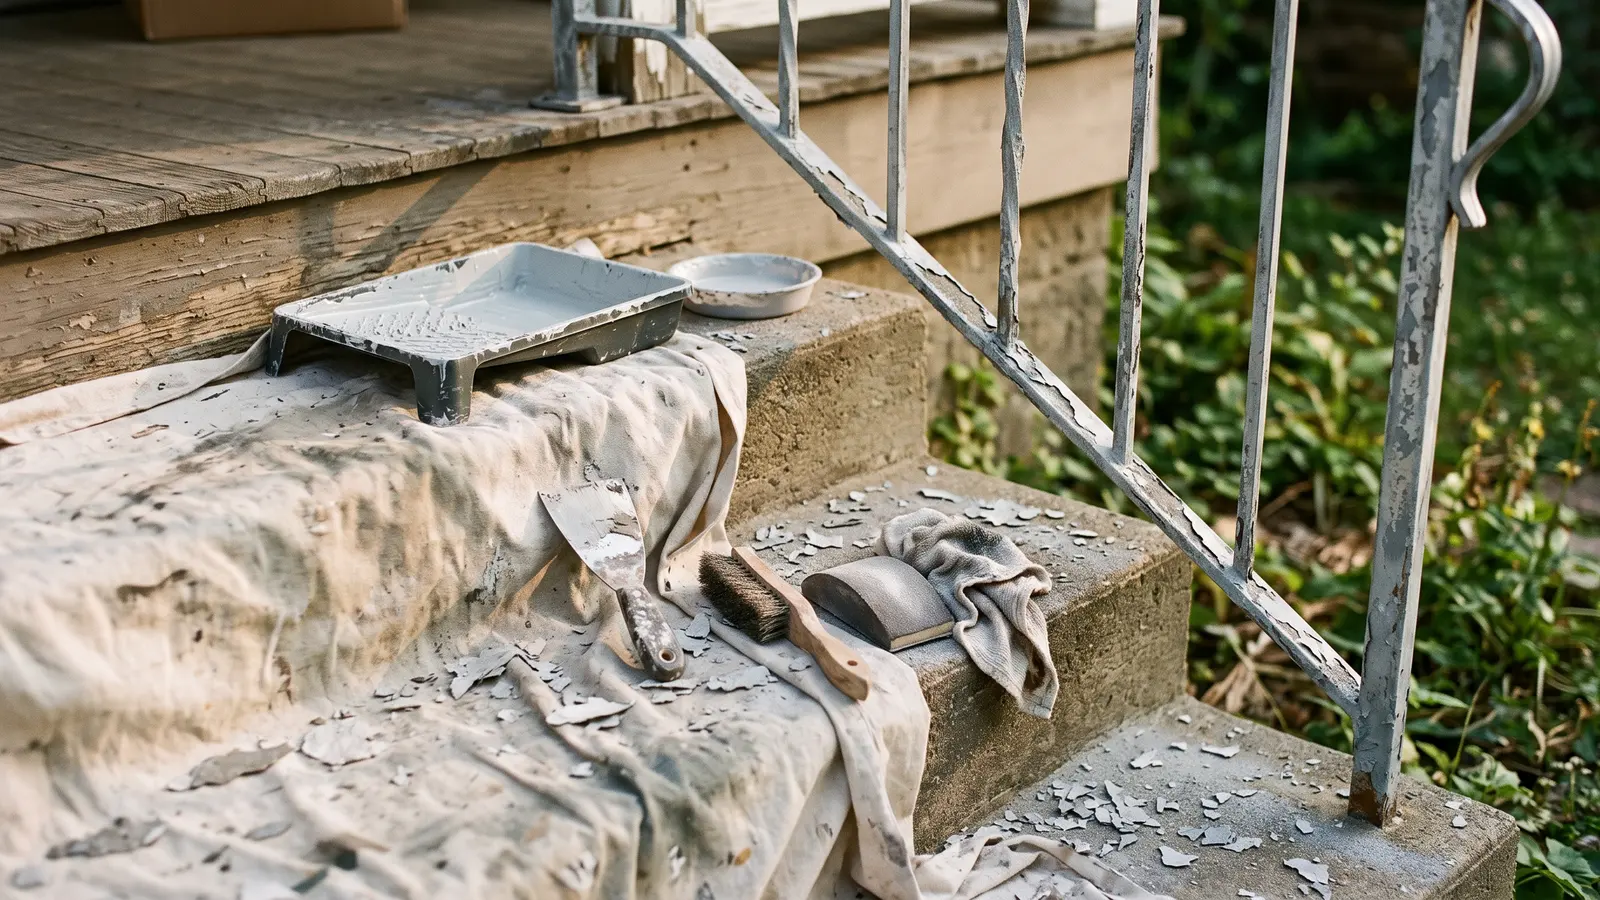
Ask This Old House S24E7: Navy Seabees, Trailer Hitches, and a Galvanized Railing Repaint That Starts With a Putty Knife
Also about Masonry
Ask This Old House · S24 E22
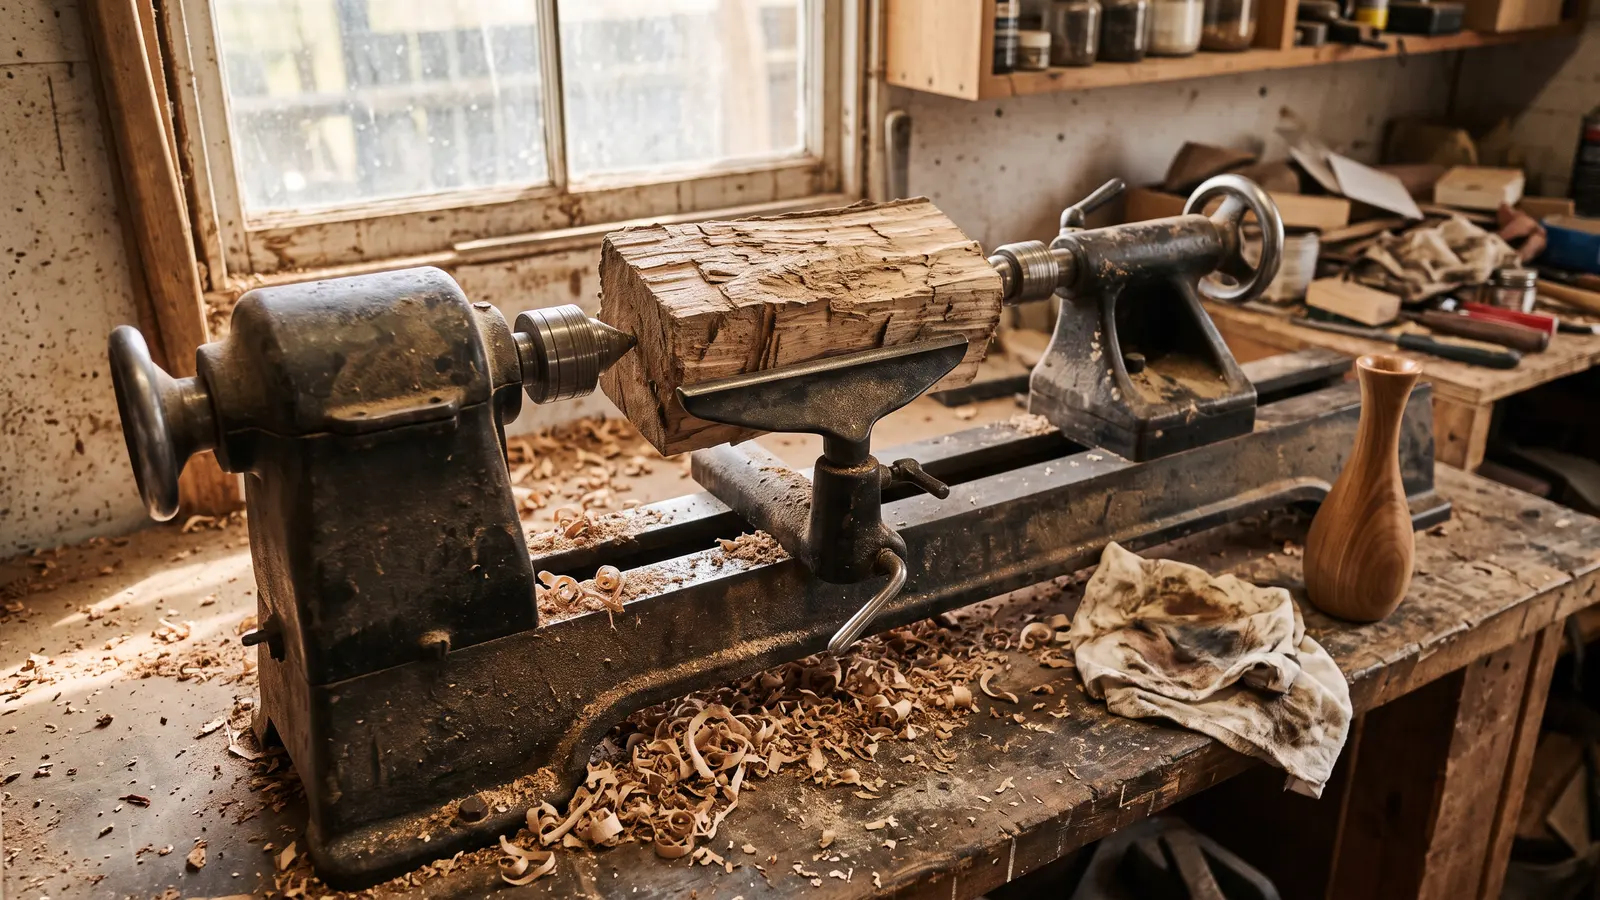
Ask This Old House S24E22: Tommy's Lathe, Mortar Cracks, and a 1999 Garage Door Gets a Brain
Also uses joint compound
Ask This Old House · S24 E24
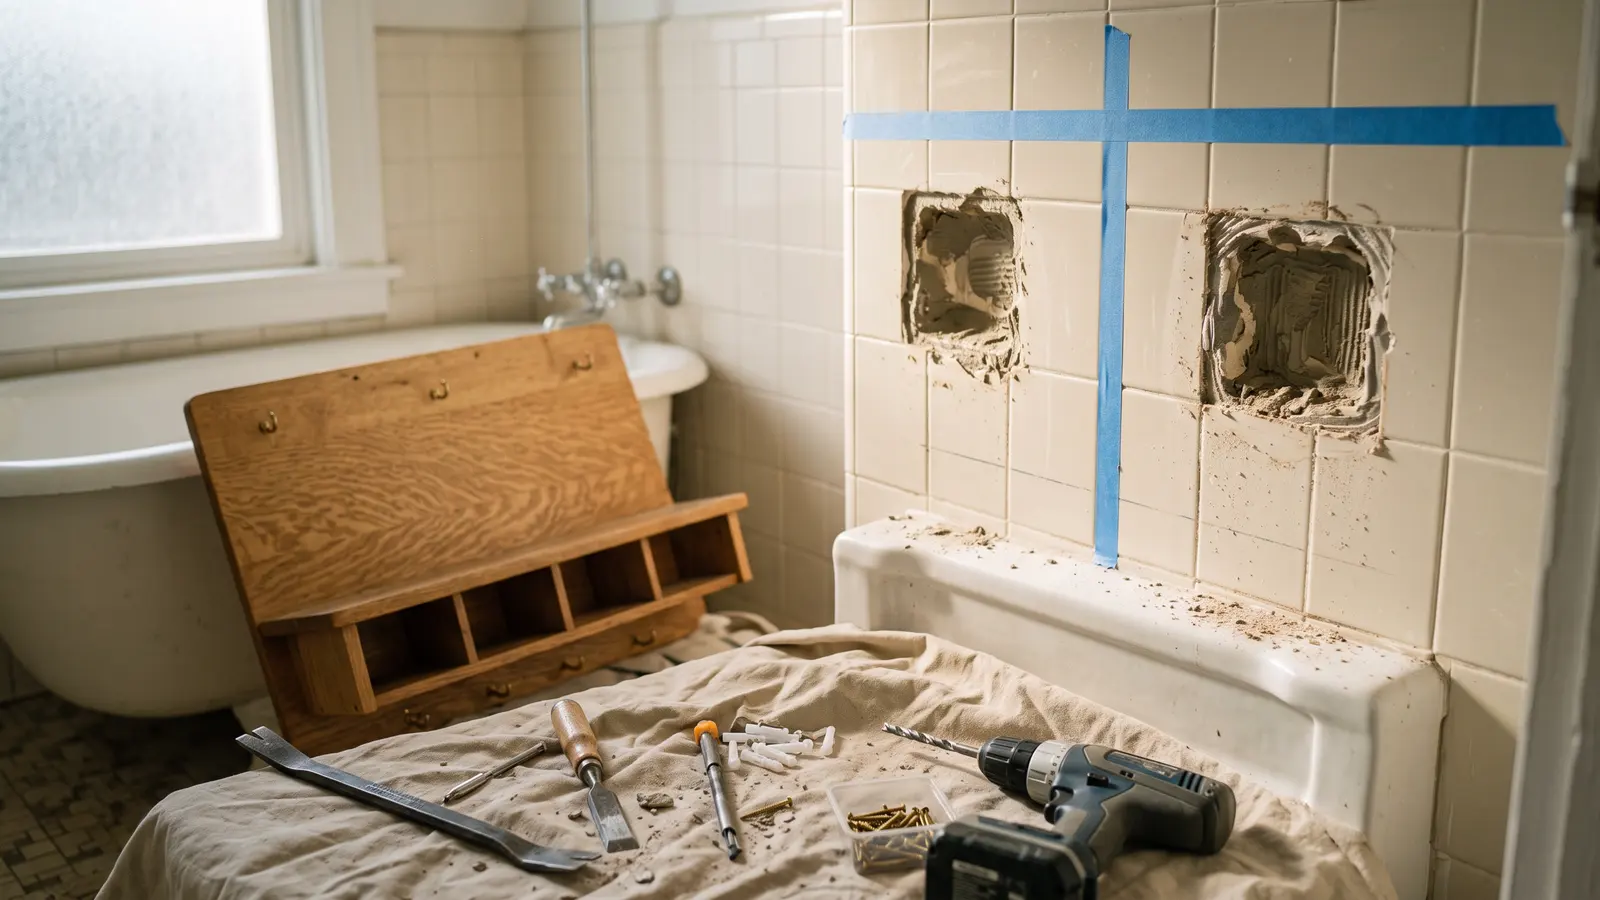
Ask This Old House S24E24: Removing Tile Soap Holders for a White Oak Shelf, and Mauro Matches a Swirl Ceiling
Also uses circular saw
Ask This Old House · S24 E25