
Ask This Old House S24E1: New Orleans Copper Lanterns, an Overflowing Toilet, and a Rusty Patio Set
Heath Eastman tours a New Orleans copper lantern shop, then installs hand-riveted electric fixtures on a double shotgun with a local electrician. Richard Trethewey uses a cutaway to explain why a second flush is usually the wrong move, and Mauro Henrique preps, spot-primes, and DTM-paints a 15-year-old metal patio set.
Season 24, Episode 1 of Ask This Old House opens in New Orleans and ends in a backyard, with a toilet cutaway in between. The three house calls look unrelated, but each one turns on something hidden: the missing junction box behind a lantern, the trapway below a bowl, and the rust under a paint job. The visible result is the easy part.
New Orleans lanterns, old wiring, and a double shotgun
Heath Eastman starts in New Orleans, where the street lanterns and architecture set up the project better than a generic lighting segment would. Homeowner Roxanne has a traditional double shotgun from around the turn of the 20th century, converted from two units to one. The exterior has been improved, but the old light fixtures do not match it.
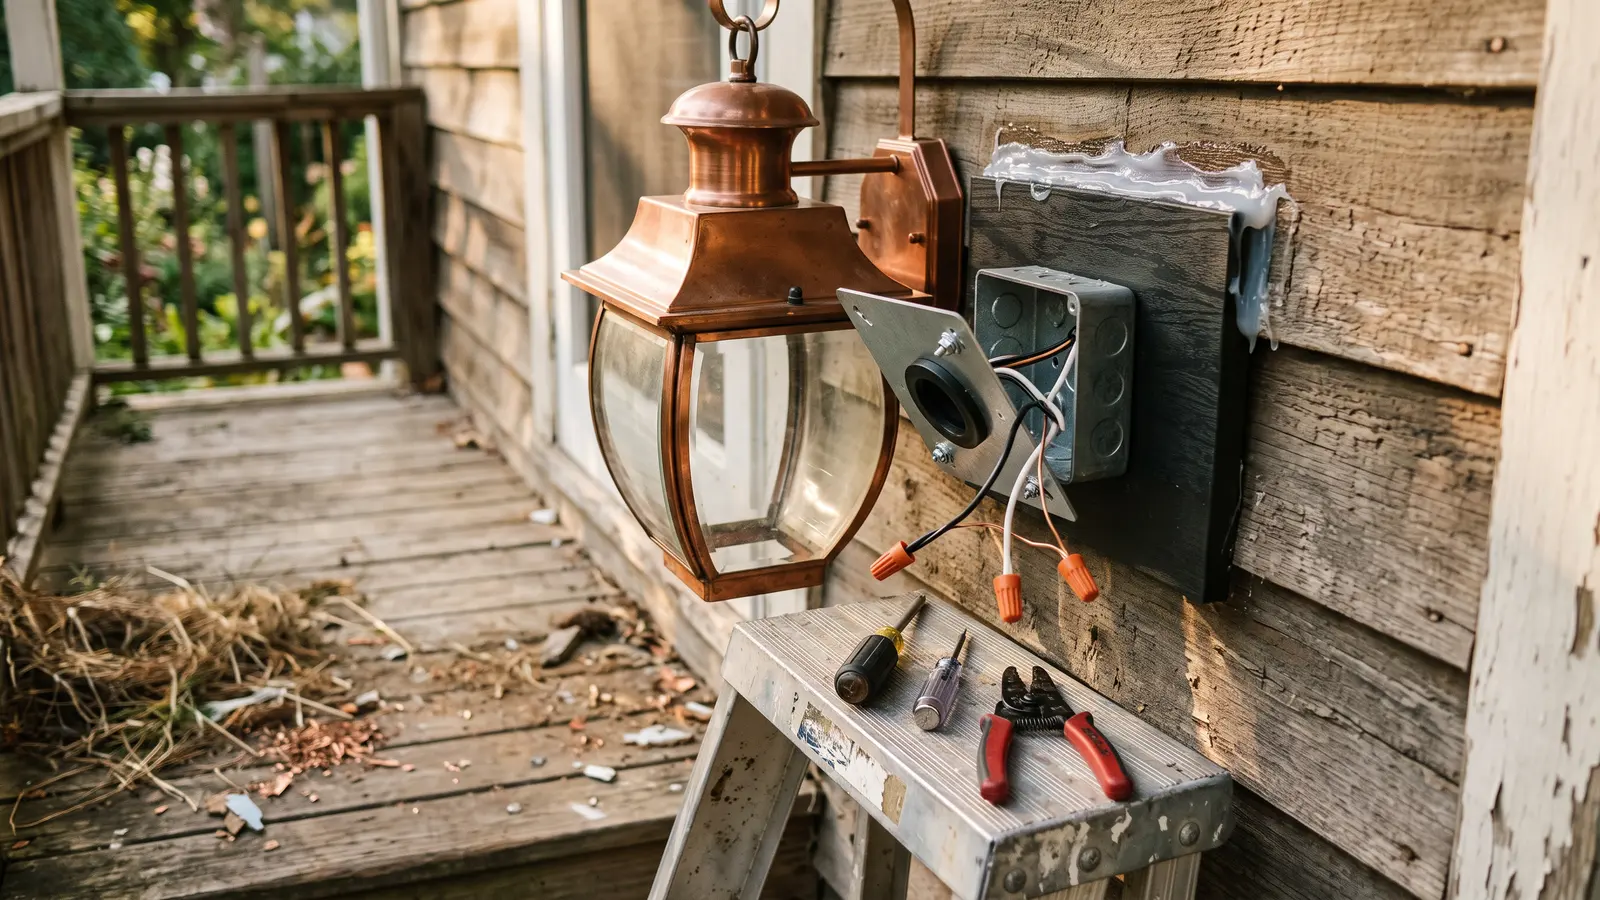
Before installing anything, Heath turns off power and takes one fixture down. Behind it is not a junction box but a fixture bar screwed to the siding with a wire sticking out. He also finds nesting debris, which is a good reminder that exterior fixtures need to be sealed against water and critters. That discovery changes the install from a simple swap to a small exterior electrical job. Heath also notices the outdoor electrical panel, a Southern detail he says he is not used to up north.
Inside the lantern shop: copper, rivets, and oxidation
Stephen, a local lantern maker, walks Heath through a shop that handcrafts gas and electric fixtures, including the Bourbon Street-style lantern common in the French Quarter. The shop ships lanterns all over the country, but the New Orleans style is the one that fits the city's Spanish and French architectural heritage. The work starts with copper sheet in 16-ounce and 20-ounce grades. A foot shear breaks down the sheet, a notcher cuts angles for bending, and hand snips and templates shape decorative tops.
The detail that stuck with me: the shop rivets the assemblies instead of relying on solder. With gas lights, heat can break down solder over time, so rivets keep the fixture secure. The finish comes from a potash oxidation bath, steel wool, and repeated dipping, which produces a 10- to 15-year aged look in a couple of hours. Final assembly handles the electric or gas components, then glass and the signature hurricane globe go on.
Installing the lanterns on Roxanne's house
Heath brings in Troy, a locally licensed electrician, and says plainly that he is not licensed in Louisiana. That is the right move for a fixture install, especially one with local rules and exterior sealing details.
They use a vinyl mounting block with a built-in junction box that slides over the lap siding without cutting it. Silicone seals the top and bottom of the block. Because the new lantern is larger than the block, they add an extension and a metal plate made by the shop to hide the vinyl and match the fixture. A bushing protects the wire from the metal plate's sharp edge, and a bonding screw mechanically bonds the metal plate to the fixture and ground wire.
Heath also explains polarity. On the fixture, the ribbed conductor is the identified neutral and goes to the white house wire. The smooth conductor goes to the black hot. They choose a 2700 K soft-white bulb to echo the warm look of gas lanterns and old incandescents. It is a small choice, but it keeps the new fixture from reading as a cool-white LED in an old New Orleans streetscape. Then they repeat the process for the second light.
Richard's toilet cutaway: flush less, plunge smarter
Richard Trethewey and Kevin use a cutaway toilet to explain a problem that ruins floors and ceilings. The tank holds about two gallons. When you press the lever, water enters the bowl through the flush rim, starts a siphon, and the weight of the water helps push waste through the trapway. The trapway narrows, which is where clogs catch.
When the bowl is already full and not draining, a second full flush adds two more gallons to a bad situation. Sometimes extra water does clear a stoppage because of weight and movement, but Richard treats that as luck, not a plan. The safer behavior is to stop flushing and deal with the clog. Richard's demonstration sends that extra water down through floor upon floor, and Kevin's reaction is the same one most homeowners have when they realize they have made it worse.
The plunger lesson is worth repeating. Do not seal the plunger over the trapway and push down as hard as you can. That can pack the clog tighter. Seal it, get suction, and pull back, hoping to release the blockage toward the wider part of the trapway. Richard also explains intermittent clogs with examples like a cold cream container or a bracelet shifting in the trapway, clearing for months, then catching again. In those cases, the toilet may have to come out and be broken apart to find the object. Richard's earlier sink-clog segment separated grease and hair from chemical drain cleaners, and this cutaway does the same kind of plumbing education for overflow behavior (S24E17).
Mauro's rusty patio set: prep first, DTM later
Maureen's 15-year-old metal patio table and chairs have a design worth saving. She wants them black to match her fire pit furniture. Mauro Henrique starts by protecting the slats she does not want painted with green tape. Then he uses a flexible scrub pad for light sanding, not sandpaper, because it follows curves and removes loose debris without digging in.
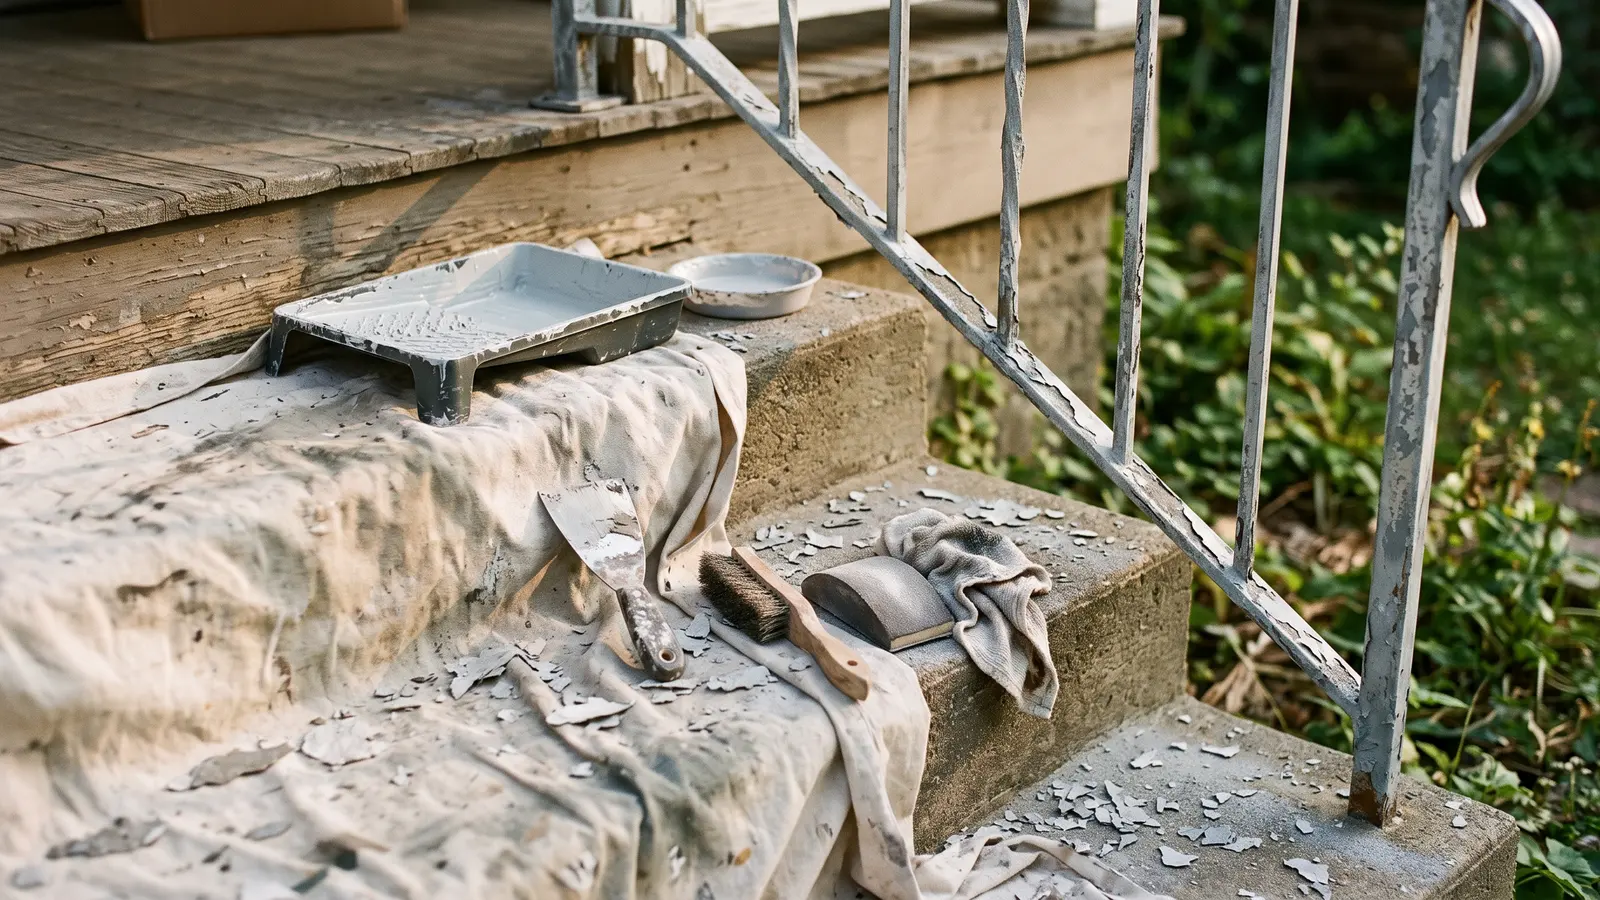
He vacuums the residue and wipes the surface with denatured alcohol, which dries fast and cleans well. Rust spots get a spot primer first. The rest of the metal gets a different primer, and a little overlap is acceptable. The topcoats are DTM, or direct-to-metal, paint. It looks green in the can but dries black, which earns Mauro a rare trust-the-science moment. He uses a 3/8-inch nap roller for smooth metal and a brush for recesses, then applies two coats. Mauro's galvanized railing repaint in S24E7 followed the same strip-clean-prime-DTM logic, and this patio set is the same job with more rust and less railing.
His aftercare advice is as useful as the paint: get waterproof covers and store the set during winter if possible. That is how a repaint gets another 15 years instead of another rust bloom.
DIY Confidence Scale
Each segment has a different risk profile. The scale is about what a careful homeowner can realistically attempt, not what looks easy in a 22-minute edit.
- New Orleans lantern replacement: 6/10. The wiring itself is not exotic, but the missing junction box, exterior sealing, bonding, and local licensing make this a job to do with a licensed electrician. Watch the prep before you touch a fixture.
- Toilet overflow triage: 2/10 for behavior and plunger technique. Know when to stop flushing and how to pull a plunger instead of pushing. If an object is lodged in the trapway, it becomes a pull-the-toilet job, and that is a different score.
- Rusty patio set repaint: 4/10. The work is slow, not technically hard. Tape, scrub, vacuum, wipe, spot-prime, prime, and two topcoats. The drying time and prep are what make it look professional.
Additional Resources
The common thread is not the tools. It is the hidden prep: the junction box, the trapway, the rust under the paint. Which one would you rather discover before the visible work starts?
From the captions
Spotted on the job
Tools, materials, and techniques the episode actually showed or discussed. Names stay generic unless the episode said a brand. A name links to an Amazon search only when it is something a person could buy.
As an Amazon Associate, This Old Recap earns from qualifying purchases.
Tool
DIY-friendly
plunger
Richard explains that a plunger should be sealed and pulled back rather than pushed hard to help release a toilet clog.
Material
DIY-friendly
denatured alcohol
Amazon search for denatured alcohol (opens in a new tab)
Mauro wipes down the patio furniture with denatured alcohol because it dries fast and cleans better before priming.
Material
DIY-friendly
green tape
Mauro uses green tape to protect the slats and other areas of the patio furniture that are not being painted.
Tool
DIY-friendly
flexible pad
Mauro uses a flexible pad for light sanding to remove loose debris and work around the curves of the chair.
Material
DIY-friendly
primer
Amazon search for primer (opens in a new tab)
Mauro uses primer on the rust spots and then a different primer on the rest of the patio chairs before painting.
Product
DIY-friendly
DTM paint
Mauro applies DTM, direct-to-metal paint, as the first of two coats on the metal patio furniture.
Tool
DIY-friendly
3/8 roller nap
Mauro uses a 3/8 roller nap to apply the DTM paint smoothly on the metal patio furniture.
Product
Pro-only
junction box
Heath installs a vinyl block with a built-in junction box behind the new exterior light fixture and seals it to the house.
The weekly recap
Get each new recap in your inbox the week it airs.
One email the week the new episodes are up, with links back to the full write-ups. Confirm once. Unsubscribe any time.
Keep reading
Related recaps
Also uses denatured alcohol
Ask This Old House · S24 E7
Ask This Old House S24E7: Navy Seabees, Trailer Hitches, and a Galvanized Railing Repaint That Starts With a Putty Knife
Also about Electrical
Ask This Old House · S24 E18
Ask This Old House S24E18: New Orleans Spanish Cedar Shutters, Fertilizer Labels Decoded, and Hardwired Smoke/CO Alarms That Talk to Each Other
Also about Plumbing
This Old House · S47 E26
This Old House S47 E26: Walpole Ranch ADU Move-In, Propane Hydro-Air, and a C-130 Homecoming
Also about Plumbing
This Old House · S47 E22