
Ask This Old House Season 23 Episode 8: Steam Humidifier, Bulk Shutter Spraying, and Tom's Teak End Table
Ross Trethewey fixes winter dry air with a steam humidifier, Mauro Henrique stacks and sprays shutters in bulk, and Tom Silva builds a triangular teak outdoor end table. The useful lesson is that humidity control is mechanical, not a bowl of water on the radiator.
Season 23, Episode 8 of Ask This Old House bundles three jobs that do not share a trade: a whole-house steam humidifier, a bulk method for painting wooden shutters, and a triangular teak outdoor end table. The honest link is preparation. The camera shows the satisfying part, but the work that makes each job look easy happened before the first cut, spray pass, or steam wand.
Whole-House Steam Humidifier for Dry Winter Air
Ross Trethewey visits Jeff, who has lived in his house about 15 years. The house is comfortable, but winter humidity reads in the teens. Ross explains the mechanism plainly: cold air is dry air, and in a cold climate, air leakage plus bath fans and kitchen exhaust fans pull that dry outdoor air inside. Heating it does not add moisture. It just makes the dryness more noticeable through static cling and dry skin.
Ross wants indoor humidity between 30% and 60% year round, with winter aiming at 30% to 40%. Jeff’s house measures well below that. After sizing the place, Ross lands on a demand of about 6 to 7 pounds of humidity per hour and chooses a 10-pound-per-hour steam humidifier. The extra capacity is headroom, not a license to turn the house into a terrarium.
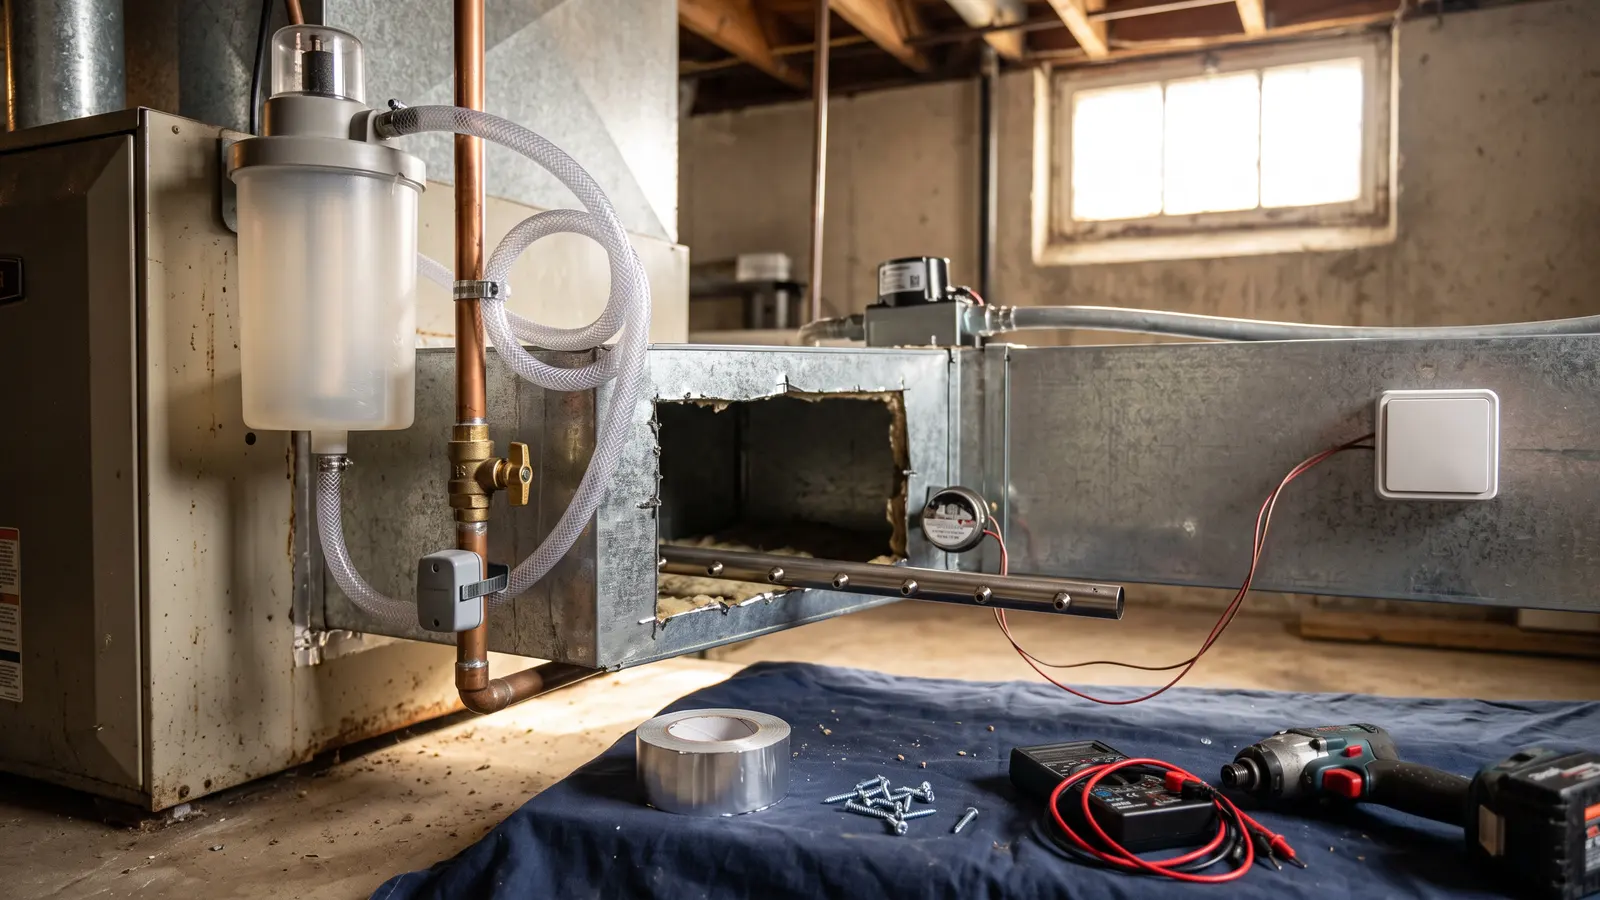
The site survey is the part homeowners should watch closely. A steam humidifier needs water, drainage, electrical power, and a place to introduce steam into the ductwork. Jeff’s mechanical space has a water line near the water heater, a condensate drain from the dehumidifier and furnace, and an electrical panel nearby. Those checks pass.
The duct check does not pass at first. Ross measures about 30 inches on the supply plenum, but he wants at least 6 feet for the steam distributor. He finds an 8-inch by 18-inch main-house duct downstream of a zone damper. That run has the length and size to accept the steam wand, the air-proving switch, and the high limit. The zone damper matters because the controls need to sit downstream of it so the humidifier works with the airflow it is meant to serve.
The installed system includes a waterline with a local shutoff, a water hammer arrestor, and a leak sensor that can shut the valve if water escapes. Condensate drains through a trap. The steam canister uses electrodes to boil water and make steam, which travels through a distributor wand into the duct. The air-proving switch prevents steam from being introduced when the blower is not moving air. The high limit sits 10 feet downstream to stop overhumidification. A return-air humidity sensor reads the space, and the controller is set to 35%.
Maintenance is mostly the canister. Mineral deposits build up on the electrodes, and Ross says the canister typically needs replacement about every two years depending on use. He also says the installation is not DIY-friendly, and he brings in contractors. That is the correct call. This job combines plumbing, electrical, HVAC controls, and a hole in a duct system. The homeowner side is simpler: keep a humidity sensor, watch the controller, change the canister when needed, and do not crank the setting after one dry week.
The water-management theme from Episode 7’s sump pump and sprinkler segment shows up here in vapor form. That recap asked where you want the water to go. A steam humidifier asks the same question, except the water is supposed to leave as humidity and not as a puddle near the furnace.
Mauro Henrique Paints Shutters in Bulk by Stacking Them
Mauro Henrique shows Kevin O’Connor a shutter-painting method built for volume. A house can have 20 shutters. A larger job can have 80. Mauro’s technique starts before the sprayer: stack four wooden shutters face-to-face in the same orientation. The slats line up, the legs point the same way, and the edges sit flush. The stack becomes, in effect, one thick surface with four sides.
He sprays all four sides of the stack first. Then he separates the shutters and sprays the face of each one, moving each painted shutter to a drying station before starting the next. The finish is two coats, with about four hours of drying between them. The second coat follows the same process.
Mauro chooses a sprayer over a brush because of the slats, nooks, and crannies. A brush can do the work, but on 50 shutters it would take forever. Kevin notes the coverage, and the televised result looks smooth because the sprayer is already set up and the shutters are staged. The missing time is in the prep, the drying area, and the patience to wait between coats.
This is a return to Mauro’s spray-finish work from Episode 26’s mudroom cubbies, where he primed and sprayed modular cubbies in Classic Burgundy. The tool changes less than the method. Surface prep, a controlled spray pattern, and a clean place to dry decide whether the finish looks factory-made or homemade.
For a homeowner, the stack-and-spray trick is achievable if you own a sprayer and have real drying space. Without those two things, the job becomes a brush marathon with a wet-shutter traffic jam. The method also assumes the shutters are already clean and ready for paint. The segment does not linger on washing, scraping, or masking, which are exactly the chores that make bulk painting feel like bulk painting.
Tom Silva Builds a Triangular Teak End Table
Tom Silva’s Build It project is a triangular outdoor end table based on a small table he has used for about 20 years. He sometimes uses it on his boat, and it works as a corner table. The new version is teak because he wants it to last. The top is slatted so water will not puddle.
Tom starts with the top. He cuts the perimeter frame first, including two pieces at 3 1/4 inches and then the three pieces that make the triangle. The two side pieces are wider than the bottom piece. To find the angle, Tom uses two scrap pieces of the same width and bisects the angle with them. He transfers that template to the teak and cuts the matching sides together so they end up with the same length and angle.
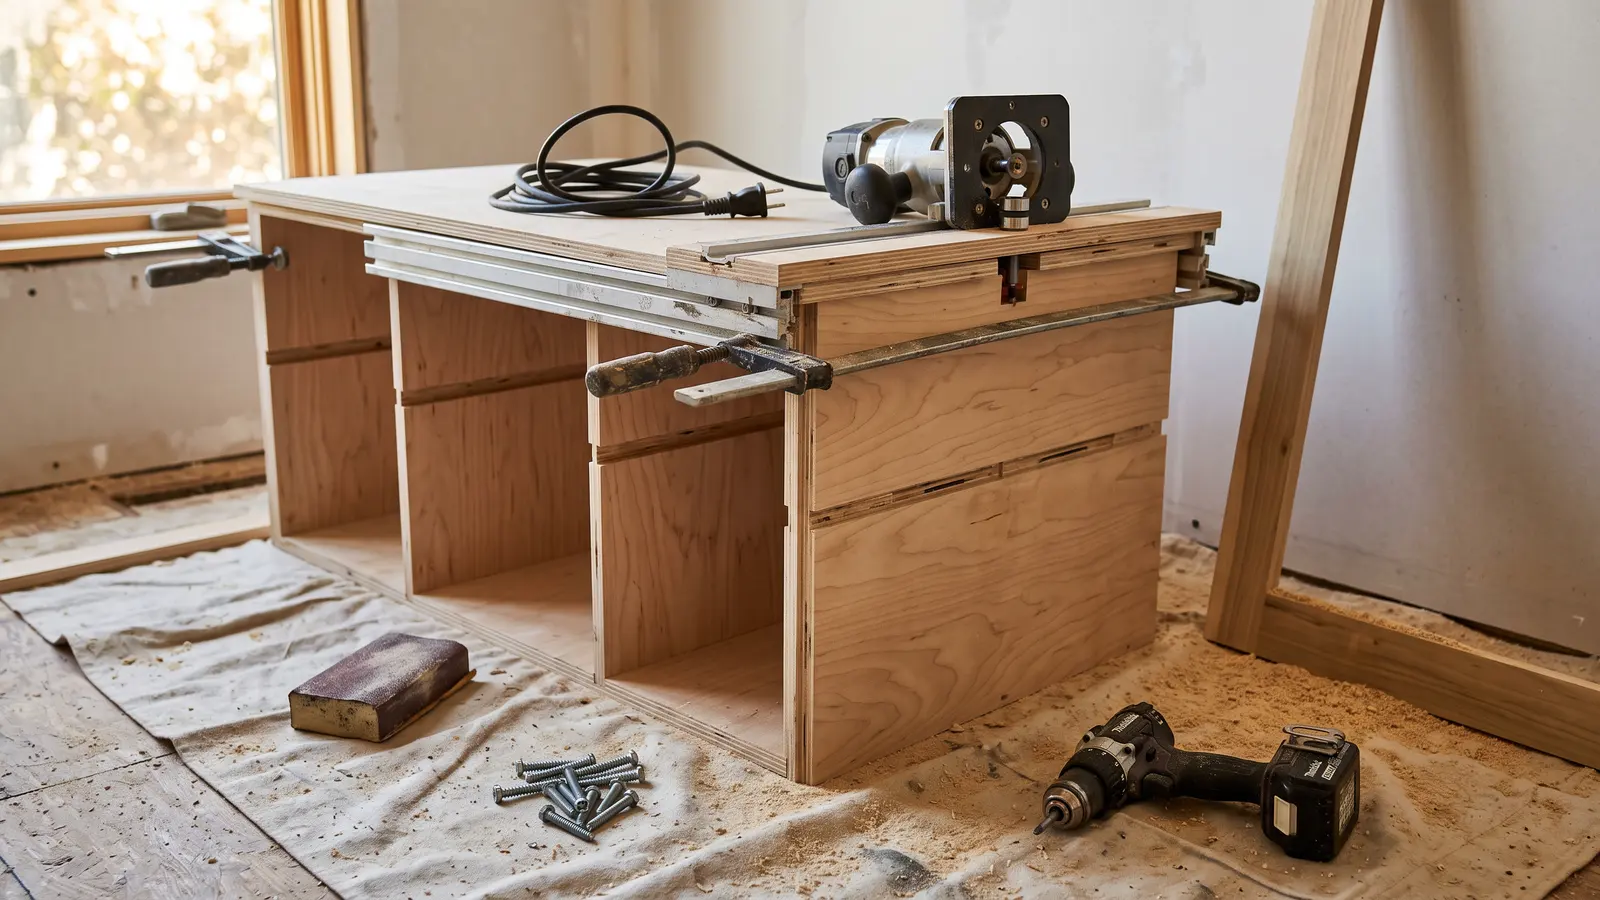
Next comes the groove for the slats. A router bit is set at the right height and distance so the slats sit flush with the top. Tom temporarily screws the two side pieces together, then cuts the slats from one piece rather than ripping each slat separately. He measures the groove depth with a combination square, then subtracts about 1/16 inch so the slats fit without bottoming out. Five slats get divided equally across the opening. Glue goes only in the center of each board, which holds the slat in place while letting the wood expand and contract on each side.
The curved legs come from a tracing template. Tom transfers the curve to teak and cuts the legs on the bandsaw. He builds an under-top frame and stretchers to mount each pair of legs. The finished table is matched against the 20-year-old original, and the match is close enough that Kevin calls them twins.
For a finish, Tom lists teak oil, linseed oil, exterior varnish, or epoxy. He also gives the practical warning: any outdoor finish will need refreshing every two or three years. His original table has gone without finish for more than 20 years, so he and Kevin leave the new one natural. That is a reasonable choice for teak, but it is not a no-maintenance promise. It is a decision to let the wood weather instead of signing up for a recoat schedule.
Tom’s combination square from Episode 4 returns here as a groove-depth gauge. In that earlier episode, the combination square was the star of a measuring lesson. Here it is a small but critical step in a project full of templates, test cuts, and fitting.
What TV Leaves Out
The steam humidifier is a mechanical system install with water, drainage, electrical, duct safety controls, and a leak sensor. Watching Ross explain it is not the same as being ready to cut into a plenum. The air-proving switch and high limit are not accessories. They are the difference between added humidity and a wet duct problem.
Mauro makes bulk shutter spraying look quick because the sprayer is set up, the shutters are staged, and the drying area exists. The off-camera work is preparation and waiting. The four-hour recoat window is not a suggestion if you want the finish to hold up.
Tom’s table depends on templates, test cuts, joinery, and sanding. Television compresses the fitting and fussing that make the finished table look simple. The visible bandsaw cuts are short. The layout before them is not.
DIY Confidence Scale
- Steam humidifier: 1/10 for DIY installation. This is hire-it work. A homeowner can monitor humidity, set the controller, and handle canister replacement when the time comes.
- Bulk shutter spraying: 5/10 if you own a sprayer and have a real drying space. Without those, 3/10 and a much longer day. The stacking trick is simple. The setup and drying are not.
- Teak end table: 7/10. It is an intermediate woodworking project with angle templates, router grooves, slat spacing, bandsaw curves, and frame assembly. A beginner can attempt it with scrap wood practice, but the margin for error is in the joinery, not the finish.
Additional Resources
The useful question from this episode is not which tool is best. It is whether you have the prep space, the drying time, and the willingness to hire out the work that belongs to a licensed trade. If the answer is no, the steam humidifier gets a contractor, the shutters get a smaller batch, and the teak table gets a longer weekend.
From the captions
Spotted on the job
Tools, materials, and techniques the episode actually showed or discussed. Names stay generic unless the episode said a brand. A name links to an Amazon search only when it is something a person could buy.
As an Amazon Associate, This Old Recap earns from qualifying purchases.
Product
Pro-only
steam humidifier
Ross added a steam humidification system to the ductwork to raise the home's winter humidity.
Product
Pro-only
air-proving switch
Ross installed an air-proving switch as a safety so steam is not introduced unless the blower is moving air.
Tool
DIY-friendly
sprayer
Mauro used a sprayer to paint wooden shutters quickly and cover the slats.
Technique
DIY-friendly
stack them up
Mauro stacked four shutters face-to-face in the same position so he could spray all four sides as one surface.
Material
DIY-friendly
teak
Tommy chose teak to build the side table so it would last outdoors.
Tool
DIY-friendly
table saw
Amazon search for table saw (opens in a new tab)
Tommy used the table saw to cut the frame pieces for the perimeter of the tabletop.
Tool
DIY-friendly
router bit
Tommy set a router bit at the right height and distance to cut a groove so the slats would sit flush.
Tool
DIY-friendly
bandsaw
Tommy used the bandsaw to cut the table bottom and the curved leg pieces from teak.
The weekly recap
Get each new recap in your inbox the week it airs.
One email the week the new episodes are up, with links back to the full write-ups. Confirm once. Unsubscribe any time.
Keep reading
Related recaps
Also about Painting
This Old House · S47 E19
This Old House S47 E19: Needham Victorian Finishes, a 130-Year-Old China Cabinet, and a Front Door Mortise
Also about Painting
This Old House · S47 E18
This Old House S47 E18: Heated Tile Floors, Chatham Custom Cabinets, and Bookcases That Hide Ductwork
Also about Painting
Ask This Old House · S23 E14
Ask This Old House Season 23 Episode 14: Airless Painting Wainscoting, All-Electric Heat, and a Pressure-Treated Sandbox, or Prep Work Is the Whole Job
Also about Painting
Ask This Old House · S23 E26