
Rain-Screen Walls Explained: The Small Air Gap That Helps Siding Last
A practical guide to rain-screen wall assemblies, from drainage and drying to bug screens, furring strips, and the details that matter before new siding goes up.
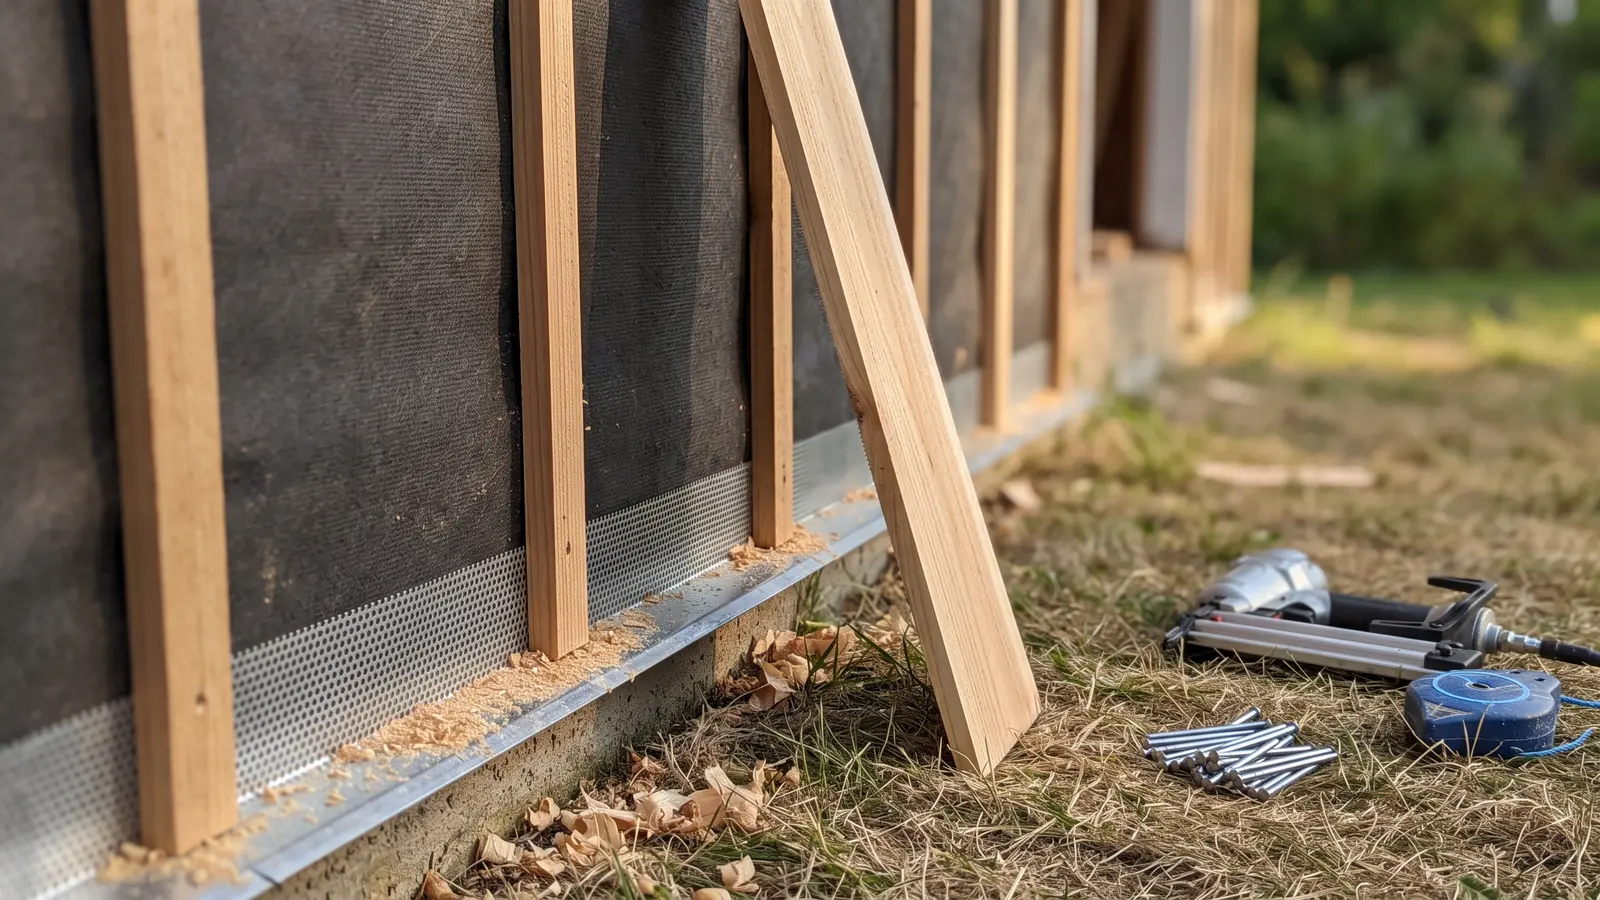
Why a Wall Needs Room to Dry
Rain screens are one of those building details that look almost too simple to matter: install narrow furring strips over the water-resistive barrier, then fasten the siding over those strips. The resulting air gap is usually less than an inch, but it gives water a path down and gives damp materials a chance to dry.
That matters because siding is not a waterproof membrane. Wind-driven rain gets through joints, capillary action pulls moisture into tight spaces, and seasonal humidity moves through the wall. A durable assembly assumes some water will get behind the siding and gives it a safe way out.
The Four Jobs of a Rain Screen
Drainage
The gap breaks the contact between wet siding and the drainage plane. Water can move down the face of the water-resistive barrier and exit through an opening at the bottom of the wall.
Drying
Air movement through the cavity helps both sides of the assembly dry. That reduces the time wood, sheathing, and paint films remain wet—the condition that eventually leads to peeling paint and decay.
Pressure moderation
The cavity reduces some of the pressure difference that drives rain through siding joints. It is not a substitute for flashing, but it makes the cladding less responsible for stopping every drop.
Longer-lasting finishes
Wood siding and paint perform better when the back of the board is not held against a damp surface. The initial labor is small compared with stripping and repainting a prematurely failed exterior.
Details That Make the Assembly Work
- Keep the bottom open: The cavity needs a drainage outlet rather than a sealed trim detail.
- Add insect screening: A perforated strip keeps wasps and other pests from turning the air gap into a nest.
- Flash penetrations first: Windows, doors, vents, and hose bibs still need correctly lapped flashing tied into the water-resistive barrier.
- Maintain vertical pathways: Horizontal blocking can trap water unless it is vented or designed for drainage.
- Follow the siding fastening schedule: Fasteners must reach framing or approved structural sheathing through the furring system.
Is This a DIY Project?
DIY confidence: Intermediate. Installing furring and screen is straightforward. The harder part is sequencing windows, flashing, trim, and the water-resistive barrier so every layer sheds water over the one below it. If you are replacing a full elevation of siding, confirm the assembly with the siding manufacturer and local building department before work begins.
Where to See It in the Show
The clearest recent example is Season 47, Episode 16, where Tom Silva explains the air space behind the Needham Victorian's siding. For a reminder of why exterior layers matter after severe weather, revisit the Season 47 siding repairs in Asheville.
The weekly recap
Get each new recap in your inbox the week it airs.
One email the week the new episodes are up, with links back to the full write-ups. Confirm once. Unsubscribe any time.
Keep reading
Related recaps
Also about Siding
This Old House · S47 E23
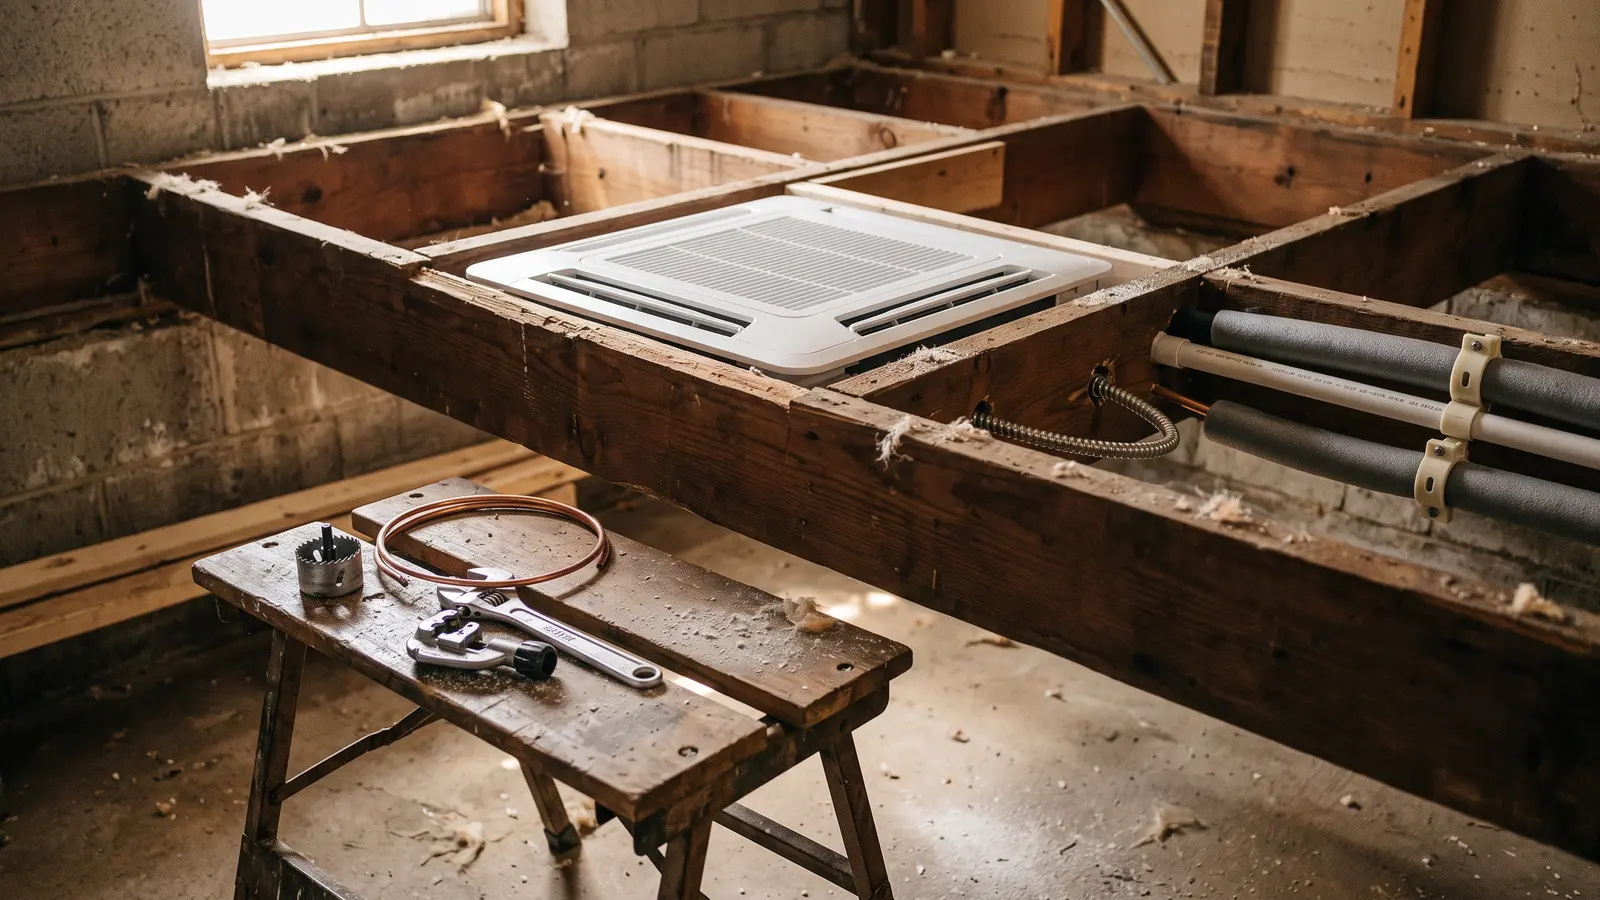
This Old House S47 E23: Walpole Vinyl Siding, a Modular ADU From Pennsylvania, and a Ceiling Cassette That Avoids a Dropped Ceiling
Also about Siding
This Old House · S47 E3
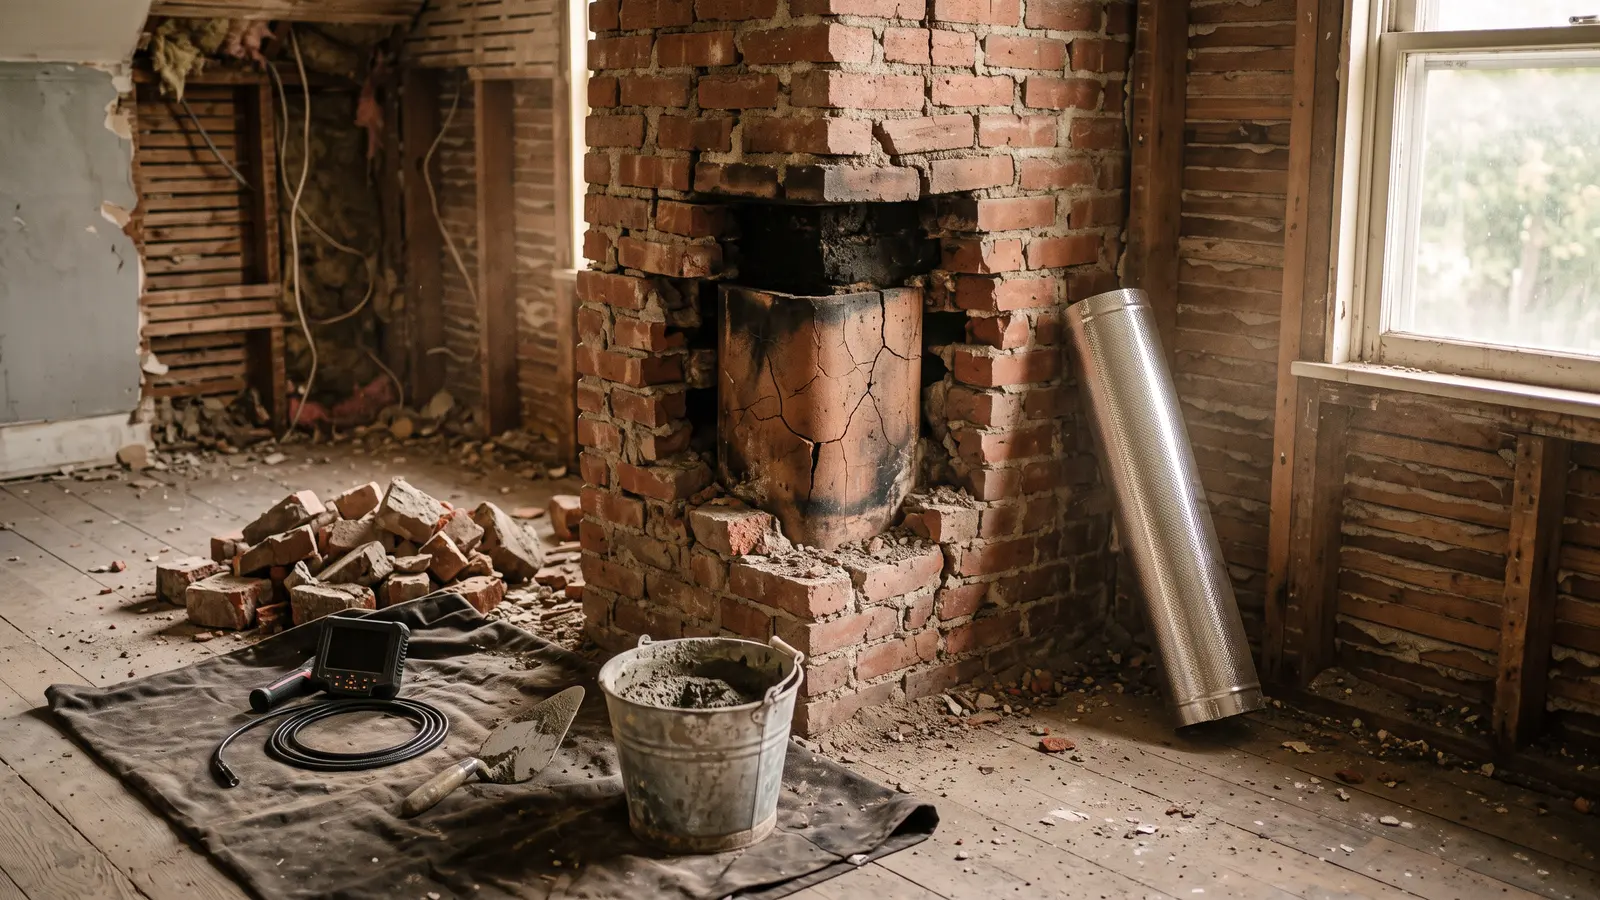
This Old House S47 E3: Cracked Chimneys, Storm-Beaten Siding, and the Army Corps Shows Up
Also about Siding
This Old House · S47 E8
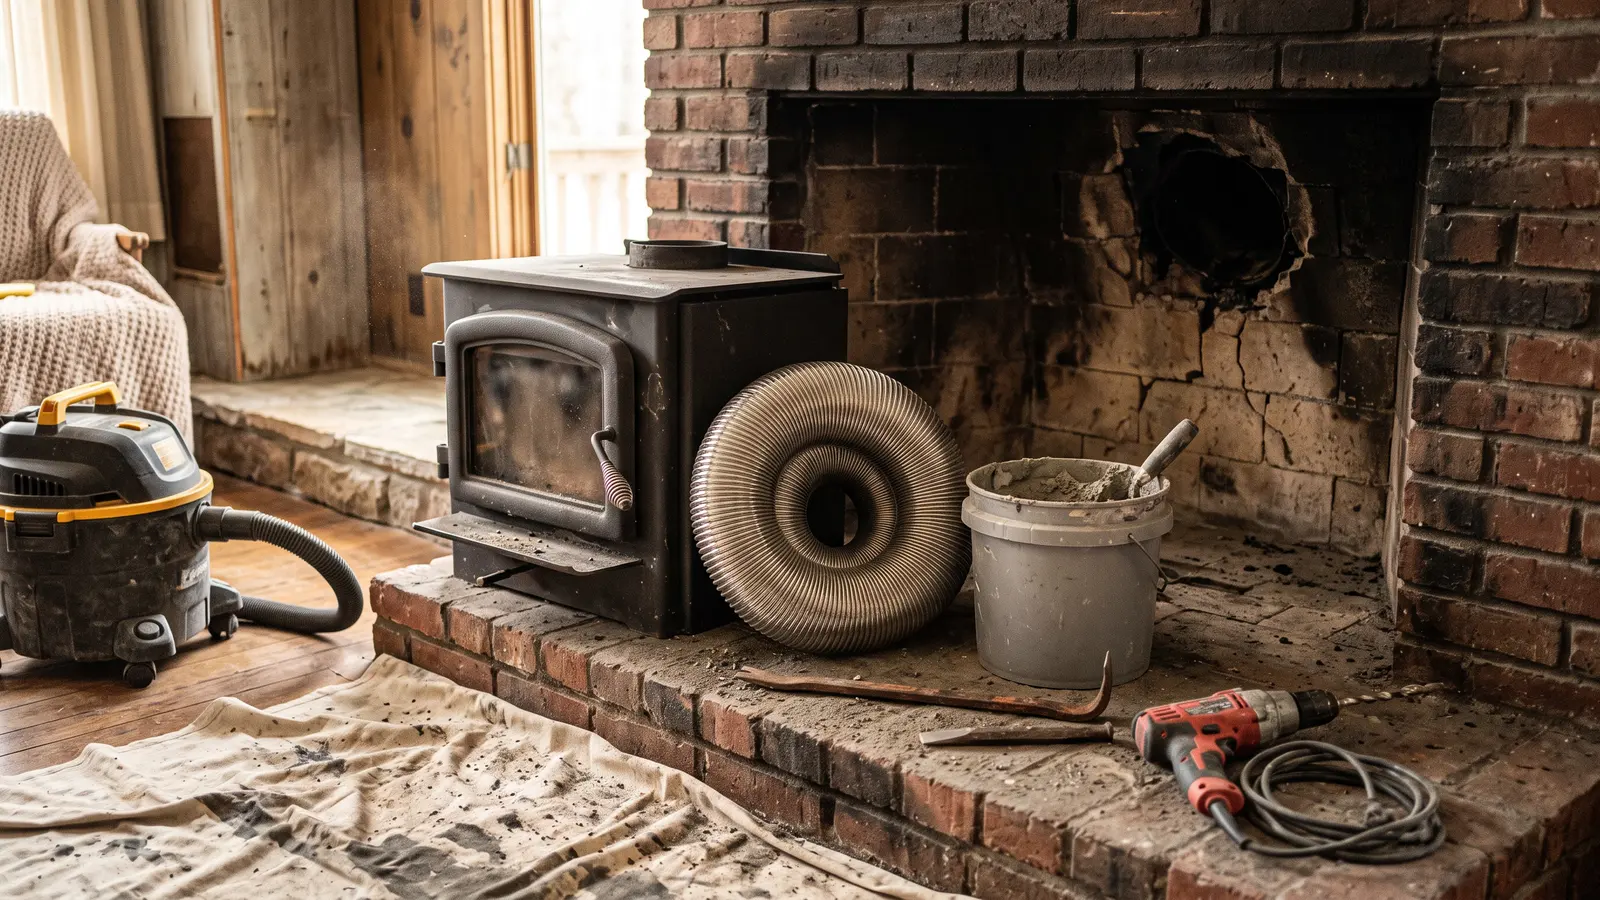
This Old House S47 E8: Asheville's Food Scene Fights Back, the Chimney Gets Its Verdict, and Paint Prep Done Right
Also about Renovation
This Old House · S47 E14