
Ask This Old House Season 23 Episode 11: Shed Foundation, Bifold Doors, and Framing 101, or a Detroit She-Shed Needs a Base First
Mark McCullough builds a gravel shed foundation in Detroit, Tom Silva and Nathan Gilbert walk through non-load-bearing wall framing, and Nathan installs a bifold-door partition to hide a laundry area. The door gets the credit; the base and the rough opening do the work.
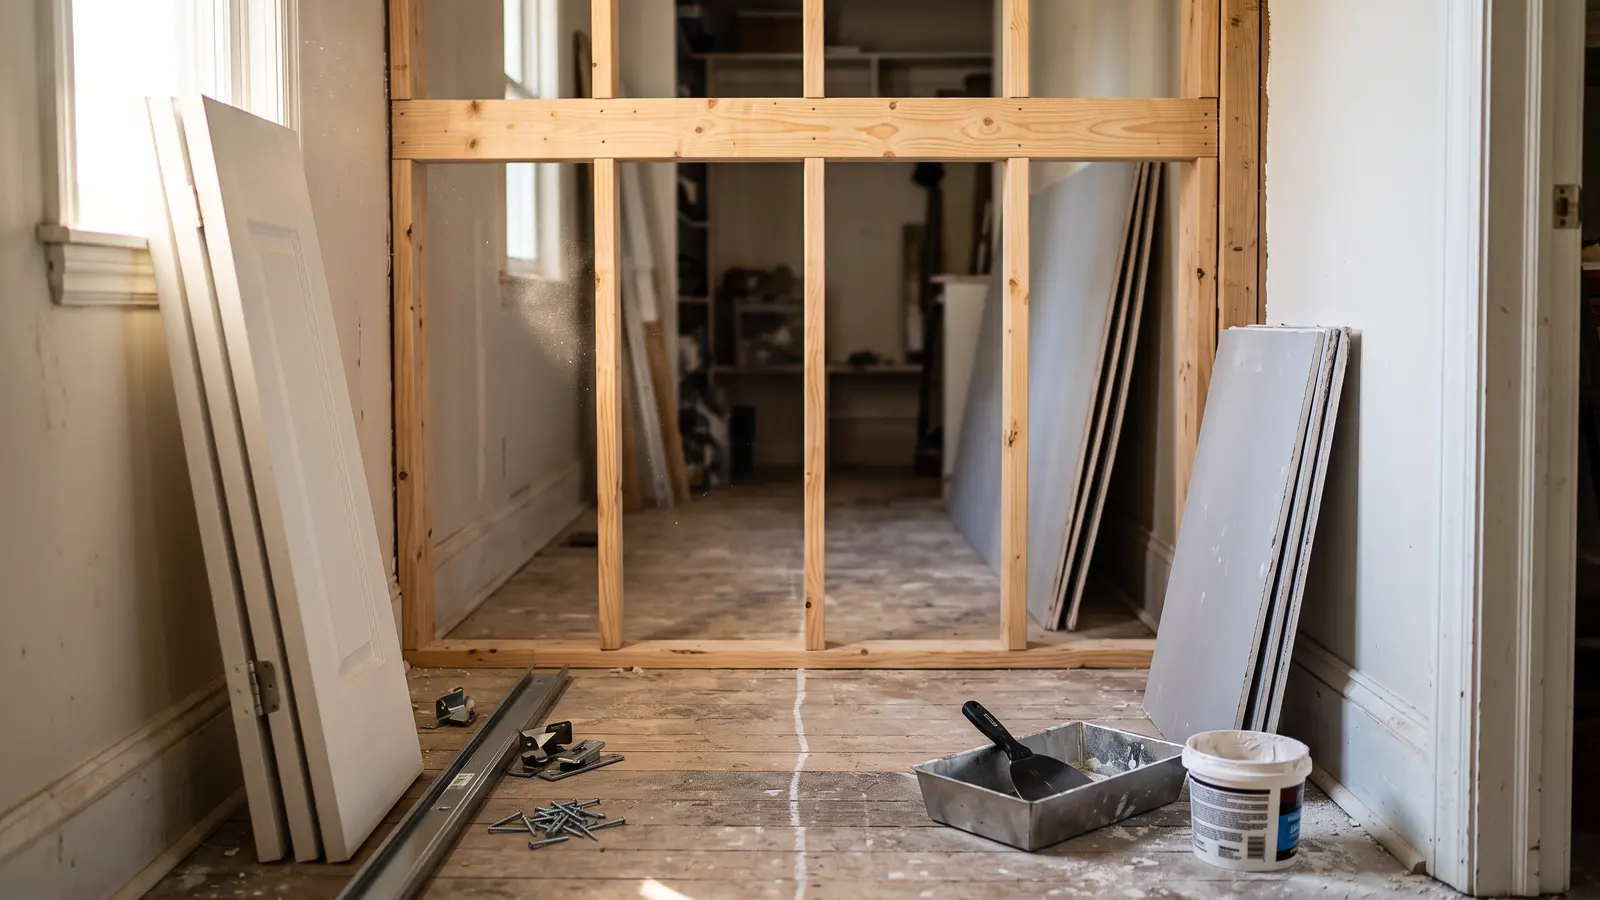
Season 23, Episode 11 splits its time between a gravel pad in Detroit, a framing mock-up in the workshop, and a bifold-door partition in a mudroom. Three different pieces of carpentry, one shared premise: whatever you see at the end is resting on work you never see at all.
A Detroit She-Shed Needs a Base Before the Shed Shows Up
Mark McCullough opens the episode in Detroit, back in a city he says he last visited in 2016. The homeowner, Cornetta, works on the Michigan Central restoration and grew up a few blocks from the train station. Her ask is smaller: an 8x6 shed in the backyard for the tools currently living on the ground.
Mark calls it a homeowner-friendly project and estimates about $1,000 saved by doing the base work themselves. He also checks offsets before anyone picks up a shovel. Five feet from the neighbor's yard, which he describes as the distance required between a structure and the property line. The measurement is the first thing that constrains the layout, and it's the part most homeowners skip past on their way to the fun part.
For an 8x6 shed, that means a 10x8 excavation. Mark calls it an overdig: one extra foot on all four sides so the gravel pad extends beyond the shed footprint. He sets the target depth at four to six inches of gravel. Existing concrete had already been removed and brought the grade close to where he wanted it, which Mark cheerfully calls a happy accident.
Tools: spade shovels, an iron rake, a wheelbarrow. Brent, Cornetta's husband, is recruited as the extra set of hands and almost immediately finds a leftover chunk of concrete in the hole. It comes out with a sledgehammer.
Weed fabric goes down between the soil and the gravel, then a wood frame. Nine-footers for the long sides, seven-footers for the short sides. The frame is set, squared, and leveled, and it defines the edge of the pad so the gravel has something to work against. Then the gravel goes in, gets compacted, gets watered to help compaction, gets compacted again, and finally gets fine-raked.
If that sequence feels familiar, it should. Mark ran the same rhythm on the paver patio back in Episode 9, where the new gravel was compacted, wetted down, and compacted again. Here the footprint is smaller, but the discipline is identical. A shed only sits as well as the gravel under it, and gravel only behaves once it's been watered and worked in layers.
The kit itself installs fast. Steel floor base first, then prefabricated sides, roof, and front door. Mark notes the shed day went as planned. His homework for the couple is mulch around the base to dress it in. Cornetta informs Brent that this is not a storage shed, it is a she-shed. Brent absorbs the news.
What the edit doesn't show: the hauling. Moving that much gravel from pile to hole with a wheelbarrow and shovels is the actual job. Compacting in lifts takes longer than it looks. On screen, the digging reads as a morning.
Framing 101: Tom Silva and Nathan Gilbert Build a Non-Load-Bearing Wall
The middle segment is a mock-up, and the show is honest about that. Nathan Gilbert has a job coming up where a homeowner wants a bifold-door kit installed and there is no wall to receive it. So Tom Silva and Nathan walk Kevin O'Connor through partition wall framing from layout to cripple studs.
Start with layout. Tom uses a laser to project a line around the room: floor, walls, ceiling, 360 degrees. Nathan does the same thing later at Jack's mudroom. For a homeowner who doesn't want to buy a laser, Tom offers a chalk line as the second-best option, with one caveat. Use white chalk indoors. Red or blue chalk doesn't come out of carpet, but white wipes right off.
Then the anatomy, walked piece by piece:
- Bottom plate at the floor, top plate at the ceiling. Nathan says he'd probably do a single top plate for this wall, since it isn't carrying anything.
- Studs run bottom to top, typically 16 inches on center.
- King studs at the edges of the opening, full height, controlling the whole thing.
- Jack studs next to the kings, shorter, running up to support the header and give trim something to fasten to.
- The header spans the opening. In this case, not a load-bearing header, just a header.
- Cripple studs above it, spaced on center, providing nailers for wallboard.
Kevin asks the obvious question: could you go 24 inches on center? Nathan says yes, for a non-load-bearing wall, if you plan for it. Tom adds the constraint. At 24 inches, you need either 5/8 wallboard or blocking at the sheet joints, because half-inch drywall will sag across a span that wide. This is the kind of answer that separates a two-minute framing clip from an actual wall that stays flat.
The detail most wall-framing videos skip: the bottom plate runs continuous through the opening during layout and assembly, screwed down so the studs align square across the opening, and only gets cut out after the wall is up. Tom explains why. Running that plate straight through lines up the wall and confirms everything is parallel. Nathan uses the exact same trick on the real job.
In that real job, the rough opening measures 62 inches off the jack stud. That number belongs to the door kit, not to the discipline. Follow the kit's rough-opening spec, and check it twice before you cut.
If you want the fundamentals-through-a-tool framing lesson from earlier this season, this is Tom's version of the combination-square episode. Same instinct: get the reference lines and the layout right before any lumber goes up, because the measurements do the thinking for you.
Nathan's Bifold Partition: The Door Is the Easy Part
Third segment. Nathan visits Jack, whose mudroom has an open laundry area visible from the front door. Jack calls it the eyesore. Nathan agrees, and proposes a partition wall with a 6-panel hollow-core bifold-door kit to hide the washer and dryer.
The screen time is compressed. Here's what actually happens, in order:
- Protect the existing space for the duration of the project.
- Cut out a section of baseboard where the new wall lands.
- Set the laser and mark reference lines 360 degrees around the room.
- Cut top and bottom plates to measurement.
- Lay out the rough opening: full-height stud on the right, jack stud 1.5 to 3 inches over, 62 inches across to the left jack stud, then another 1.5 to 3 inches to the left king.
- Fasten the bottom plate with screws first, plumb the king studs as they go up.
- Add jack studs, header, cripple studs.
- Cut out the bottom plate inside the opening.
- Hang drywall.
Then the door kit. The jam comes in pieces, and Jack's mudroom doesn't offer a flat assembly area, so Nathan builds it standing up, which he freely admits is harder. Glue the joints, nail them, set the jam into the opening, shim it, and plumb and level it at the same time.
Track mounts across the top. Floor brackets go in. Doors get assembled with bottom pivot pins (those adjust height), top pivot pins, and spring-loaded track guides. Fold the door, lift it in the center, set the bottom first, then lean the top into place.
Trim goes on with about an inch of reveal off the front. Then knobs, and here's a small detail worth stealing. Nathan centers the knob under the panel, not under the individual door, because centering on the door would put the hardware off-center in the opening. He does the math out loud with Jack. Half of 9 inches, then half of 6 3/4.
Aligners mount to the back of the lead door, measured one foot up from the floor, with an eighth of an inch of offset in opposite directions on each side so the doors nest flat when closed.
The homework is real. Two more coats of joint compound, sand, prime, paint. Trim and doors come with primer but need finish coats. Jack calls it doable, and it is, but the finish work is the part the show can't compress.
DIY Confidence Scale
Shed foundation: 6/10. Conceptually simple. Dig, fabric, frame, gravel, compact, water, compact, rake. The digging and hauling are where the weekend goes. With two people, a wheelbarrow, and a rented plate compactor, it's a weekend. With one person and a spade shovel, it's two.
Non-load-bearing wall framing: 5/10. The concepts are learnable, and the mock-up makes them look clean. In a real finished room, wiring, existing outlets, baseboards you don't want to ruin, and floor transition heights all complicate the same wall. Layout accuracy is the whole game.
Bifold-door install: 6/10. Assembling a jam standing up, shimming a plumb opening, and dialing in aligners takes patience and a helper. The knob layout needs two measured centers, not one.
What the Edit Leaves Out
Compaction in the shed segment looks like a few passes with a plate compactor. Real compaction in thin lifts, with water and repetition, is the work that keeps a shed from settling after the first freeze-thaw cycle. Mark does the sequence correctly. The show just can't make it feel as slow as it is.
The framing lesson is a mock-up, and that's fine, but a real partition wall has to land somewhere useful. The part that takes the longest is figuring out how it relates to ceiling joists above, floor joists below, and the light switch you just realized is in the way.
The bifold install runs in screen minutes. The drywall finishing, which Nathan hands off as homework, is what the viewer doesn't see at all.
Additional Resources
Doors and sheds get the credit. The base and the rough opening do the work. If you had to pick one of these as your next weekend, which is it: gravel, or shims? The gravel is heavier. The bifold is fussier. Both beat dragging your tools out of the backyard every time you need a wrench.
From the captions
Spotted on the job
Tools, materials, and techniques the episode actually showed or discussed. Names stay generic unless the episode said a brand. A name links to an Amazon search only when it is something a person could buy.
As an Amazon Associate, This Old Recap earns from qualifying purchases.
Tool
DIY-friendly
spade shovels
Mark and Brent used spade shovels to dig out the area for the shed base.
Tool
DIY-friendly
iron rake
Mark asked for an iron rake and later used a fine rake to level the gravel base.
Tool
DIY-friendly
sledgehammer
Mark grabbed a sledgehammer to break up leftover concrete in the shed footprint.
Tool
DIY-friendly
laser
Tom showed a laser for laying out a straight and plumb interior wall.
Tool
DIY-friendly
chalk line
Tom described a chalk line as a second-best layout option for interior projects.
Material
DIY-friendly
white chalk
Tom recommended white chalk in a chalk line because it wipes off interior surfaces.
Product
DIY-friendly
bifold-door kit
Nathan installed a 6-panel hollow-core bifold-door kit after framing a wall to receive it.
Material
DIY-friendly
joint compound
Amazon search for joint compound (opens in a new tab)
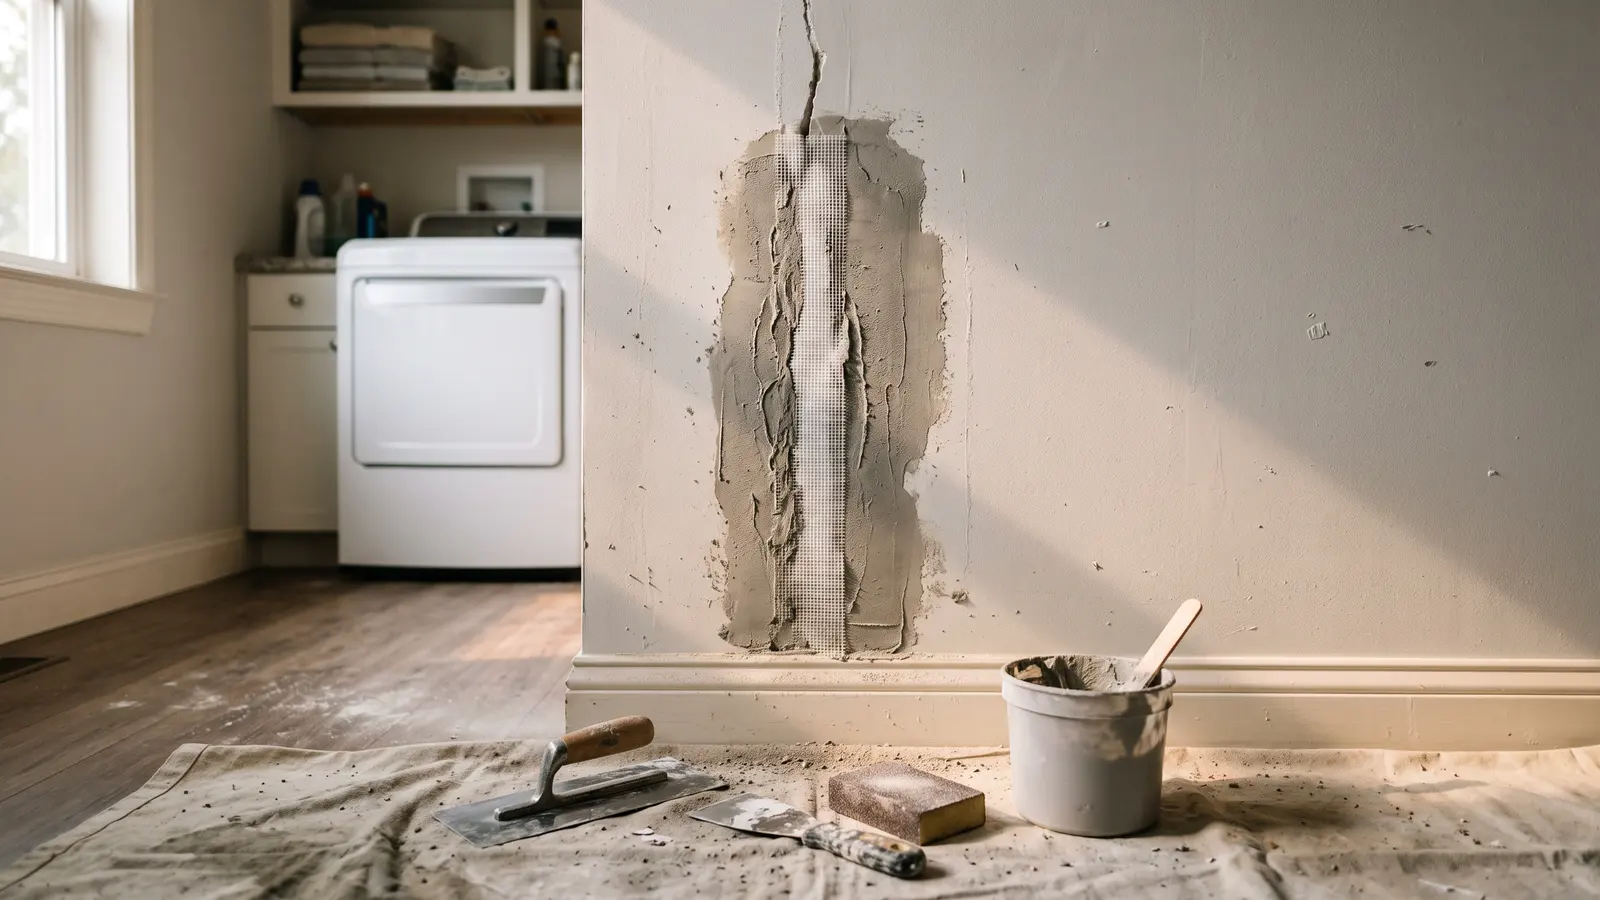
Nathan said the drywall needs two more coats of joint compound before sanding, priming, and painting.
The weekly recap
Get each new recap in your inbox the week it airs.
One email the week the new episodes are up, with links back to the full write-ups. Confirm once. Unsubscribe any time.
Keep reading
Related recaps
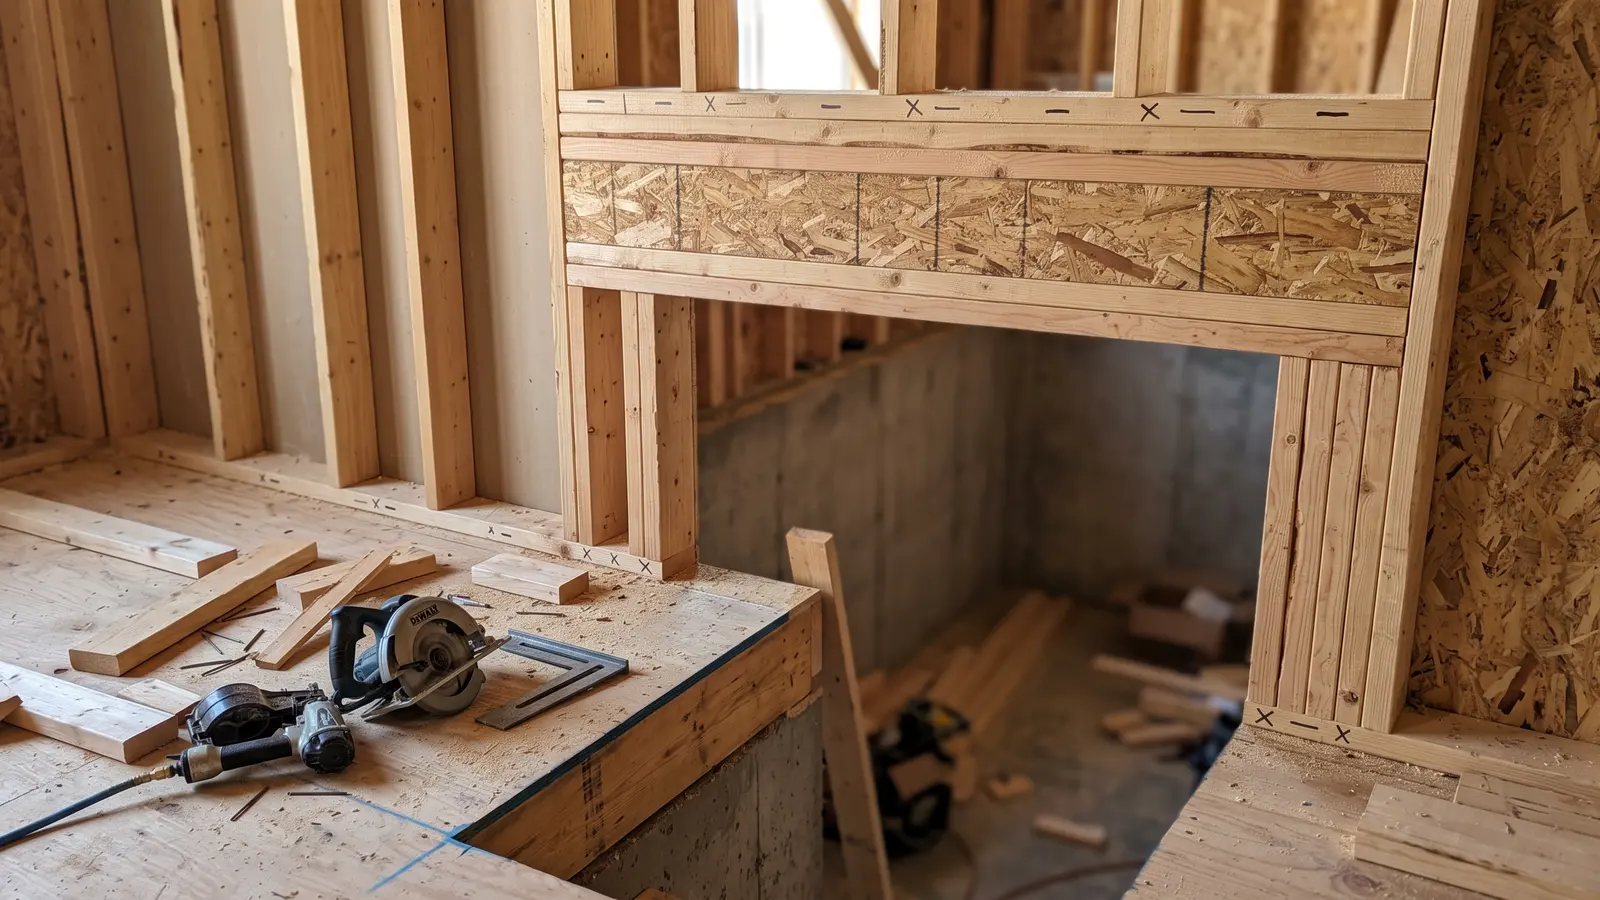
Also about Carpentry
This Old House · S47 E22
This Old House S47 E22: Walpole ADU Framing, Shared Utilities, and a Plumber's Flags
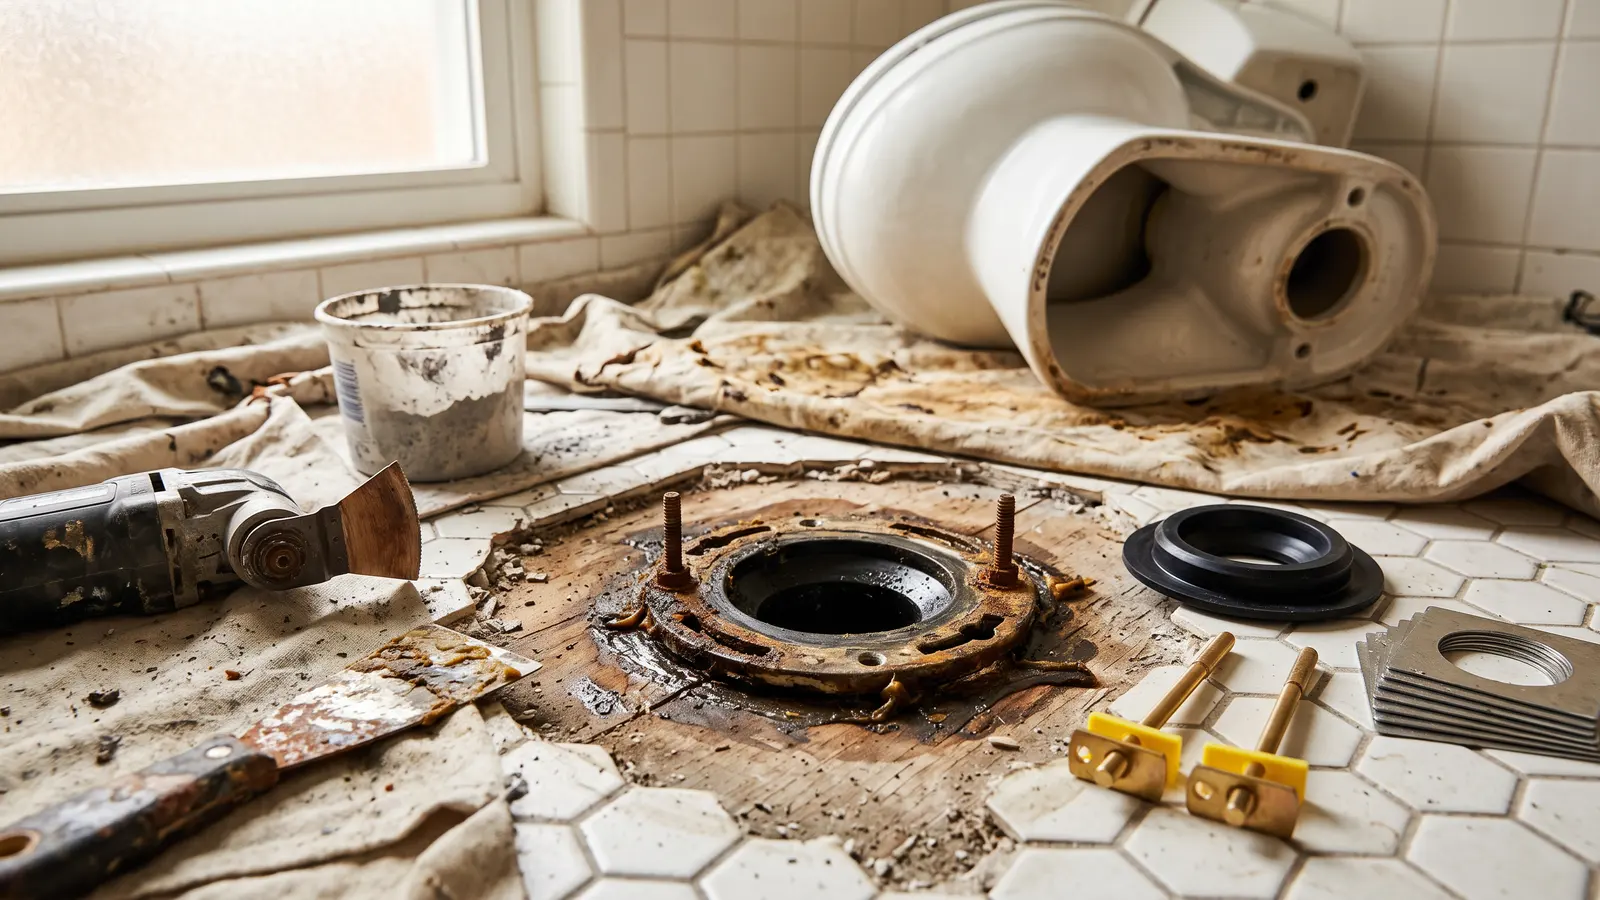
Also about Carpentry
Ask This Old House · S24 E11
Toilet Flange Repair, Gas Mower Tune-Up, and a Hidden Bookcase Speakeasy Door: Ask This Old House S24E11
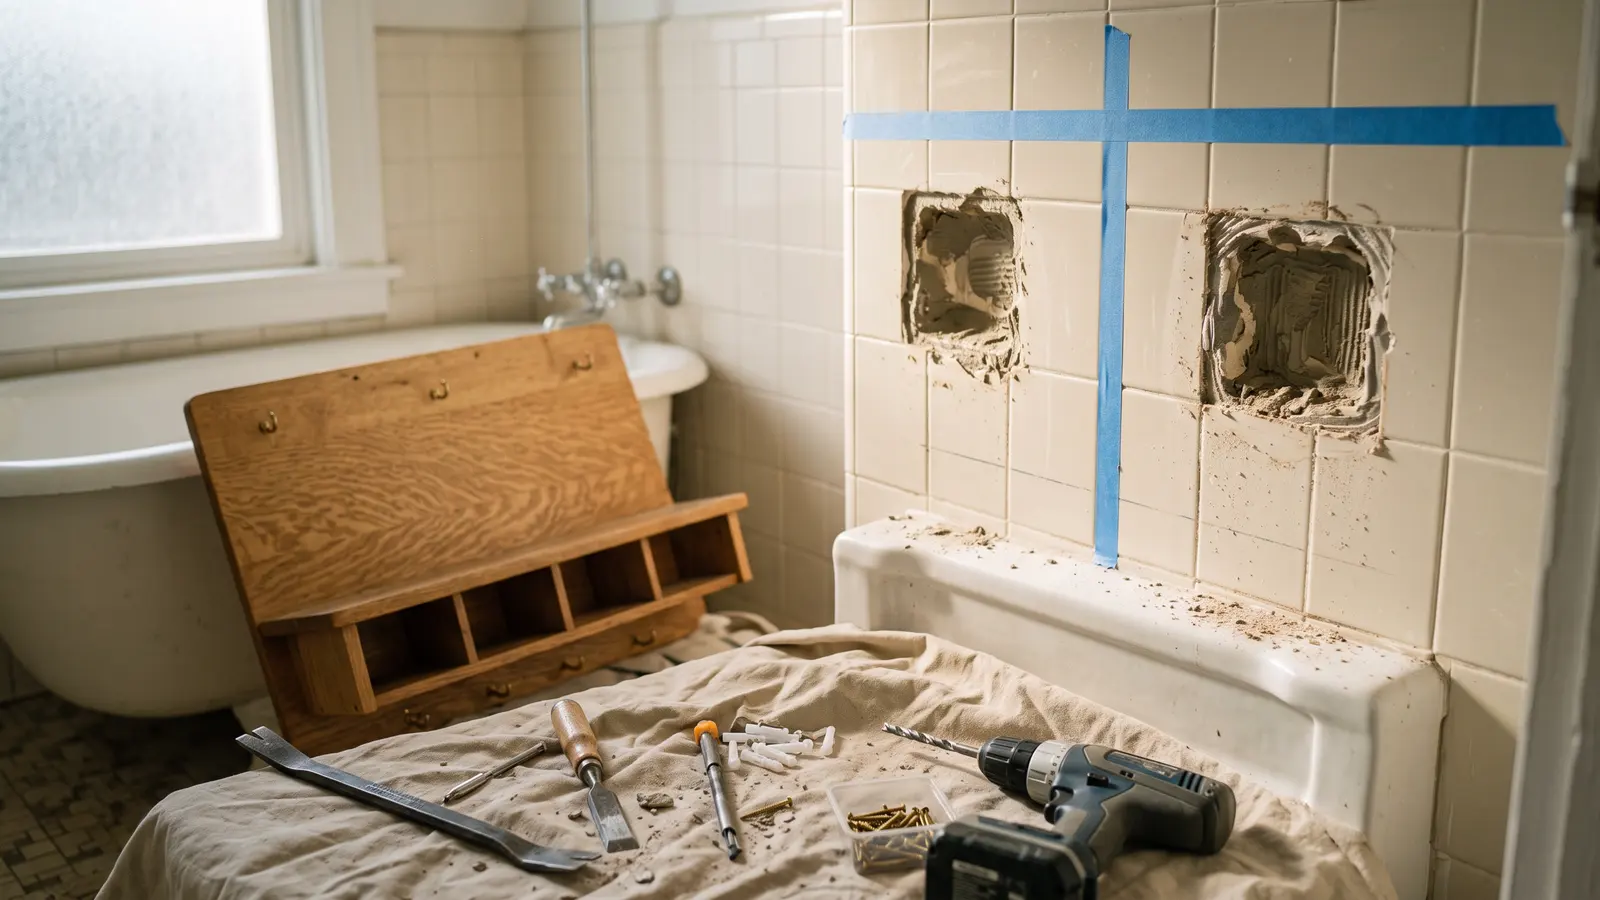
Also uses joint compound
Ask This Old House · S24 E24
Ask This Old House S24E24: Removing Tile Soap Holders for a White Oak Shelf, and Mauro Matches a Swirl Ceiling
Also uses joint compound
Ask This Old House · S23 E2