
Ask This Old House Season 23 Episode 10: Trash Pullout Replacement, Light Bulb Phaseout, and Arborvitae Removal, or a 1997 Kitchen Finally Slides Smoothly
Nathan Gilbert replaces a broken double trash can pullout in a 1997 kitchen, Heath Eastman explains why incandescent and fluorescent bulbs are being phased out, and Lee Gilliam removes overgrown emerald green arborvitaes while saving an oakleaf hydrangea. Three house calls, one shared moment: something built for an earlier set of assumptions has run out its clock.
Season 23, episode 10 of Ask This Old House puts Nathan Gilbert in a kitchen, Heath Eastman in front of the entire light bulb drawer from Kevin O'Connor's house, and Lee Gilliam in a front yard with a chainsaw and a locate ticket. The three segments look unrelated until you notice they are all about the same decision: a thing was installed for a set of assumptions that no longer apply, and now somebody has to decide whether to patch it or replace it.
Christine's kitchen is from 1997. The bulbs in Kevin's drawer descend from a filament glowing in 1802. Ben's arborvitaes went in for a landscaping style that has since outgrown its own pathway. None of these is a crisis. All of them are maintenance, which is the part of homeownership nobody photographs.
Trash Pullout: Measure, Template, and Reveal
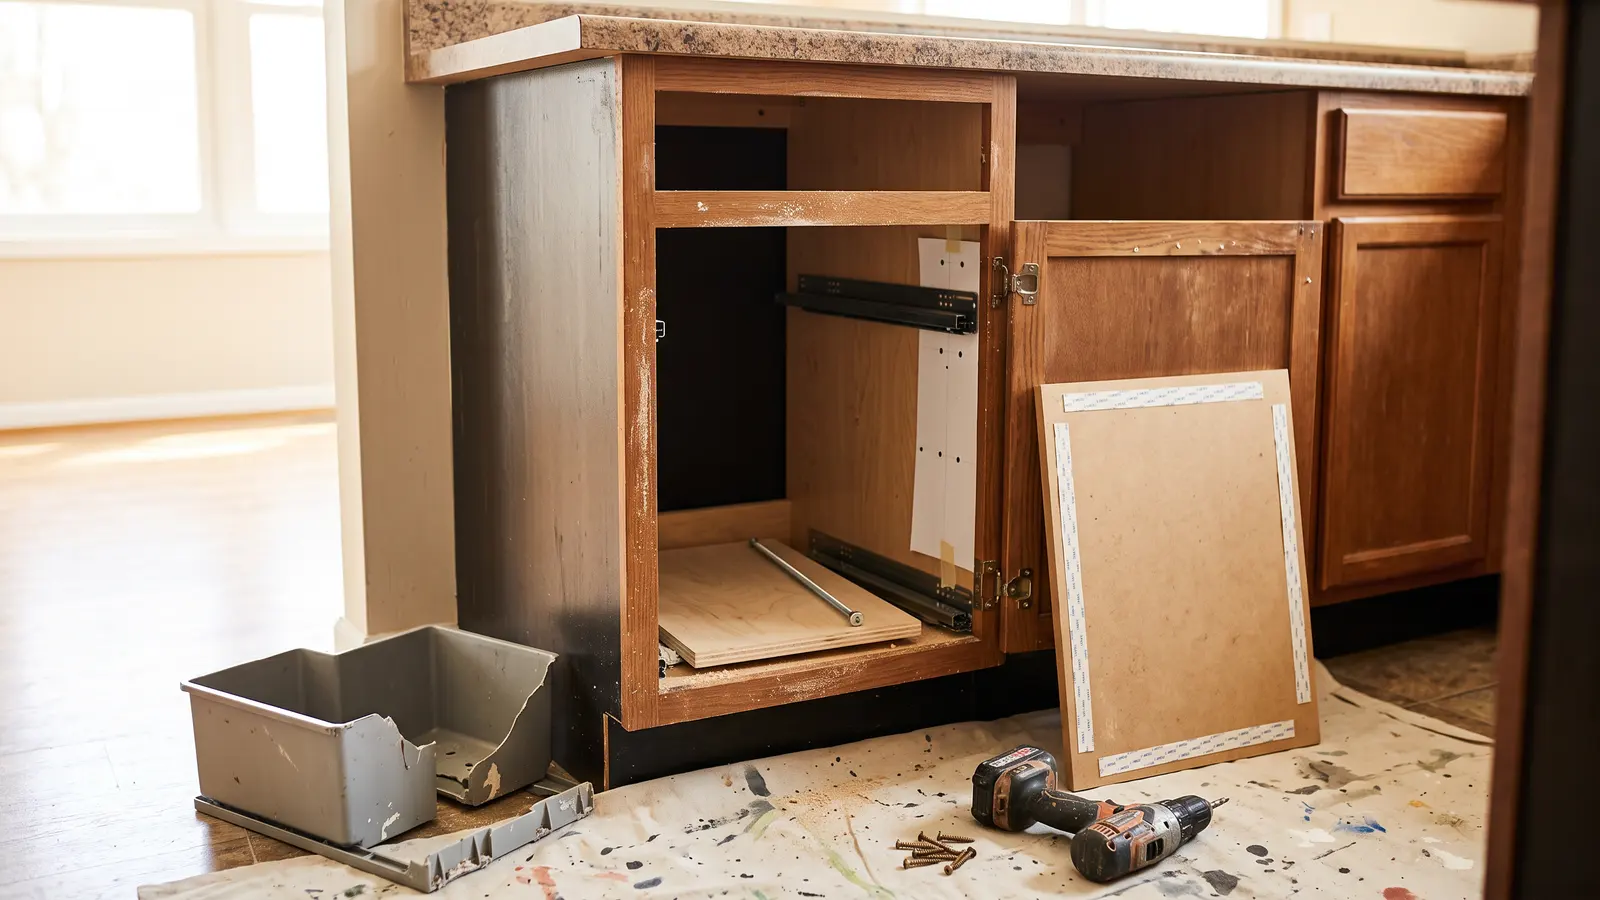
Christine wrote in about a double trash can pullout that had been a problem since she and her family moved in. The plastic was chipped and deteriorating, the original bins no longer matched anything she could find, and then her daughter caught a pair of pants on the knob and finished the job. Nathan's assessment is generous: a 1997 insert that made it almost thirty years in a high-traffic spot had a good run.
He takes dimensions, leaves, and comes back with a kit rather than a custom-built frame. That is a real decision worth noticing. The kit includes sides, slides, a bottom panel, door-mounting brackets, fasteners, new bins, a template, and instructions that Nathan actually reads and compliments. A cabinet shop could build something better, but for a standard 22 1/4-inch opening, the kit is faster and the template does the layout math for you.
The assembly sequence matters. Nathan mounts the sides to the slides, making sure the rear tabs ride all the way back until the screw holes line up, then adds the bottom panel and a connecting rod across the back to keep the frame from racking. That rod is the kind of part that looks optional until the loaded bins start twisting the assembly every time you close the door.
Then comes the template. The opening is 22 1/4 inches, so the center line lands at 11 1/8. Nathan does not just center the template and drill. He notices the door has a 3/4-inch pine panel on the back and sets the whole layout back by that amount, aligning it with the face frame so he can use the frame as a square reference. The template even has black dots marking the drill points. Small courtesies like that are what separate a good kit from a frustrating one.
Mounting the door is where the segment earns its keep. Nathan presses the door onto the brackets with double-sided tape first so he can step back and read the reveals, the even gaps across the top and down the left side. The tape holds the door while he checks alignment, then short screws come through from the back and bite into the pine panel. Short screws are the point. Long ones would blow through the finished face of the door, and no amount of wood filler hides that mistake.
He closes with a light-color scratch repair formula on the cabinet front, which Christine admits had bugged her more than the trash insert ever did, and the finished slide is soft-close. The edit makes this look like an afternoon. The fussy hours are in sourcing a kit that matches the opening, confirming the door overlay, and being patient enough to recheck the reveals after the first two screws instead of after all six.
Why Incandescent and Fluorescent Bulbs Are Disappearing
Heath's segment starts at a supply house, which is where these stories usually start. He went looking for older fluorescent tubes to repair a customer's fixture and found them getting scarce, with a counter guy suggesting a fixture change instead. That is the practical version of a phaseout: not a policy announcement, just a shelf that quietly stops restocking.
The history is compact. In 1802, a gentleman applied battery power to a filament and got a glow. Decades of scientists, some famous and some not, turned that into the incandescent bulb we know. Current heats a filament until it glows, and the glow is the light. It is also mostly heat. Heath puts the split at roughly 10% light and 90% heat, with a typical service life of a couple of years. The famous exception is the Centennial Light in a California firehouse, still burning after more than a century, originally a 60-watt bulb and now down around 4 watts. Kevin gets the best line of the episode out of it, noting he is down to about 4 watts himself.
Fluorescents run two electrodes and a mix of mercury and phosphor inside a tube, and Heath pegs them at roughly five times the efficiency of incandescent. That efficiency is why commercial buildings filled up with banks of tubes, and why the residential version came later: an engineer in the 1970s figured out how to coil the tube so it would fit a standard screw base. Notice that the screw base outlived the bulb type it was invented for. Edison's thread became the universal socket, which is the only reason the retrofit was even possible.
LEDs are light-emitting diodes. Current runs through onboard electronics and lights the diode itself. A 60-watt-equivalent LED draws somewhere around six watts, which is up to ten times the efficiency of the incandescent it replaces. Heath also cops to being a snob about it. He wanted clear candelabra bulbs in his exterior fixtures for the look, and early LEDs with white bases and clear tops did not deliver. Now they do, which is why the resistance has mostly collapsed.
This is an education segment, not a repair, and homeowners should treat it as homework. Check the base type and the color temperature when you buy, and when a fluorescent fixture finally dies, price a replacement fixture alongside the tube. Chasing discontinued lamps is a losing game.
Arborvitaes Out, Oakleaf Hydrangea Saved
Ben and his fiancée bought the house recently and are working inside, but the emerald green arborvitaes out front have grown straight over the walkway, with dead growth packed inside and snow damage on the ones along the side. Lee does not argue for pruning them back into shape. They are too big for the space and the species does not regrow well from the interior, so out they come and the beds get reset for a planting plan that fits the house.
First, the part that is not optional. Ben called 811 and had utilities marked before anyone put a shovel in the ground. Lee praises it, and he is right to, because there is a gas line inside this bed and a pipe at the surface. Every digging project on a property starts with that call.
The oakleaf hydrangea is worth saving, and the transplant technique is the useful part. Lee prunes it back first, cutting above new shoots, to reduce shock and make the plant easier to handle. Then he slices straight down around the root system with a shovel, lifts the plant, and sets it into a bucket with soil already in the bottom so the root ball stays covered. He is taking flowers off in the process and says plainly that it will recover.
For the largest plant, Ben suits up, glasses and helmet included, and Lee hands him the saw after checking chain tension and pointing out the brake bar. He cuts a notch, a horizontal cut and a sloping cut from the front, then a back cut to relieve pressure. When Ben's angle drifts, Lee stops him before he cuts all the way through, because a tree that commits on its own is a tree you are not steering. The smaller arborvitaes get cut straight across instead of notched, since there is no lean to manage.
Roots come out with a reciprocating saw. Lee is explicit about why: you do not put a chain saw into dirt, and the abrasive grit would wreck the bar and chain. Once the stumps clear, two buried mistakes surface. The first is landscape fabric, which Lee calls a no-no because weeds arrive airborne and fabric never solved that problem. The second is rubber mulch, complete with tire tread marks, which he says will never break down and serves no purpose. Both go.
The rebuild is compost and a rototill to four or five inches down, which is roughly where the root zone lives for the replacement plantings, with one eye kept on the gas line and pipe. The plan stays coherent: more oakleaf hydrangeas to continue the theme, some boxwoods for structure, and another hydrangea variety for variety's sake.
If you followed Lee's irrigation segment earlier this season, this is the same lesson pointed at a different part of the yard. Where the water and the roots go, and what you bury under the mulch, decides how the bed behaves for the next decade. That earlier post on grass cloth, sump pumps, and sprinkler heads made a similar case in a different state.
What the Edit Leaves Out
Nathan and Heath both showed up in episode 9's paver patio, ladder safety, and EV charger work, and the through-line holds here. Both men are careful in ways the camera has to earn. Nathan rechecks the door reveals after two screws instead of trusting the tape. Heath explains a phaseout by walking the technology forward instead of declaring the old bulb dead on arrival.
What gets compressed is the boring middle. The insert job involves a trip to source parts and a lot of kneeling. The yard job involves disposal, which nobody films. Chain saw work in a residential bed, with a gas line nearby and neighbors watching, is a controlled operation that depends on the gear and the locate call that happened days before.
DIY Confidence Scale
Trash can pullout replacement: 3/5. Patient homeowners with a drill, a tape measure, and a helper can do this. The kit supplies the template and the layout, and Nathan's two tricks, taping the door for reveals and keeping the screws short, are learnable. The risk is buying a kit that does not match the opening or the door overlay.
Light bulb phaseout: 1/5 as a project, 5/5 as homework. Nothing to install here. The work is checking base types and color temperatures before you buy, and pricing a fixture when a fluorescent finally gives out.
Arborvitae removal: 1/5 for most homeowners. Utility locate, a chainsaw in a garden bed, stump and root extraction, and hauling are all reasons to hire, or at minimum to work with someone experienced standing next to you.
Additional Resources
The most useful moment in the episode might be Lee pulling rubber mulch out of a foundation bed and calling it what it is. What is buried under your mulch right now?
From the captions
Spotted on the job
Tools, materials, and techniques the episode actually showed or discussed. Names stay generic unless the episode said a brand. A name links to an Amazon search only when it is something a person could buy.
As an Amazon Associate, This Old Recap earns from qualifying purchases.
Product
DIY-friendly
trash-can insert
Nathan replaced Christine’s broken kitchen trash-can insert with a new kit.
Tool
DIY-friendly
template
Nathan slid the kit’s template into place to lay out the center line and drill mounting holes.
Material
DIY-friendly
double-sided tape
Nathan used double-sided tape to temporarily hold the cabinet door in alignment before fastening it from the back.
Product
DIY-friendly
L.E.D.s
Heath explained how L.E.D.s light a diode and are much more efficient than incandescent or fluorescent bulbs.
Material
DIY-friendly
arborvitaes
Lee removed the overgrown arborvitaes that were growing over the pathway.
Tool
Pro-only
chain saw
Lee and Ben used a chain saw to make notch and back cuts when removing the arborvitaes.
Tool
DIY-friendly
loppers
Lee used loppers to prune the oakleaf hydrangea and cut branches before removal.
Material
DIY-friendly
compost
Amazon search for compost (opens in a new tab)
Lee added compost to the cleared bed and rototilled it into the soil.
The weekly recap
Get each new recap in your inbox the week it airs.
One email the week the new episodes are up, with links back to the full write-ups. Confirm once. Unsubscribe any time.
Keep reading
Related recaps
Also about Landscaping
Ask This Old House · S25 E2
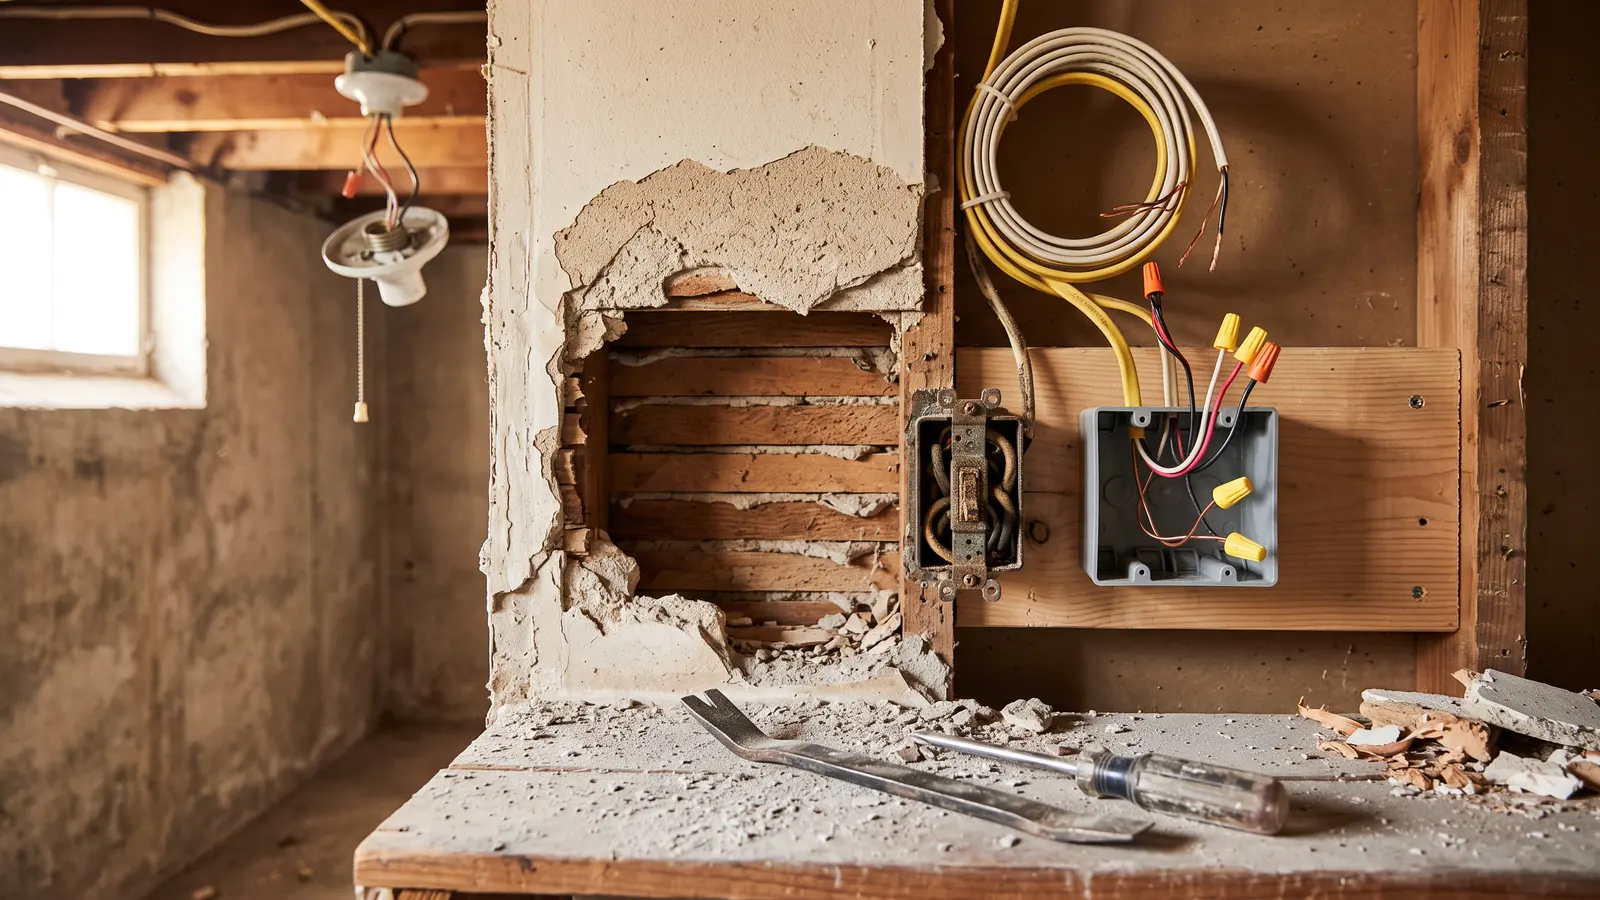
Ask This Old House S25E2: Pull-Chain Basement Lights, Sod Repair, and an Orange Deck-Board Spacer
Also about Landscaping
Ask This Old House · S24 E5
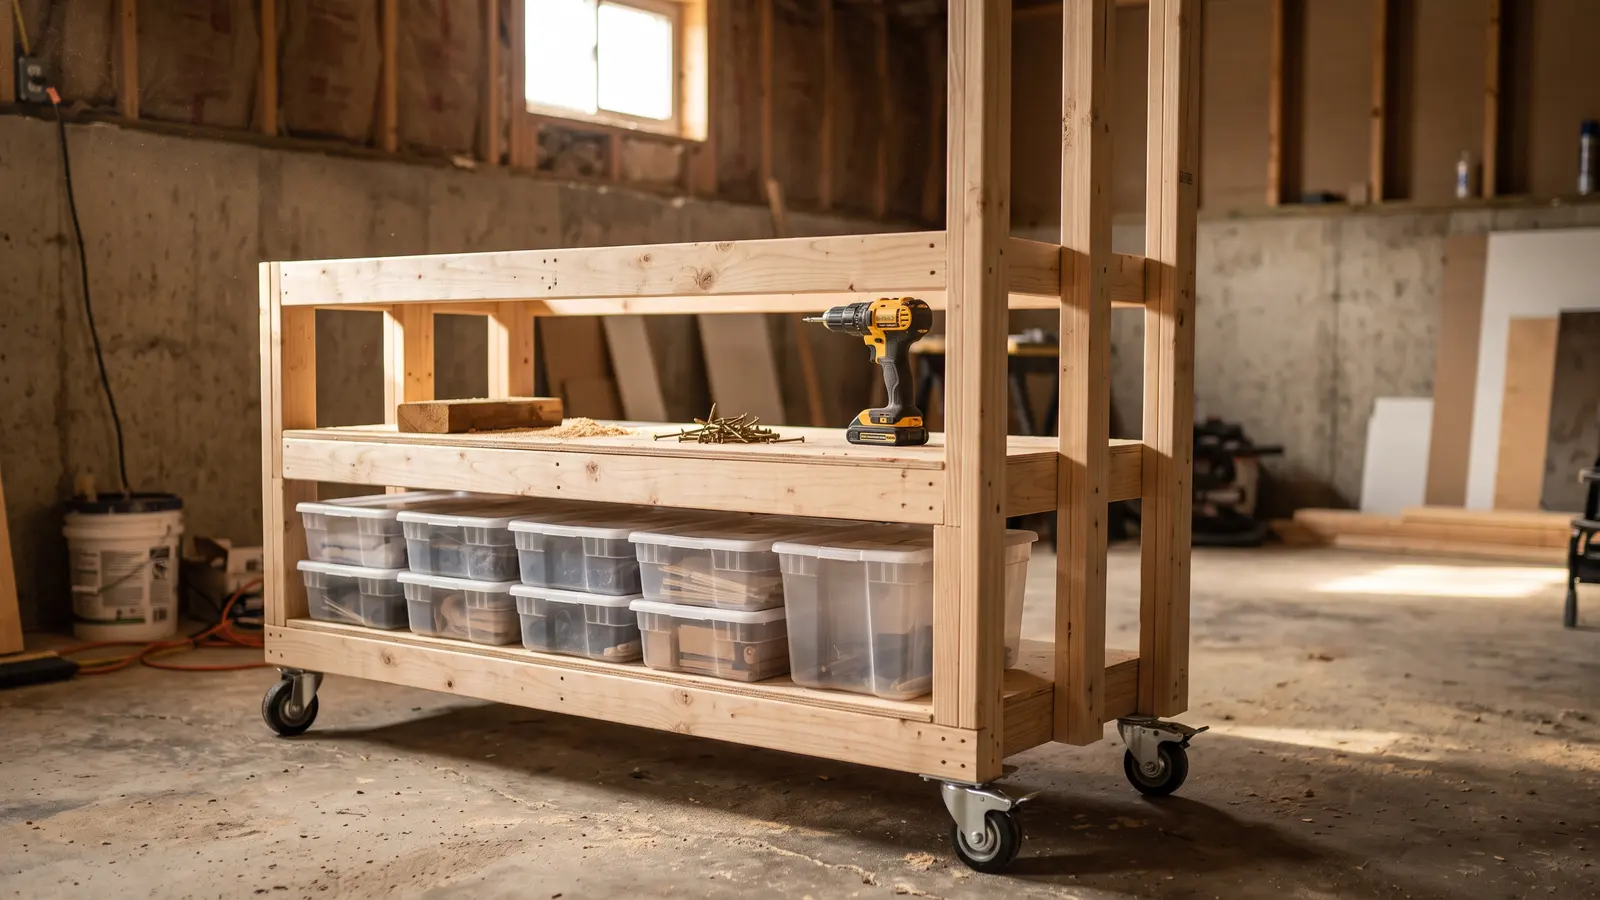
Ask This Old House S24E5: Green Giant Arborvitae, Fireplace Tools, and a Rolling 2x4 Tote Rack for the Bin You Always Need on the Bottom
Also about Landscaping
This Old House · S47 E10
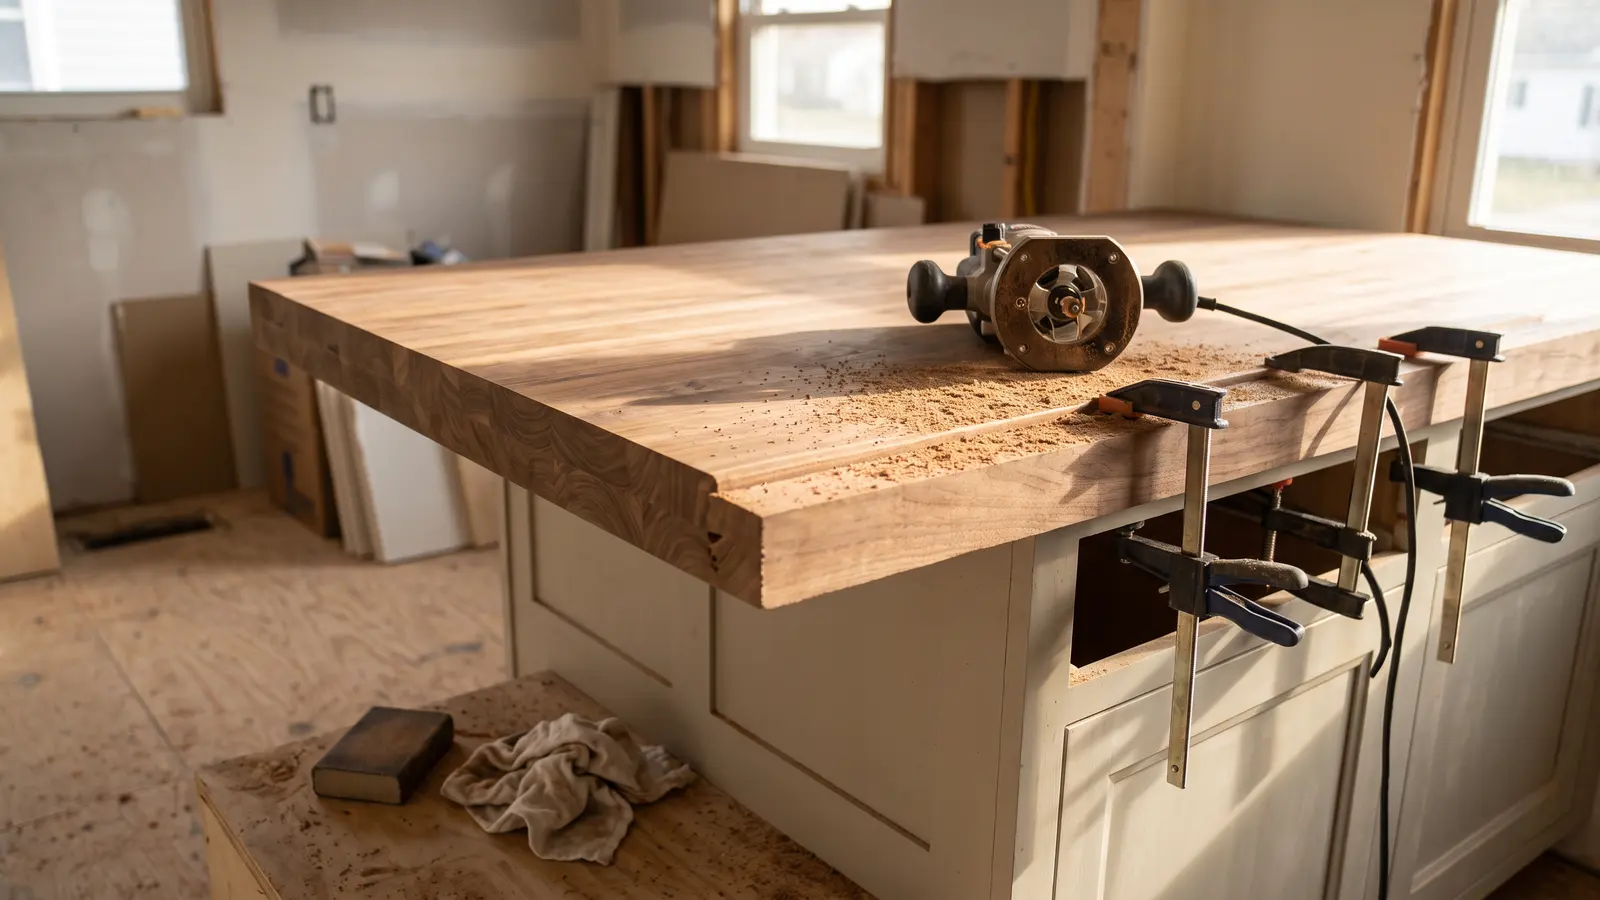
This Old House S47 E10: Carpet From Scratch, Butcher Block Counters, and Planting a Boulder Wall
Also uses template
This Old House · S47 E6