
Ask This Old House Season 23 Episode 12: Gas Fireplace Insert, Flat Panel Wainscoting, and a Nail Setter, or a Firefighter Trades Wood Smoke for Sealed Combustion
Richard Trethewey converts a smoky wood-burning fireplace to a sealed gas insert with a crew of licensed trades, Nathan Gilbert installs flat panel wainscoting in an old dining room, and Tom Silva stumps the table with a spring-loaded nail set.
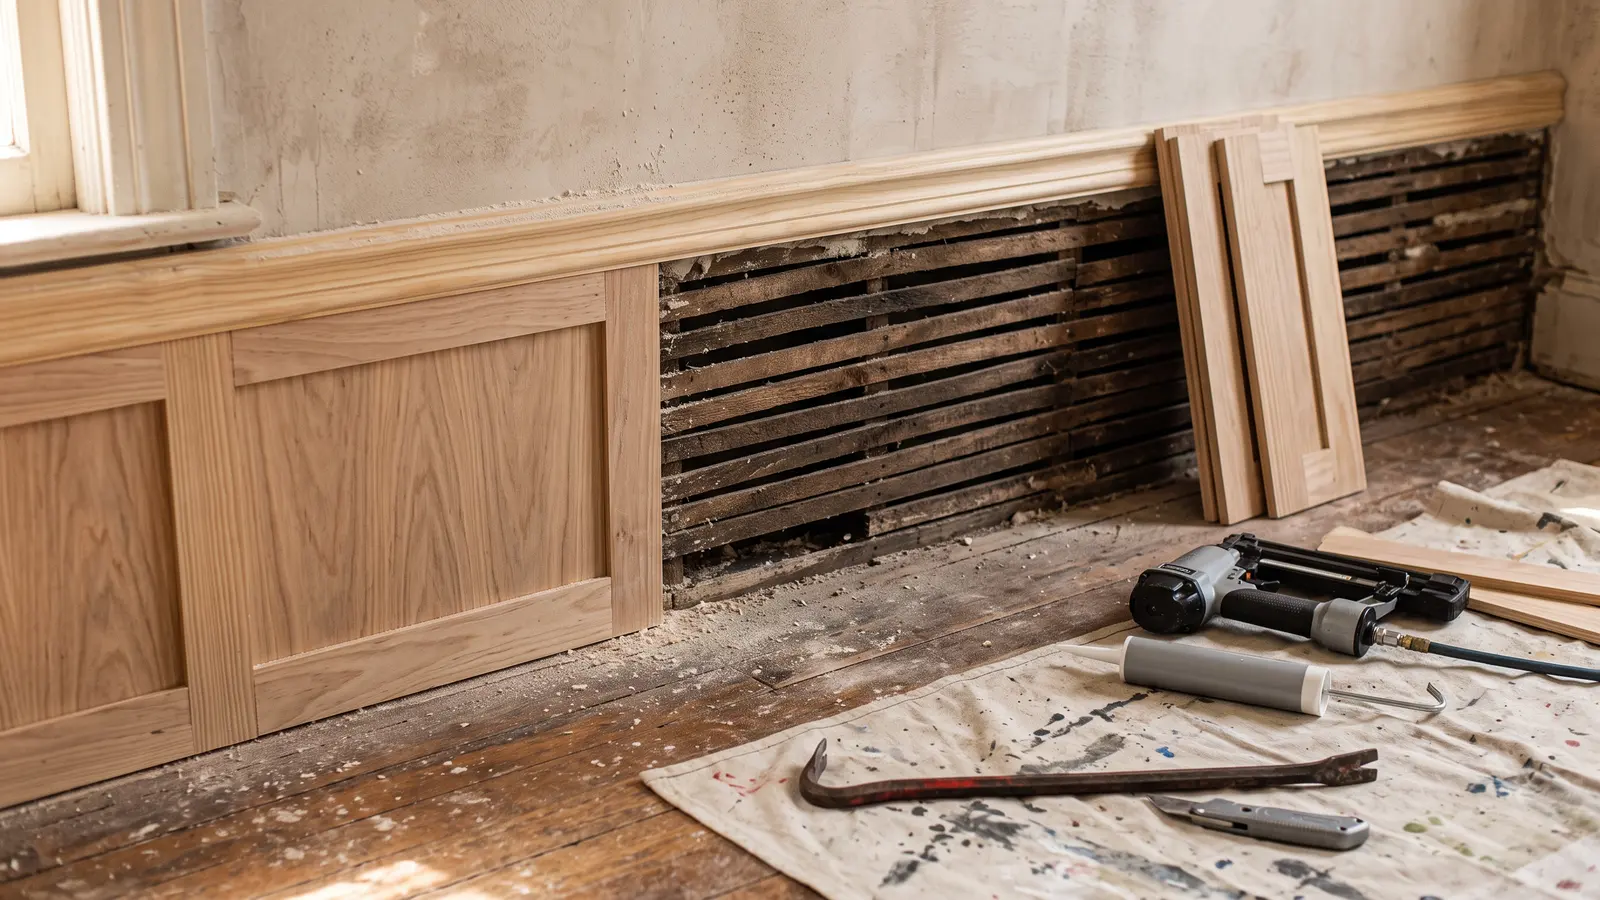
Season 23, Episode 12 of Ask This Old House runs three pieces: Richard Trethewey turns a smoky wood-burning fireplace into a sealed gas insert, Nathan Gilbert installs flat panel wainscoting in a dining room, and Tom Silva brings a spring-loaded metal thing to the What Is It? table. The connective tissue is hiding in plain sight. A sealed combustion chamber, a stud bay found by old nail holes, a fastener that disappears below the wood surface. In all three segments, the part that makes the work function is the part you will never see again.
A Firefighter Replaces a Wood Fire He Doesn't Trust Overnight
Les has been in the house about a year. He and his wife used the wood-burning fireplace a few times, and it was hard to keep lit. The smoke smell lingered for days afterward. He's a firefighter, so he was also thinking about the damper: you cannot close it until the embers are completely out, which means leaving the flue open overnight, which means the heat in the building goes up the chimney. Welcome to the wood-fire hobby.
Richard lays out the appeal of gas in plain terms. On when you want it, off when you don't, and sealed so the fire draws combustion air from outside instead of from the room. The house stops paying for the draft.
The homework happened before the cameras arrived. Les had the chimney cleaned and checked. He had a carbon monoxide detector ready. Richard measured the firebox before shopping so the insert would actually fit. That sequence is the part homeowners should steal: inspection, detector, measurement, then purchase. Doing it in that order is why the install day looks almost calm.
Then there is the cast of trades. Heath Eastman for the electrical. A gas fitter named Billy. Jimmy and Kevin for the venting. Richard says the quiet part out loud. This is not a DIY project. That is not a knock on Les. A gas appliance tied into a chimney you also intend to keep using is exactly the kind of job where the permit, the leak test, and the venting specification carry the weight.
Two Liners, One Cap, and the Damper Goes Away
The insert has a sealed combustion chamber, which means it needs two tubes running from the top of the unit to the top of the chimney. One liner brings fresh air in. The other exhausts carbon monoxide and other combustion gases out of the house. At the chimney top, a cap and flashing close off the old opening and connect intake and exhaust. The liner kit expands to whatever length the chimney needs, which is the kind of detail that reads as filler on television and matters enormously on an irregular old stack.
Les asked the practical question: the old spring-loaded damper, does he still need it? Jimmy says no. It gets eliminated because the new system controls its own air path. Richard, deadpan: total control. The remote runs flame height, fan, thermostat, and timer. There is a battery backup for the flame if the power goes out. Not the fan. Just the flame. Enough heat to matter if the furnace is also down.
The ember bed is fiber cement, and the log set is manufactured. Neither is going to burn away or change appearance. What you see on install day is what you see in ten years. For a homeowner who is tired of tending a fire, that is the point.
Electrical Through an Ash Dump, Gas Off an Existing Tee
Heath calls it an easy job, and he means it as a compliment to the house. The living room had already been rewired, so there is a new circuit and breaker landing in a junction box nearby. The insert itself draws little power, mostly a fan. No dedicated circuit is needed. Because the run passes through masonry and up the old ash dump chase, Heath installs a metal box and uses metal-clad wire. A separate safety switch is not required here, since the unit has one.
Billy's side is similarly clean. The existing one-inch tee on the exterior gas main was left for exactly this purpose, which suggests the previous installer knew a fireplace might want gas someday. He shuts off the supply, adds a shutoff valve off the tee, seals the threads, runs pipe along the joists, cores into the chase, and connects to the fireplace with a flexible line. Then the part that makes professional work look slow on purpose: purge the air out of the line, and soap every joint, watching for bubbles at any escaping gas. That test is worth the runtime. If a segment like this ever makes gas work look like a fifteen-minute swap, remember what got left on the cutting room floor.
On the water-management theme this site keeps returning to, a chimney is often the biggest hole in a house's envelope. Here the hole finally gets a cap, a flashing, and two dedicated air paths instead of one open flue. That change is a building-science decision as much as a comfort one. Compare it to Episode 1's wooden gutters, where the whole job was about routing water where it was supposed to go. This one is about routing air.
Wainscoting Starts With the Wall You Already Have
Bridger bought his house in 2013. The previous owners had been there fifty years. Kitchen and bathrooms got renovated. The dining room never got its turn. He wrote in about wainscoting, partly to protect the lower wall from chairs and kids, partly to finish a room that had been waiting a decade.
Nathan runs the menu: raised panel, flat panel, beadboard, tongue and groove, V-groove. They walk to the bathroom, where the homeowners had already used a flat panel look they liked. That settles the design question — match what is in the house. Then they settle the height. Nathan says anything between 36 and 42 inches looks right in an older home. Taller, modern-looking wainscot reads wrong in a room with this ceiling height and trim profile. They pick 36.
The reason to choose wall panel over raised or flat panel in this room is trim depth. A raised or flat panel might come out past the existing back band, and then you are changing door casings, chair rail, and half the room to make a wainscot fit. Wall panel keeps the wall as the panel, so the new work sits flat against what is already there.
Layout is where the segment earns its keep. Radiators, a piano, and broken-up wall sections force custom treatment on every wall. Nathan says he is not going to set up a laser in an old house that has settled. He cuts a gauge stick to the 36-inch height instead, with a small buildout on the back so it registers plumb against the baseboard. Sit it on the floor, mark both corners, snap a fine chalk line. The line gets snapped slightly short — the top rail of the wainscot is the top of the line, and the chair rail cap will cover the mark.
He also scores and removes the existing base cap carefully, top and bottom, with a utility knife before easing it off with a pry bar and a shim to protect the wall. The crack of the paint seal breaking is a small satisfaction. Then a detail that matters more than it looks: the old base cap was nailed into studs, so he measures the nail spacing — 12 1/2, 27 3/4 — and uses those locations as a stud map above. When the new paneling gets nailed, the brads are hitting framing, not just plaster and lath.
That habit of reading the wall before covering it is the same one Tom Silva and Nathan practiced in Episode 11's framing walkthrough, where jack studs and plate layout had to line up before anything went on top. Here the wall is already standing. Nathan is just figuring out what is behind it.
Adhesive, Brads, Bullnose, and the Homework Nobody Films
Construction adhesive goes on the back of each piece to bond the panel to the plaster, and wood glue handles the miters. A small brad nailer with short brads fastens the stiles, working to the marked line on one side and the old base cap line below. Nathan has Bridger do the arithmetic on centers — half of 37 and 3/16, half of 3 1/2 — and Bridger gets both right, which earns him the rare Ask This Old House homeowner-nails-the-math award. No trophy, but the panel fits.
The top of the wainscot gets a traditional bullnose cap. Underneath it, a small piece of scotia closes the seam between the top rail and the wall, a detail Nathan calls out as equally traditional. It reads like a tiny scrap of trim. It is also what turns a flat panel into something that looks like it has always been there.
Then the reveal, and the honest part. The job is not finished. Putty, caulk, and paint remain. Nathan tells Bridger to fold the finishing work into a future painting project for the whole house. Television compresses layout, cutting, fitting, and reveal into a neat segment. The actual finishing sequence is a separate afternoon — or three — with a tube of painter's caulk and a brush.
What Is It? A Nail Set With a Spring and Two Tips
Tom brings out a metal tool with a spring, a flex to it, and two tips of different sizes. Richard invents an ancestor on the spot: great-great uncle Eephus Trethewey, a plumber who did not trust the copper fittings that replaced lead and carried this thing in his overalls to double-check that every joint was truly square. Kevin asks if Eephus had a brother. Morphis, obviously.
The actual tool is a spring-loaded nail set for finish work. Crown molding, casing, window trim, anywhere a brad has to disappear below the wood surface. When a nail refuses to set where you want it, you position the correct tip over the nail head, press down tight, pull up, and let the spring drive the nail below the surface in one motion. Two tip sizes cover two common finish-nail heads. Richard says it feels like breaking teeth. Mark admits he has been wrong about it for years.
It is a small thing. It is also the kind of tool you buy once, keep in a drawer, and use on every trim project for the next thirty years.
DIY Confidence Scale
Gas fireplace insert: Hire out, without hesitation. The sealed combustion chamber, the two-liner venting system, and the gas connection all sit in code territory that does not reward improvisation. The homeowner's job here was the prep: chimney inspection, CO detector, and measuring the firebox before shopping. Do all of that, then let a team of licensed trades handle the rest.
Flat panel wainscoting: A patient DIY project with a helper, a tape measure, a miter saw, a brad nailer, and a lot of respect for the gauge stick. Study the wall first. Decide where the studs are by looking at the old base cap nails. Budget for the putty, caulk, and paint as a separate weekend. The layout is the hard part. The nailing is not.
Spring-loaded nail set: Low stakes, high usefulness. Buy one, keep it with the trim tools, use it every time a brad pokes its head up somewhere it shouldn't. This is the easiest yes on the scale.
Additional Resources
The wainscot is going to look like it was always in that dining room. The gas insert is going to look like it was always in that firebox. Neither impression lasts without paint on one job and a leak test on the other. Which of the two would you rather have filmed — the reveal shot, or the hour before it?
From the captions
Spotted on the job
Tools, materials, and techniques the episode actually showed or discussed. Names stay generic unless the episode said a brand. A name links to an Amazon search only when it is something a person could buy.
As an Amazon Associate, This Old Recap earns from qualifying purchases.
Product
Pro-only
gas insert
Replaced the wood-burning fireplace with a sealed gas insert.
Product
Pro-only
shutoff valve
Installed from the existing gas T to supply the new fireplace line.
Technique
Pro-only
soapy water leak detection test
Checked the final gas connection for leaks by looking for bubbles.
Material
DIY-friendly
wainscoting
Installed wall panel wainscoting on the lower wall of a dining room.
Tool
DIY-friendly
utility knife
Scored the top and bottom of the existing base cap before prying it off.
Tool
DIY-friendly
pry bar
Amazon search for pry bar (opens in a new tab)
Used with a shingle to gently ease the existing base cap away from the wall.
Material
DIY-friendly
construction adhesive
Added to the back side of wainscoting pieces for a better bond to the wall.
Tool
DIY-friendly
brad nailer
Used a small brad nailer to attach the wainscoting pieces.
The weekly recap
Get each new recap in your inbox the week it airs.
One email the week the new episodes are up, with links back to the full write-ups. Confirm once. Unsubscribe any time.
Keep reading
Related recaps
Also about Finish carpentry
This Old House · S47 E25
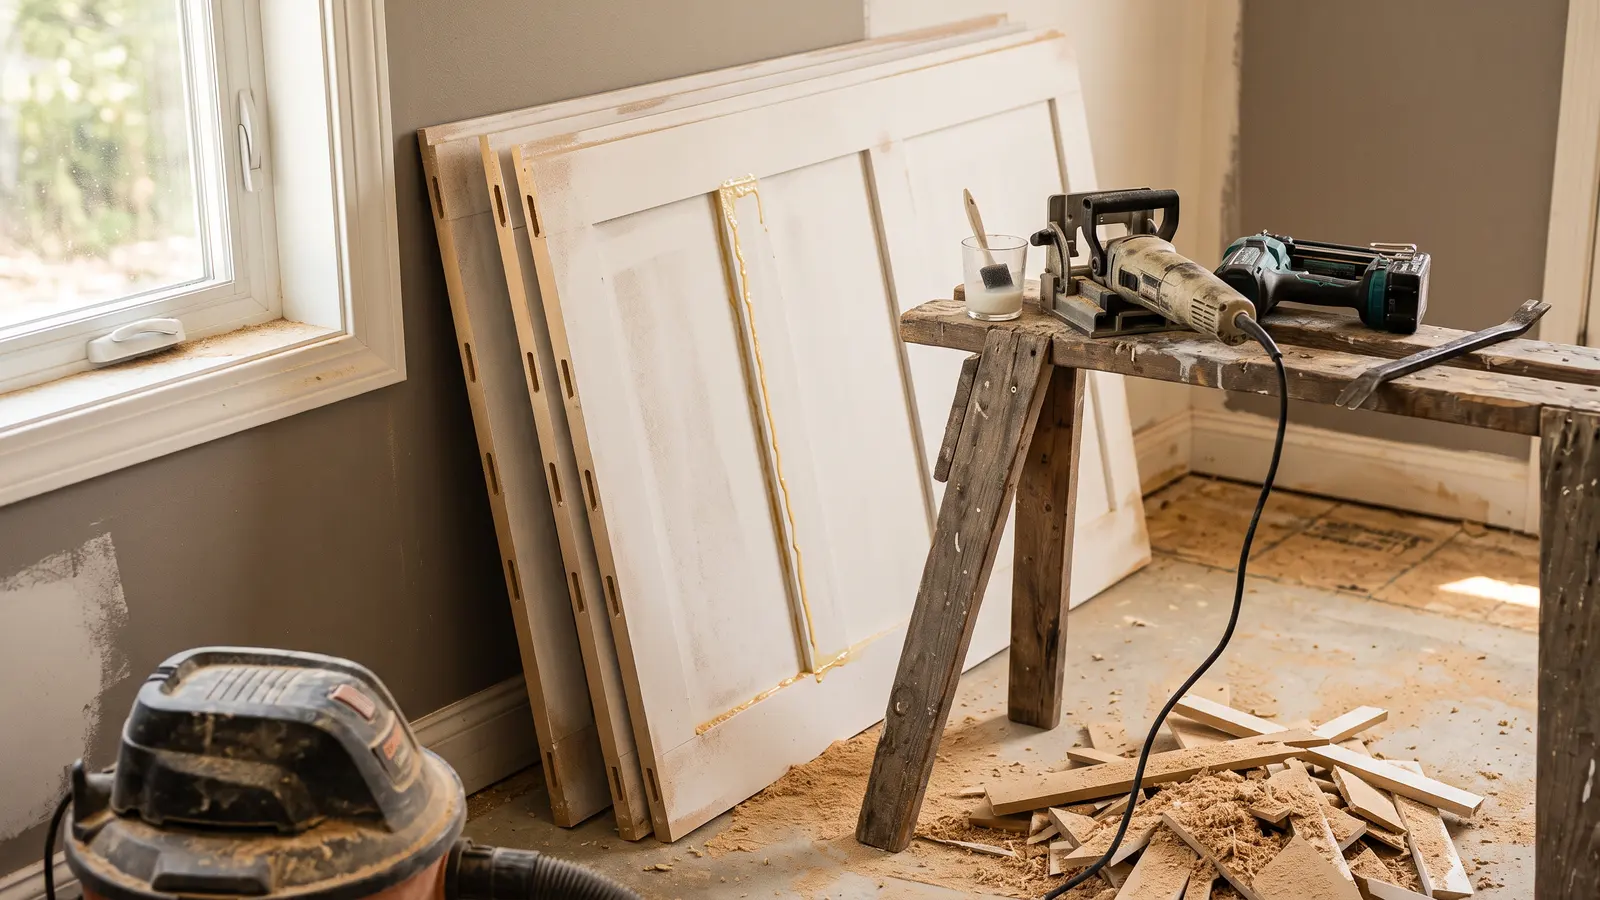
This Old House S47 E25: Walpole ADU Luxury Vinyl Plank, MDF Wainscoting, and 12 Smart Switches in the Snow
Also about Finish carpentry
This Old House · S47 E6
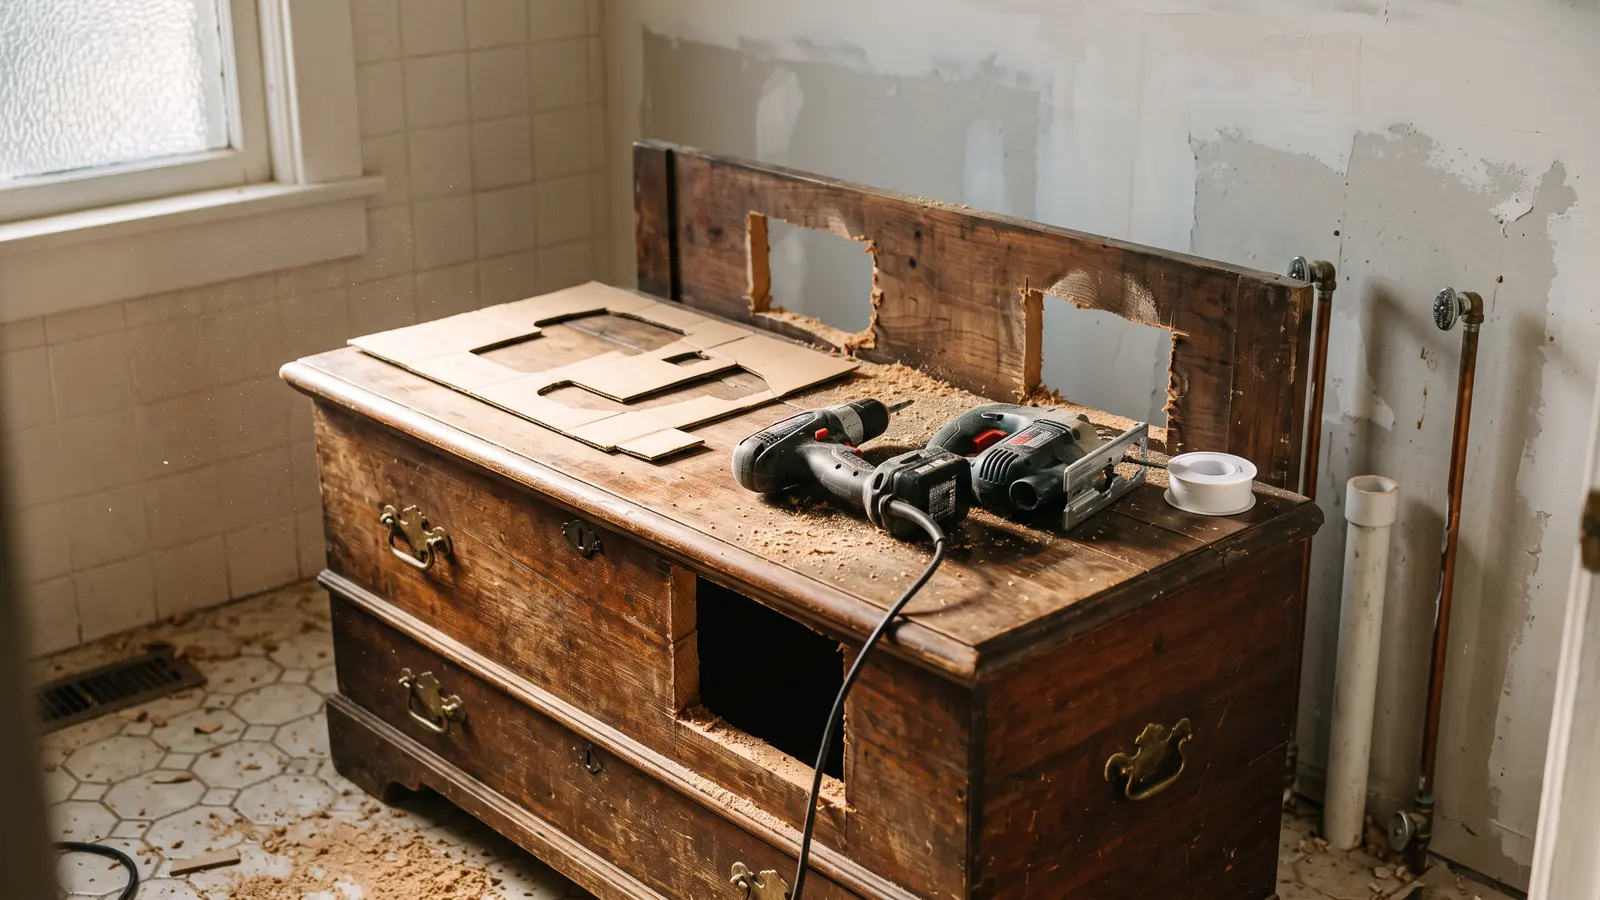
This Old House S47 E6: High Schoolers Building Homes, Updated Electrical Codes, and Tom's Antique Vanity Gambit
Also about Plumbing
This Old House · S47 E22
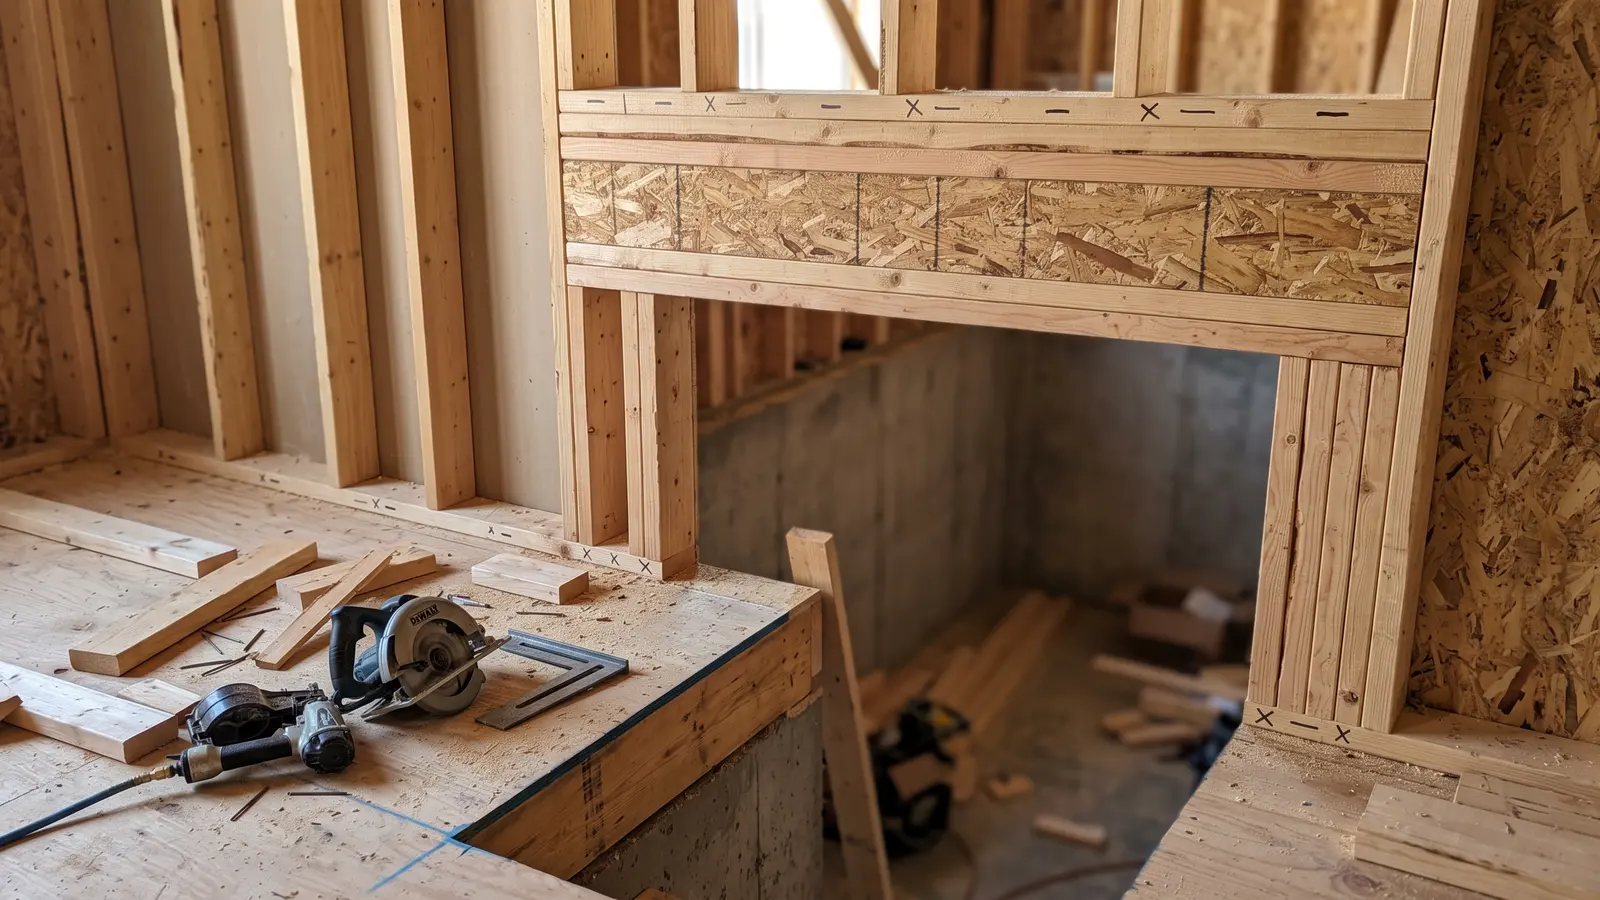
This Old House S47 E22: Walpole ADU Framing, Shared Utilities, and a Plumber's Flags
Also about Plumbing
This Old House · S47 E21