
, Ask This Old House Season 23 Episode 15: 3D Printed Homes, a Detroit Tool Library, and Tom's Square Bowl, or Concrete Does Not Care About Your Stick-Built Schedule
Ross Trethewey tours a 4,000-square-foot Austin house being printed in concrete, Aaron Smith shows how a Detroit tool library and garden build neighborhood capacity, and Tom Silva turns a square bubinga bowl with four legs on a new lathe. Three completely different jobs, one shared requirement: you can't skip the layer underneath.
Season 23, Episode 15 sends Ross Trethewey to Austin to watch a house get printed out of concrete, checks in on a Detroit landscaper who runs a tool library, and parks Tom Silva in front of a new lathe to turn a square bowl with four legs. On paper those three segments have nothing to do with each other. In practice, each one is a story about the same thing: the visible result depends almost entirely on something you can't see once the job is done.
The 3D-printed wall hides its structure and its weather barrier inside the wall. The tool library hides its real value behind a shelf of borrowed equipment. Tom's bowl hides all of its risk behind a block of wood that looks square right up until it starts spinning.
The 3D-Printed Wall Is a Different Assembly, Not Just a Different Machine
Ross meets Conner at a 4,000-square-foot, single-story house going up in place on a slab. Four beds, three and a half baths. The wall runs about 12 inches from outside face to inside face, printed as two beads with a cavity in the middle, and once Ross starts asking about the wall assembly, Conner walks him through the parts that matter.
Openings for outlets, switches, and plumbing get cut into the wall while it prints. That is the piece a lot of quick coverage skips over. In a stick-built house, the framer leaves the studs where they land and the electrician and plumber either work around them or drill through, and every trade shows up after the last one leaves. Here, the rough-in openings are baked into the wall at the moment of printing, so the MEP trades can drop pipe and wire in from above and skip the drilling. Air gaps and coordination have a cost, and this removes some of it.
Reinforcement runs along the beads and ties the wall together laterally. Vertical rebar drops into printed channels next to windows and doors, and those channels get grouted, creating a reinforced column that runs the full height of the wall. Conner compares the structural idea to CMU block construction, and that comparison holds. It is also the point where a curious homeowner should slow down: the grouted column, the reinforcement layout, and the engineering behind it are not things a builder decides at the site. Somebody modeled them.
The rest of the tour is where the sales pitch gets interesting. Conner points out that when the print finishes, you already have the framing, the sheathing, the water barrier, the cladding, the drywall, the tape, and the texture all in one wall. That collapses five or six trades into one machine. It also means the wall's performance as a water and air barrier depends on the concrete mix, the bond between layers, and the details at every opening. Ross asks the right follow-up question about flashing and airtightness where the curved printed wall meets floor-to-ceiling windows, and Conner says a lot of the weatherproofing happens back in the cavity.
Cost claims in new construction deserve skepticism, and the one Conner offers is helpfully specific: about $35 per square foot for the wall system, matched against the combined cost of conventional framing, sheathing, and waterproofing. He says they hit that number last year and have exceeded it on a couple of projects. That is not a cheaper house, it is a house at the market rate. The pitch is that speed, not price, is the lever right now. A printer stacks somewhere between a foot and two feet of wall per day, so a 10-foot wall takes roughly a week to a week and a half. Conner says mobilization and printing together run about two weeks depending on the house.
House Zero, the finished home Ross tours, is where the design argument lands. Floor-to-ceiling windows, curves, undulations that call back to sequoia trees. The printer does not care if it is laying a straight line or a zigzag, so the cost penalty that normally comes with curved architecture mostly disappears. That is a real change in what designers can spec, and it is worth watching. It is also the kind of change that will get tested by how the details hold up over ten years, not by how it looks on the day it is finished.
What the Printed-House Tour Leaves Off Screen
Printer time is not the same thing as construction time, and the segment is honest about that. Two weeks of printing sounds fast until you remember that the slab has to be flat and set, the mix has to be consistent, and the finish trades still have to come in afterward. The masonry-bit-and-anchor answer for hanging a picture is a nice human moment, but it is also a signal: this is a concrete wall with concrete-wall rules, and every trade that touches it will need to know that.
Finish options get a quick pass but a useful one. Raw beads, paint, plaster, tile, or furring the whole wall out with wood studs so standard coverings apply. That last option is the one that should calm anyone worried about being locked into a look. You can build the interior the way you always have if you want to.
I keep coming back to Ross's window question, because it is the same question that hangs around any new wall system. The printed wall is the part that photographs well. The window opening is the part that decides whether the house leaks in year six. Concrete does not care about your stick-built schedule, but water does not care about your concrete either.
Detroit's Tool Library Is the Segment a Homeowner Can Actually Copy
Kevin introduces Aaron Smith, founder and executive director of Motor City Grounds Crew. The East Warren Tool Library is the piece worth repeating: neighbors borrow landscaping and power tools, and the crew will deliver them to a project anywhere in the city. That is the whole idea. A homeowner who cannot justify a $400 tool for a one-weekend job is exactly the person a tool library serves.
Aaron co-owns Featherstone Garden with Annie Hakim, where they grow collards and other food and host farmers markets and gatherings. He talks about curb appeal and safer walking routes for kids on the way to school, which is the kind of thing that gets called landscaping but is really neighborhood infrastructure. John George of Blight Busters and the city's blight-to-beauty initiative come up as part of the same work, and it is not hard to see the lineage back to a certain Detroit she-shed from earlier in the season. Mark McCullough was out there building a gravel pad for it in Episode 11, and the theme holds: in Detroit this season, the work is often less about a single project than about what a block can do when it has access to the right base.
The part I want to point at specifically is the cohort for returning citizens. Aaron drew on his military background and structured the program around soft skills as much as technical ones. That is the unglamorous half. Anyone can hand a person a string trimmer. Teaching someone how to show up on time, talk to a customer, and not disappear on the second day is the part that sticks. Aaron's closing line about skilled trades, that the skill you learn is the one thing nobody can take from you, is a better pitch than most trade-education marketing I have seen.
Tom Turns a Square Bowl, Which Should Not Work but Does
The last segment opens with Tom and Kevin standing in front of a new lathe, bigger and heavier duty than the old one. Tom shows two finished square bowls as reference pieces, picks bubinga over African mahogany, and starts by squaring the block on the table saw. That is the moment where the trick reveals itself. You do not turn the bowl square. You turn a square block into a round bowl and leave the four corners alone.
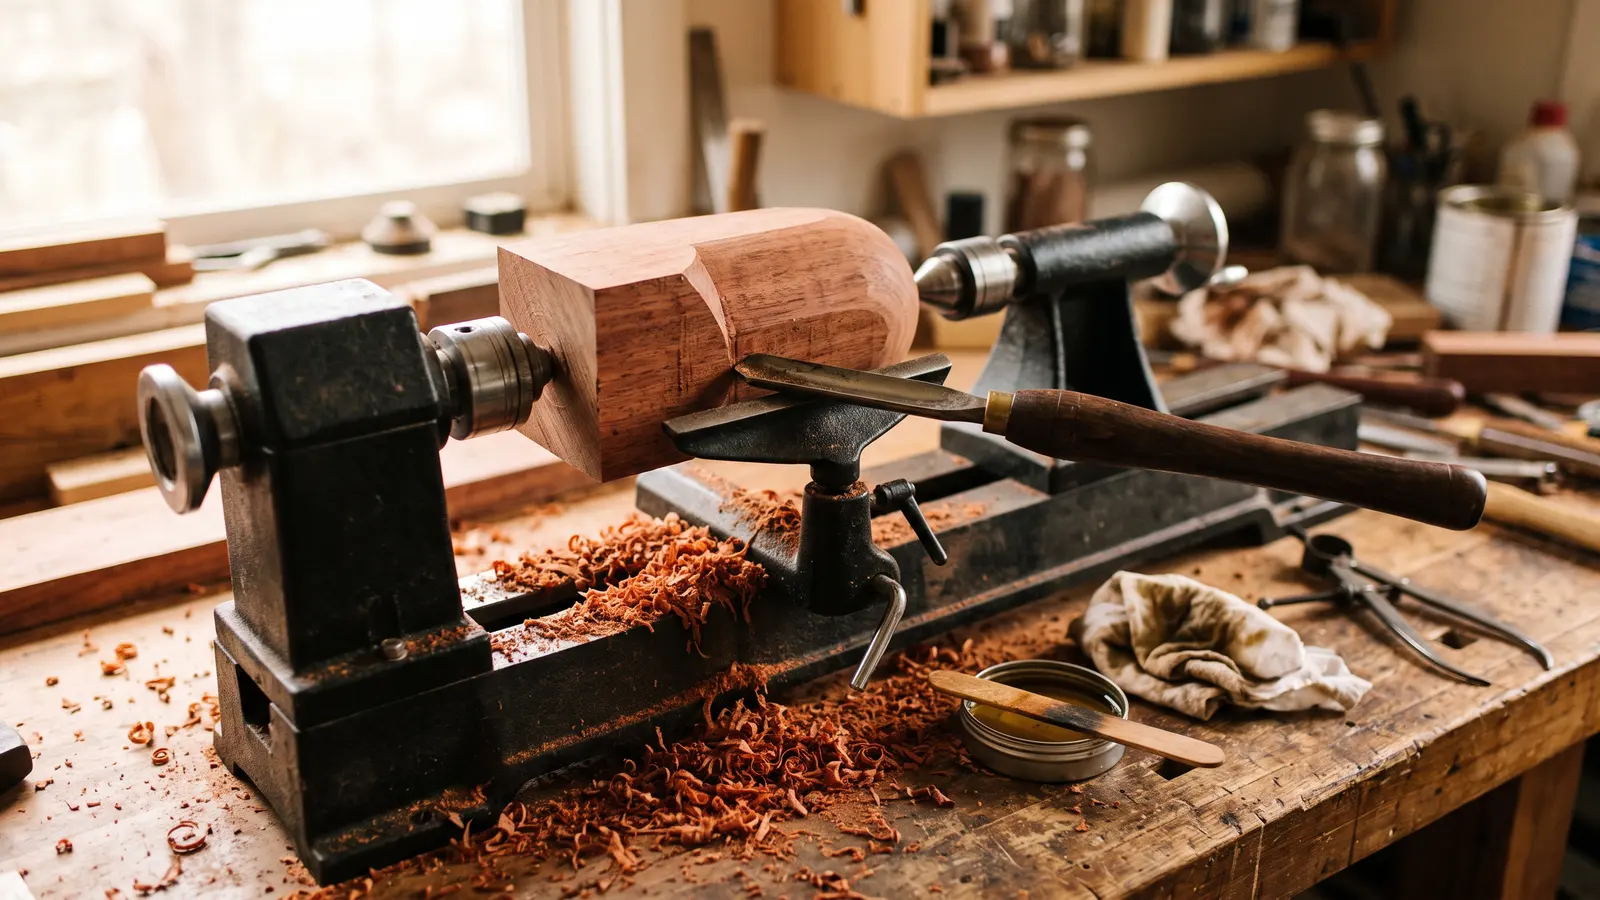
Find center by drawing corner to corner, drill a hole, mount the block on a woodworm screw in the chuck, run the lathe on low speed. Tom turns the underside first and defines the legs by removing material around them. He wants the bottom of the bowl to sit higher than the bottom of the legs so the finished piece looks like it is floating on the table. He also warns Kevin that the legs come around fast and the tool has to get in there without snapping one off. That is the part this segment compresses hardest. The cut is not complicated. Knowing where to stop is.
Outside gets turned, sanded, oiled, and waxed with the lathe stopped. Oil goes on thin. Then Tom reverses the bowl onto a chuck he has already rounded so it holds the shape, and turns the inside, using a sanding or polishing paste before the oil this time. He finishes with very little oil again, and the grain comes up in depth through the passes.
The tool control here is the same story as Episode 13, when Tom handed Kevin a mobile CNC router for a curved step stool. The machine was new and it did useful things, but Tom was still the one reading the cut and adjusting the angle. The lathe is new; the judgment is not.
DIY Confidence Scale
3D-printed home tour: 0/5 for homeowners. Watching is educational. Doing requires an engineer, a printer, a mix supplier, and a crew. Not a weekend project, not a someday project.
Detroit tool library: 5/5. Borrowing a tool you need once is realistic, smart, and possibly available near you. This is the segment worth acting on this week.
Tom's square bowl: 2/5. If you already own a lathe and know sharpening, tool-rest position, and low-speed work, a square bowl with legs is a good challenge. If you are new to turning, start on a cylinder in softwood before you put a four-cornered piece of bubinga on a chuck.
Additional Resources
The house that gets printed in two weeks still needs a window detail that holds for thirty years, and that is the part nobody films.
From the captions
Spotted on the job
Tools, materials, and techniques the episode actually showed or discussed. Names stay generic unless the episode said a brand. A name links to an Amazon search only when it is something a person could buy.
As an Amazon Associate, This Old Recap earns from qualifying purchases.
Tool
Pro-only
printer
The company used a large gantry printer to extrude concrete layer by layer into home walls.
Material
Pro-only
concrete
The 3-D-printed wall system is made by mixing dry powder and extruding cement/concrete one layer at a time.
Material
Pro-only
rebar
Rebar was installed along and across the printed beads and dropped vertically into grouted cavities for reinforcement.
Material
Pro-only
open-cell foam
Open-cell foam was blown into the roughened printed home as moisture-resistant, mold-resistant insulation.
Tool
DIY-friendly
masonry bit
A masonry bit was used to drill into the printed wall so an anchor and screw could hang items.
Tool
DIY-friendly
lathe
Amazon search for lathe (opens in a new tab)
Tom used a larger, heavier-duty lathe to turn a square bowl.
Material
DIY-friendly
bubinga
Tom chose bubinga to turn a square bowl with four legs.
Product
DIY-friendly
oil and wax
Tom applied oil and wax by hand off the lathe to finish and enrich the bowl.
The weekly recap
Get each new recap in your inbox the week it airs.
One email the week the new episodes are up, with links back to the full write-ups. Confirm once. Unsubscribe any time.
Keep reading
Related recaps
Also uses lathe
Ask This Old House · S24 E22
Ask This Old House S24E22: Tommy's Lathe, Mortar Cracks, and a 1999 Garage Door Gets a Brain
Also about Landscaping
This Old House · S47 E21
This Old House S47 E21: Walpole Ranch ADU Begins, a 38-Inch Frost Problem, and a Mechanical Room in Exactly the Wrong Place
Also uses concrete
Ask This Old House · S23 E5
Ask This Old House Season 23 Episode 5: Medicine Cabinets, Chimney Crowns, and Time Capsules
Also about Landscaping
Ask This Old House · S25 E3