
Ask This Old House S24E3: Water Rings, Houseplant Soil, and Spot-Pointing a Brick Breezeway Floor
Tom Silva treats water rings with vinegar, baking soda, heat, and olive oil, Jenn Nawada sorts houseplant soil by epiphytes, aroids, and succulents, and Mark McCullough repairs a breezeway brick floor with spot pointing instead of a full repoint.
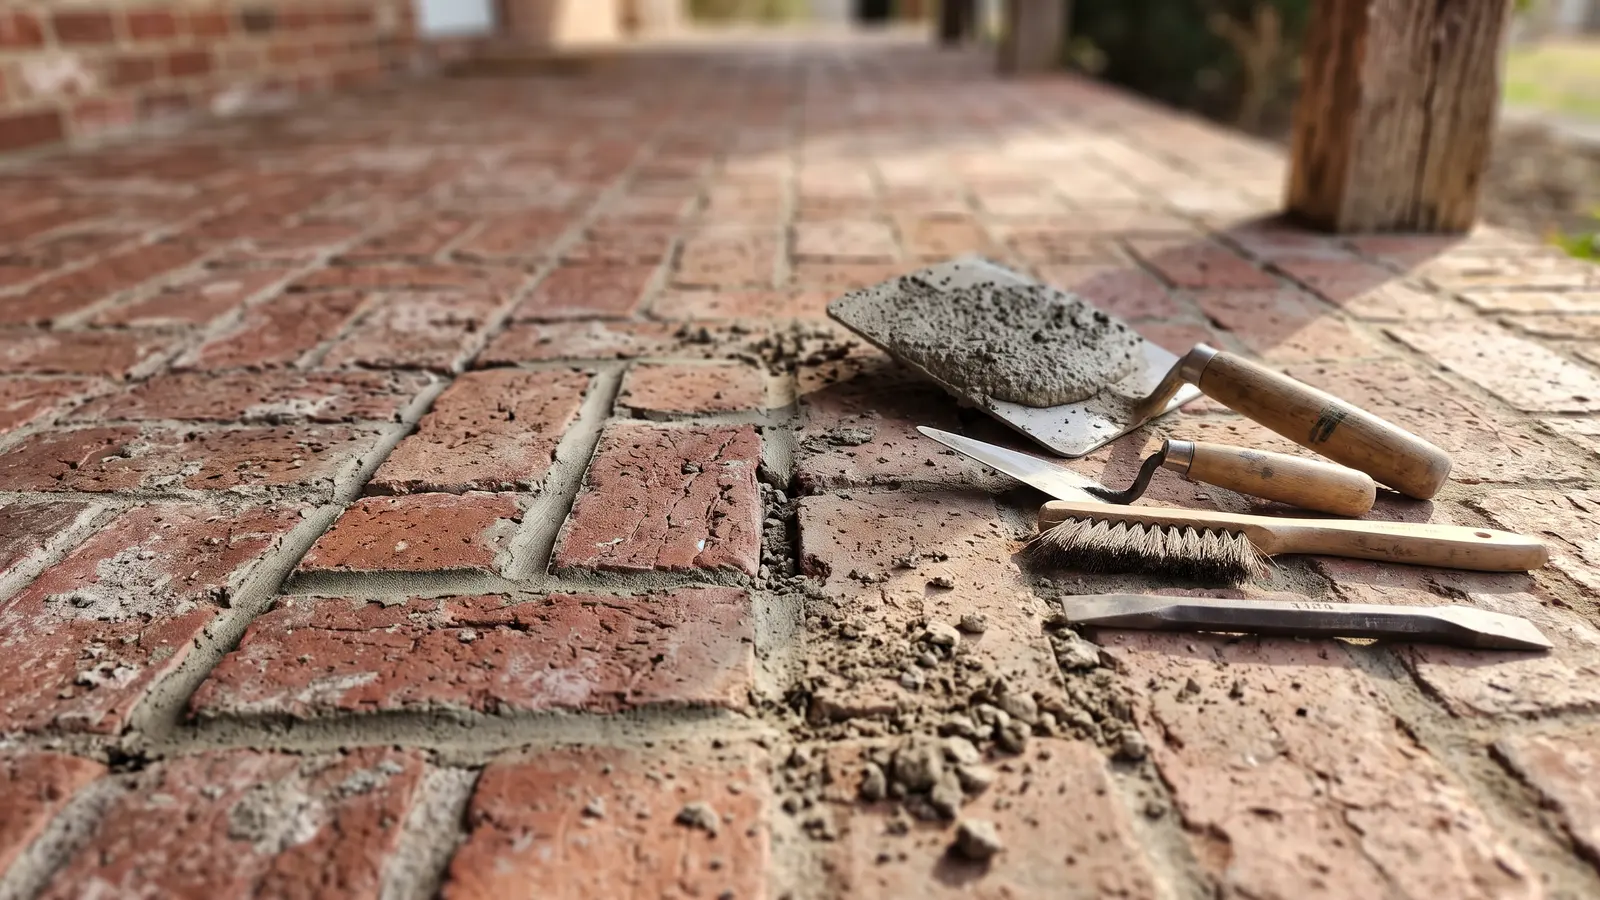
Season 24, episode 3 of Ask This Old House lines up three repairs that look unrelated: a lacquered tabletop gone milky with water rings, a shelf of houseplants that keep dying, and a brick breezeway floor shedding mortar like a bad sunburn. The through-line isn't the material. It's diagnosis. Tom Silva reads the finish before he picks a product, Jenn Nawada reads the plant's natural habitat before she mixes soil, and Mark McCullough reads the existing mortar joint — depth, color, aggregate, soundness — before he trowels anything in. Skip that step and you're guessing.
Here's what each segment actually teaches, and where the camera compresses the labor.
Water Rings on a Lacquered Table: Vinegar, Then Olive Oil
Tom sets the expectation before he touches anything: there is no magic. A white ring left by a sweating glass or a hot mug is mineral residue sitting in a finish that's been disrupted by moisture and heat. Unless you refinish the whole top, you're aiming for much better, not gone.
First pass is straight vinegar, dabbed onto the ring and left to sit briefly. Tom is candid about the fact that vinegar is aggressive — Kevin points out he uses it to strip his bulkhead and kill weeds — which is exactly why the dwell time stays short. The point isn't to soak the wood. It's to go after mineral deposits on the surface without burning through the finish underneath.
Then olive oil. Not as a cleaner, as a blender. A drop or two worked into the dulled spot restores some sheen and helps the repaired area disappear into the surrounding finish. Kevin calls it salad dressing. Tom doesn't argue.
The quiet value here is the warning underneath the trick. Vinegar and oil only make sense if you know what finish you're sitting on. Tom identifies this top as lacquer over stain. A water-based finish won't necessarily respond the same way, and both men are clear the result is improvement rather than invisible repair.
The Baking Soda Paste and the Clothing Iron
For a more stubborn ring, Tom mixes one part water to two parts baking soda into a paste and works it into the stain. He describes it as part fine abrasive, part absorbent — it gets into the damaged finish and pulls what's in there. Let it sit a couple of minutes.
Then a cotton rag laid over the spot, and a clothing iron on top. Not scorching. Just hot enough to drive warmth into the finish. Tom is explicit on this point: too much heat and you melt the lacquer. Kevin runs the iron while Tom works the area with a clean rag, and both stains lift noticeably.
What matters is that this method is finish-specific. Tom rules it in for oil-based and lacquer finishes and rules it out for water-based ones. If you can't identify yours, test somewhere hidden — the underside of a leg, the inside apron of a table — before you put an iron on the visible top. After the heat treatment, the finish will look dull. Furniture polish or another touch of oil handles that.
It's the same lesson Mauro Henrique demonstrated on that rusty patio set in S24E1. You diagnose the existing finish first, then choose the product. Get that order backwards and you'll be refinishing more than you meant to.
Houseplant Soil Is Not One Bag of Dirt
Jenn Nawada gets the houseplant question constantly, and her answer starts underground. Indoor plants sort into three rough categories — epiphytes, aroids, and cactus or succulents — and each wants a mix that mimics where it grows in the wild. Shovel a scoop of yard dirt into a pot and you've handed the plant a growing medium it never asked for.
Epiphytes live on other plants in nature, not as parasites but as passengers. The orchid is the obvious example, roots wrapped around bark. Indoors, that means a chunky mix: sphagnum moss, perlite, and coconut husk. All light, all airy. The goal is drainage and airflow around the roots so water passes through instead of pooling.
Aroids — alocasia, anthurium, pothos, figs — are the leafy workhorses and want more organic material. Jenn's mix includes charcoal for void space and smaller perlite, with optional LECA balls, which are clay pebbles that add air pockets and look like malted milk balls. That's Kevin's line, and it's an accurate one. Succulents and cacti get something closer to sand: fine, dark, fast-draining, water runs through rather than lingering. Which is why they survive the neglect Kevin cheerfully admits to.
Fertilizer format matters as much as the mix. Jenn shows a water-soluble powder, a direct-drop product applied according to pot size, and slow-release granules sprinkled around the plant to break down over time. Whatever you pick, the dosage comes off the label, read against the pot size rather than eyeballed. Light comes next, and Jenn flags it as its own separate conversation.
Spot-Pointing a Brick Breezeway Floor Instead of Repointing All of It
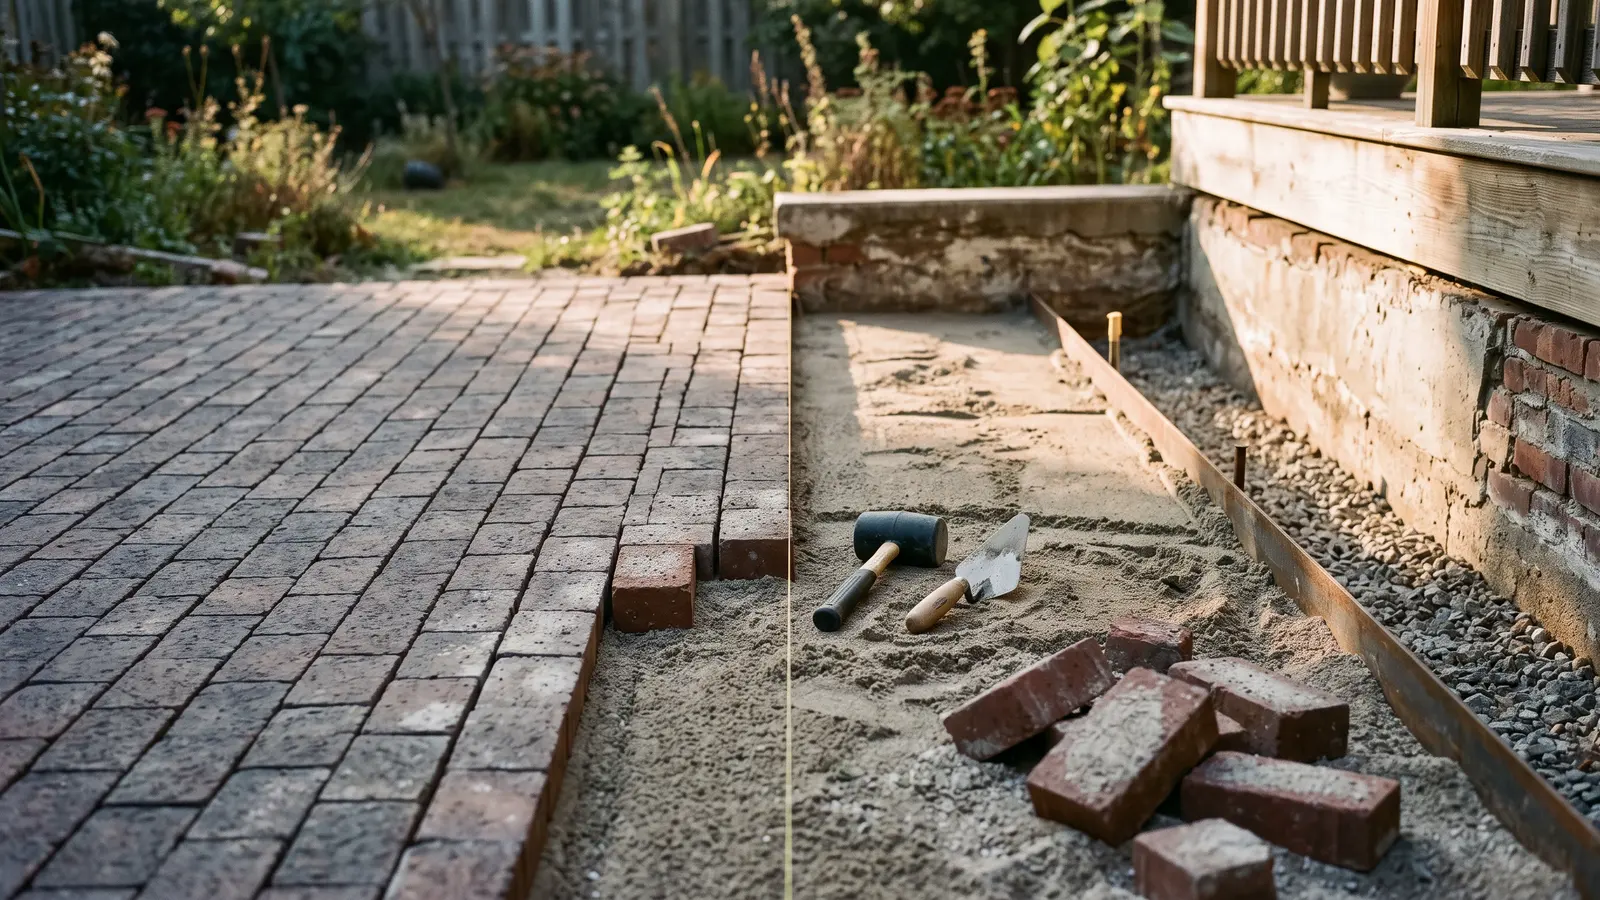
Joe's breezeway floor has lost mortar at the joints. Some of it crumbled, some of it he swept up. Mark McCullough picks at a clump and it turns to sand in his hand, which gives him the diagnosis: dusty mortar. The original mix was laid against brick that wasn't wetted first, so the brick pulled the moisture out of the mortar as it cured, leaving weak, brittle joints that fail long before they should.
The fix isn't a full repoint. It's spot pointing: repair the failed sections and blend them into the sound ones.
Mark starts with a hammer and chisel rather than a grinder, because the joints are soft enough that power tools would be overkill. The critical move is keeping the chisel off the brick edges. You're carving the joint, not the masonry. Joints get deepened at least three quarters of an inch, an inch if he can get it, because deeper mortar performs better. Where a section is too wide to qualify as a spot point, he opens it at least the width of a full brick so the patch blends in.
Then the preparation step that was skipped the first time: vacuuming the joints, then wet-brushing the brick. Dry brick is thirsty brick, and if you don't dampen it before applying new mortar, it steals the water from your mix and you end up with the same dusty failure. This is the hidden labor the original installer didn't do, and it's the step a homeowner is most likely to skip on a repair.
Mortar selection is next. Mark brings type N for the brick work, explaining that type S is the stronger mix used for elevator shafts, stair shafts, retaining walls, and foundations, while type N gives brick a little more movement. That matters for a natural material that expands and contracts. To the bag of type N, he adds eight ounces of bonding agent and mixes it in. On a repair job, that helps the new mortar bite into the old and the brick alike.
Application is a flat joiner, pressed and wiggled into the joint to key old and new mortar together. When the brick spacing is tight, he rotates the joiner to drive the mortar down. Then the detailing: taking a little off the edge of each brick to expose it, and sponging the joint to pull the cream off the top and leave the aggregate showing. That's what lets the new mortar match the sand-finished joints around it.
A water-based sealer goes on the dry sections only, since the rest of the floor is still wet. Two coats, 24 hours apart. The sealer does double duty: it waterproofs the open ends where screens once were, and it locks down the remaining sand so it stops tracking up. Mark leaves Joe with the second coat as homework, which is a fair trade for a repair that saved a full repoint.
This is the same approach Mark took to the fireplace mortar cracks in S24E22: figure out whether the failure is in the joint or the structure, then repair the smallest thing that actually solves the problem.
DIY Confidence Scale
- Water rings on wood: 2 out of 10, provided the finish is intact and you test in a hidden spot first. Higher if you can't identify the finish or the stain has gone deep.
- Houseplant soil: 3 out of 10. This is a shopping and label-reading job more than a tool job.
- Brick spot pointing: 4 out of 10 for a small, soft-joint repair. Jump to a pro if the joints are hard, the floor is saturated, or the mortar keeps crumbling despite proper prep.
Additional Resources
The unifying thread across all three segments is that the visible repair is the easy part. Identifying the finish, categorizing the plant, wetting the brick before the mortar goes in — that's what determines whether the work holds. All three experts spent more time describing what to check before starting than what to do once they started. That's the part the camera can't rush, and it's also the part the show can't fully transfer in half an hour. The waiting, the testing, the second coat. The camera moves on. The mortar doesn't.
From the captions
Spotted on the job
Tools, materials, and techniques the episode actually showed or discussed. Names stay generic unless the episode said a brand. A name links to an Amazon search only when it is something a person could buy.
As an Amazon Associate, This Old Recap earns from qualifying purchases.
Material
DIY-friendly
vinegar
Tommy applied vinegar directly to water stains on wood furniture to help remove mineral deposits.
Material
DIY-friendly
baking soda
Tommy mixed one part water and two parts baking soda into a paste to treat a circular water stain.
Material
DIY-friendly
olive oil
Tommy used olive oil after vinegar to blend the furniture finish back in.
Tool
DIY-friendly
hot iron
Tommy used a hot iron over a cotton rag to help lift a water stain from the wood finish.
Material
DIY-friendly
sphagnum moss
Jenn showed sphagnum moss as a chunky soil component for epiphytic houseplants like orchids.
Material
DIY-friendly
perlite
Jenn added perlite to houseplant soil mixes to promote air circulation and drainage.
Material
Pro-only
type N mortar
Amazon search for type N mortar (opens in a new tab)
Mark mixed type N mortar for repointing the brick floor joints because it is suited to brick work.
Product
DIY-friendly
water-based sealer
Mark applied water-based sealer to the dry brick floor area to waterproof it and reduce sand coming up.
The weekly recap
Get each new recap in your inbox the week it airs.
One email the week the new episodes are up, with links back to the full write-ups. Confirm once. Unsubscribe any time.
Keep reading
Related recaps
Also about Masonry
Ask This Old House · S24 E22
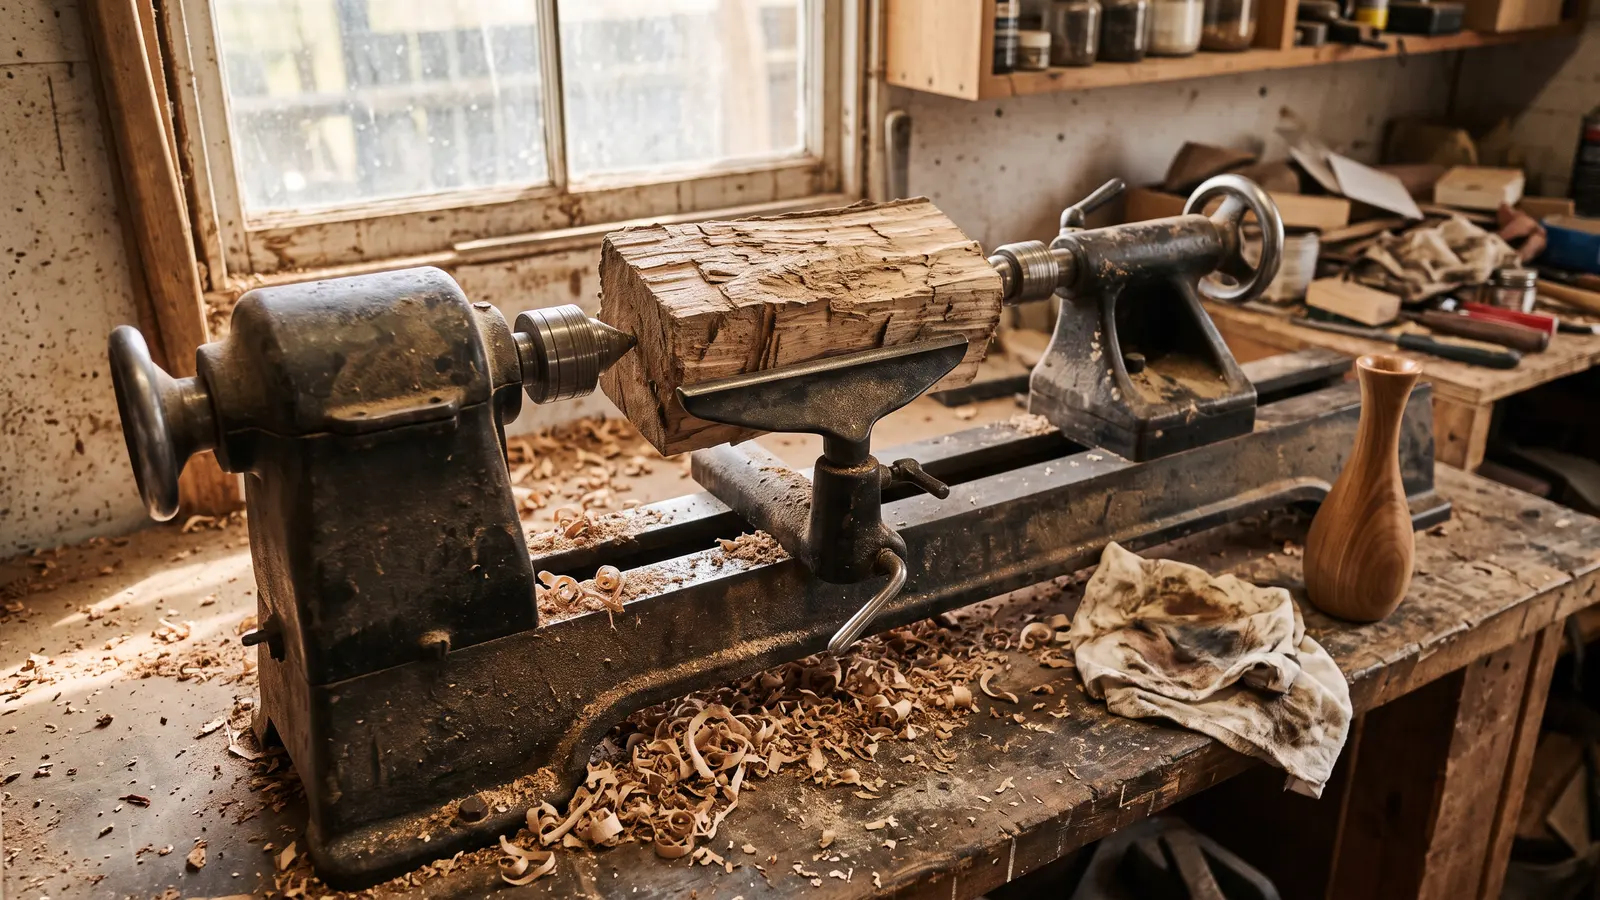
Ask This Old House S24E22: Tommy's Lathe, Mortar Cracks, and a 1999 Garage Door Gets a Brain
Also about Masonry
Ask This Old House · S25 E1
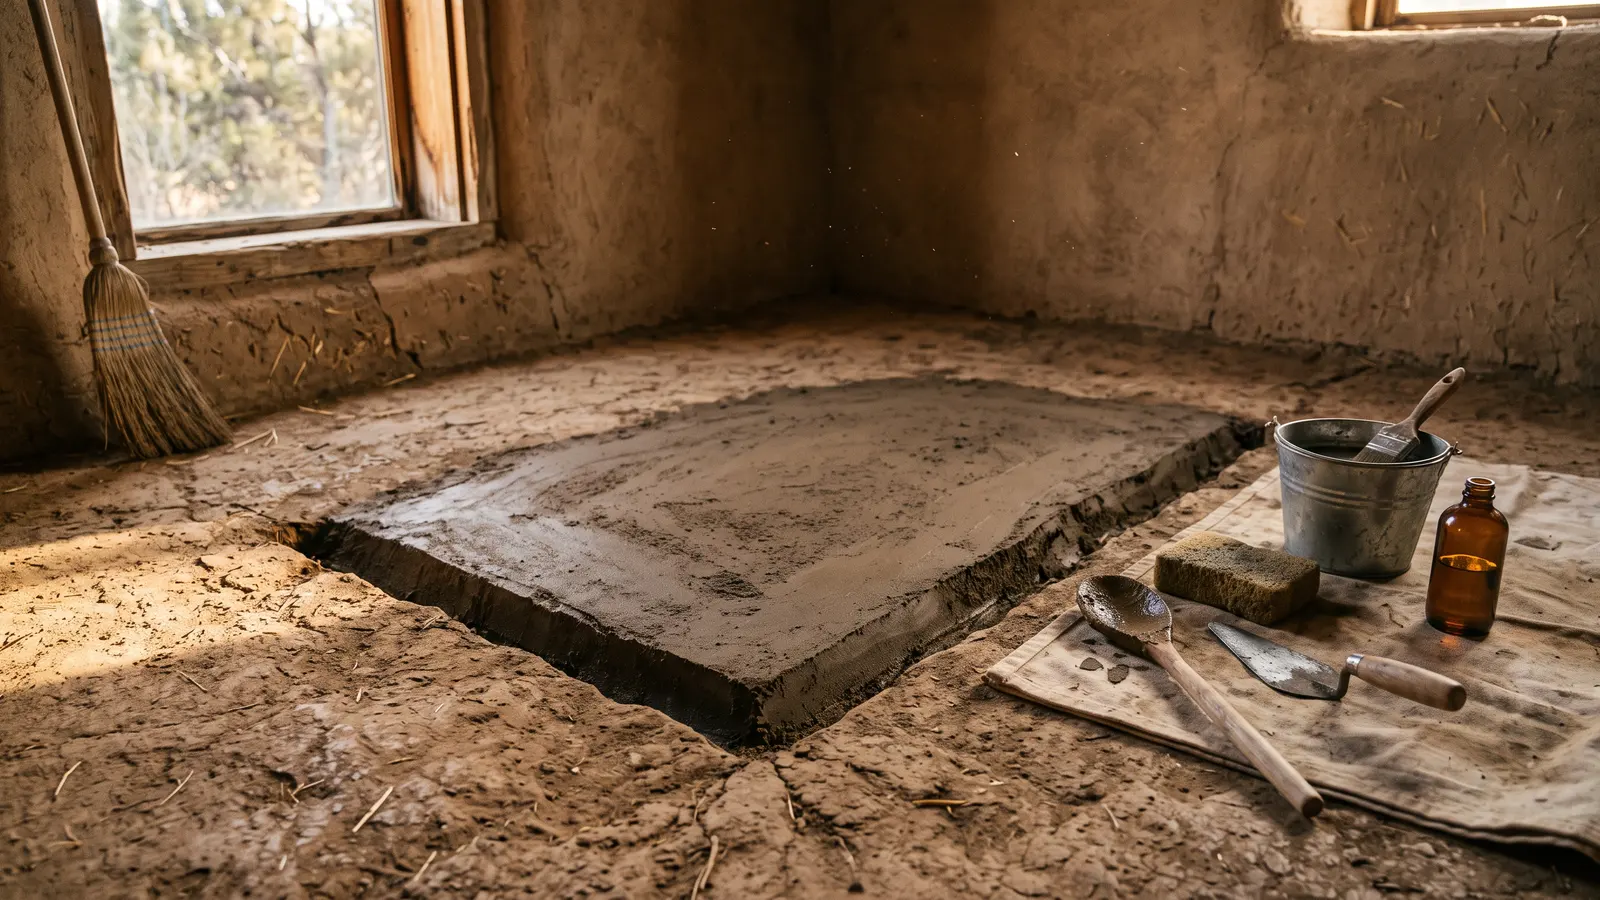
Adobe Bricks, a Miter Trick That Doesn’t Need Caulk, and a Garden Revisited 10 Years Later
Also about Masonry
Ask This Old House · S24 E26
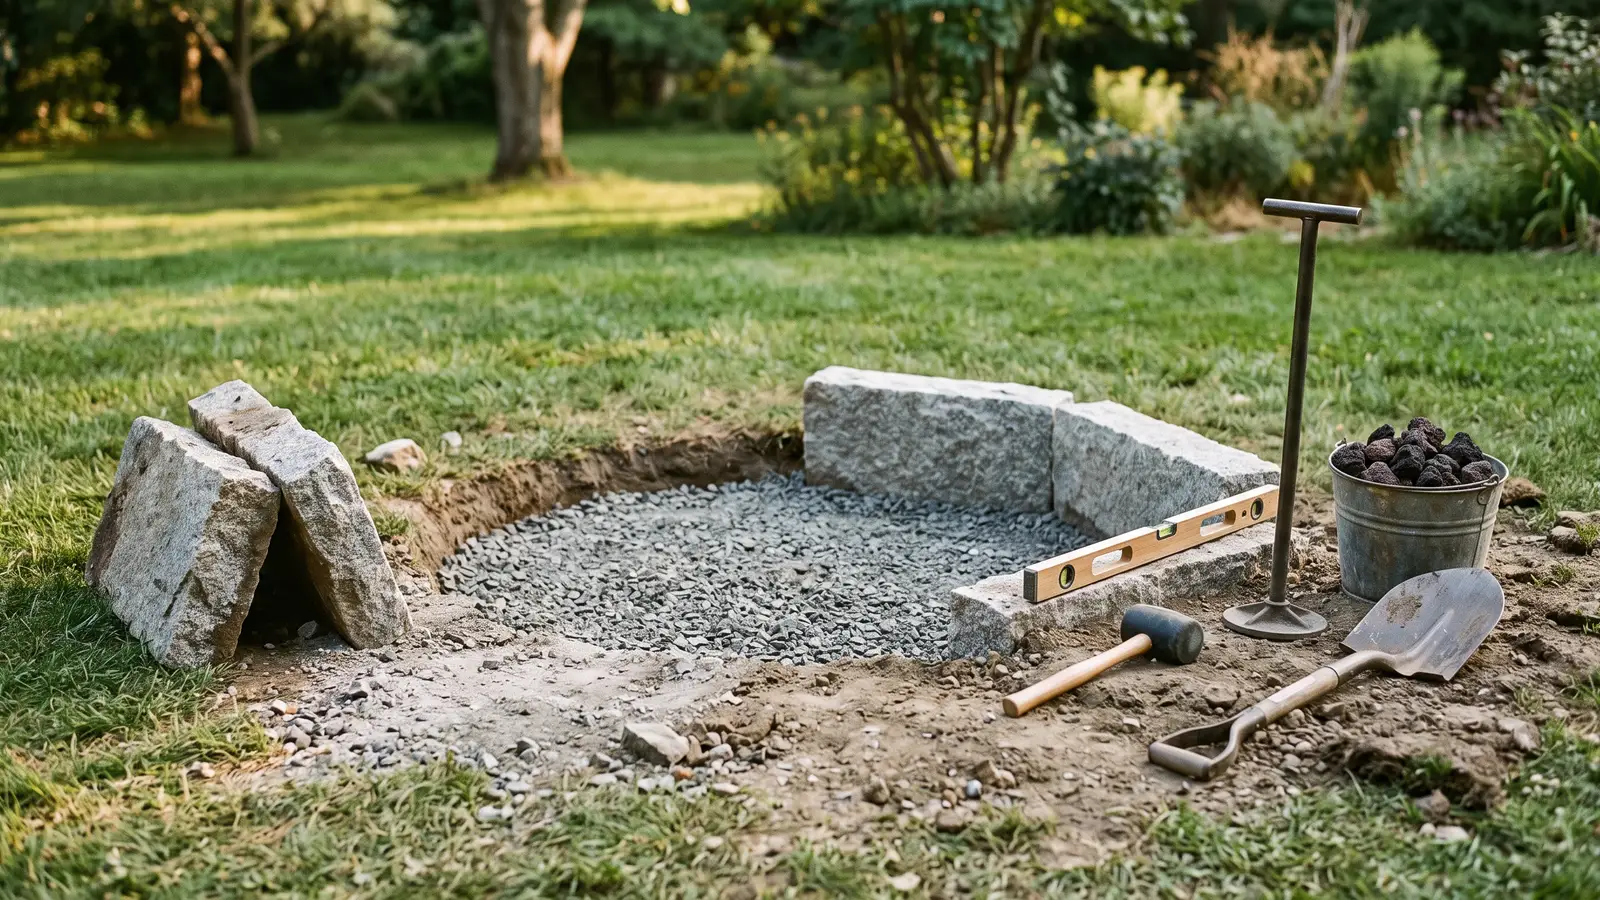
Ask This Old House S24E26: Outdoor TV Enclosure, Granite Fire Pit, and Renovation Prep Before the Sledgehammer
Also about Masonry
This Old House · S47 E17