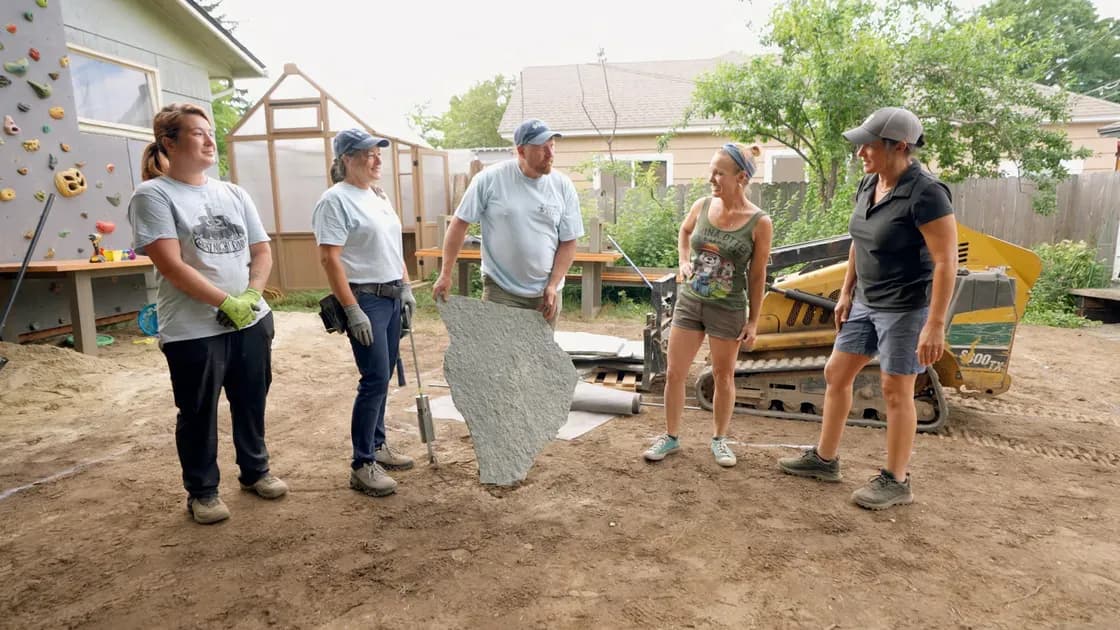
Adobe Bricks, a Miter Trick That Doesn’t Need Caulk, and a Garden Revisited 10 Years Later
Mark McCullough travels to New Mexico to learn adobe brick making and repair an earthen floor. Tom Silva shows Kevin a faster way to cut miters on imperfect corners. Jenn Nawada revisits a garden she helped transform a decade ago and sees how it inspired even more backyard projects.
Three very different house calls kick off Season 25, but they share a quiet through line. Mark McCullough learns that adobe—a material built from the ground under your feet—relies on the same moisture control and compaction he uses in stone and brick. Tom Silva turns a fussy miter layout into a ten-second scribe that needs neither a compass nor a bead of caulk. And Jenn Nawada proves that a good garden design can keep giving for a decade, starting with a weed that turned out to be a sweet-smelling vine and ending with mint mojitos. It’s a fitting opener for a silver anniversary: a reminder that solid fundamentals, not flashy tools, are what actually hold things together.
Mark Gets His Hands in the Mud
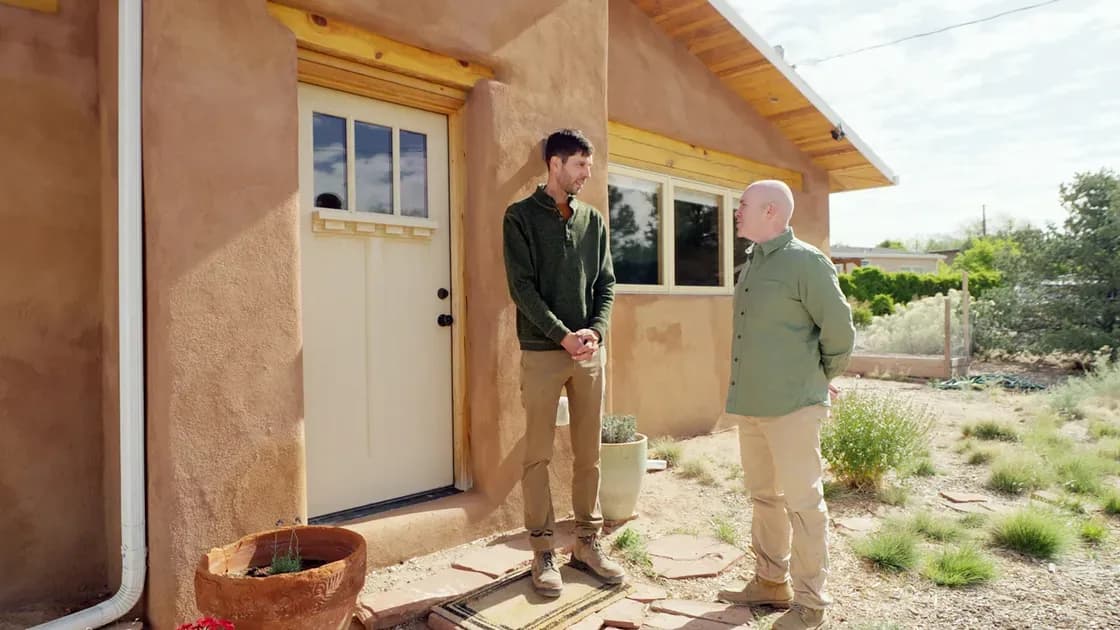
Mark travels to New Mexico to meet Paul, an owner-builder who teaches with the nonprofit Adobe in Action. Paul’s own house is a working demo: adobe walls, earthen plaster, and an earthen floor. The solar gain isn’t just a talking point—low-angle winter sun pours through south-facing windows, and the heavy adobe bricks soak up heat all day, then radiate it back at night. “Free heat,” Mark calls it, and for a New England mason who spends plenty of time fighting the cold, the appeal is obvious.
The outdoor demo starts with a wheelbarrow and a recipe that can be measured in shovels, not ounces. Three heaping scoops of local clay, four of sand, a baseball-sized handful of barley or wheat straw torn up by hand, and just enough water to make a thick mix. Paul wets down the wooden form first—if you skip that step, the dry wood will steal moisture from the mud and weaken the brick. Mark catches the reason before Paul finishes the explanation, which tells you he’s spent enough time with mortar to recognize a universal rule: wherever water can escape too fast, the repair loses strength.
The two men push wet adobe into the corners with their fingers to eliminate voids, level the surface, and leave the brick to cure in the sun. No kiln, no heat—just 7 to 10 days of drying, with a flip onto its side after 48 hours for airflow. The final quality check is the drop test. Paul hoists a fully cured adobe brick to waist height and lets it fall on its corner. It doesn’t break. That’s it. If the brick had shattered, they’d tweak the ratio and try again. Mark looks like a kid who just realized that mud pies can carry a roof load.
Inside the house, an earthen floor has developed some cracks. The small ones are cosmetic, but a deeper fissure with loose debris needs real attention. Paul and Mark chisel out a V-shaped notch—wider at the bottom so the patch locks itself in—using a tool that resembles an adobe spoon, which Paul owns specifically because it’s labeled “adobe spoon.” They mix a finer version of the outdoor recipe: four parts sand, three parts sifted clay, and no straw, since a patch this size doesn’t need the extra reinforcement. The substrate gets dampened, the mix is packed in tight, and after it dries halfway, Paul will burnish the surface with something that looks suspiciously like a yogurt lid until it blends into the surrounding floor. A final coat of linseed oil adds a little strength and water resistance once everything is fully dry.
It’s not lost on me that Mark’s adobe education mirrors his chimney crown work in a previous season, where he also diagnosed cracks, removed damaged material, and mixed a patch with careful moisture control. The materials change, the stakes don’t. And as he points out in the adobe segment, that straw serves the same purpose as the fiber mesh he’d throw into a concrete repair—just a few thousand years older.
Television compresses the timeline, naturally. That brick didn’t cure during the segment; the drop-tested brick was made days earlier. But the edit gives you enough to understand the process without pretending it’s instant. The real takeaway is that adobe is forgiving, but forgiveness comes from following the fundamentals.
Tom’s Miter Trick: No Compass, No T-Bevel, No Caulk
Kevin O’Connor stands over a piece of trim at an outside corner and picks up a scrap piece to test the angle. It doesn’t fit. Another scrap—still wrong. A third scrap—close, but only if you squint and plan to hide the gap under a layer of caulk. Kevin jokes, “Just caulk that,” and Tom Silva laughs, but the look on Tom’s face says he’s about to hand over a method that will save you from ever having to make that joke again for real.
The classic way to miter an imperfect corner involves a compass, a couple of arcs scribed on the floor, a sliding T-bevel to transfer the angle, and a trip back to the saw. It’s accurate, but it eats up time. Tom’s alternative needs only two things: a pair of boards that are exactly the same width, and a pencil. Lay one board flat against the wall. Stack the second board on top, tight to the wall. Hold them down and draw a line along the edge of the top board onto the one below. Then line up that mark with the board’s opposite corner to find the bisected angle. Set the saw to that line, cut both boards at once to verify the match, and now you have a perfect miter.
The sneaky part is how you handle the second cut. Rather than tilting the saw back and forth, you flip the board upside down and cut the opposite end from the same saw setting. It’s a small thing, but when you’re running baseboard through a whole room, those saved seconds add up. And as Tom points out, the same trick works for inside corners without changing a thing.
This is exactly the kind of field efficiency that reminds me of the combination-square masterclass Tom delivered in a previous episode. There, too, he replaced a series of careful measurements with a single, repeatable reference line that eliminated guesswork. Here, he’s doing it again: no compass, no T-bevel, no third scrap piece that’s still wrong. Kevin’s initial caulk joke gets a callback when Tom points out that a caulk-free miter means no joint compound either. The corners on their sample piece close up tight enough that you could skip the filler entirely.
Jenn’s Garden Revisit: A Decade of Growth and a Mint Mojito
Ten years ago, Jenn Nawada helped a homeowner named Alex transform a tangled backyard into a layered, seasonally intentional garden inspired by historic Olmsted-apprentice landscape plans. At the time, Alex had been pulling up a vigorous vine for eight years, convinced it was a weed. Jenn identified it as sweet autumn clematis, showed her how to train it onto the fence, and planted perennials that would bloom in waves.
The revisit reveals just how well that design took hold. Peonies, sedum, hydrangeas, and a newly added lupin are thriving. Alex now dutifully strings the clematis every year and talks about the fall-blooming white flowers like an old friend—and with good reason. The scent, she says, is beautiful, and the bees that show up to pollinate have become as much a feature as the blossoms themselves.
What really lands is how that single project snowballed. The garden inspired Alex and her husband to keep going. They added a pool, a rock wall, a pergola, a patio, and even a volunteer grapevine that a bird apparently dropped over the fence. The compost pile Jenn remembers chucking debris onto is now “Chateau Shammi,” complete with a mint mojito toast. It’s not a staged reveal. It’s what happens when a homeowner gets one area right and then finds the confidence to tackle the next one.
I’ll admit, I’ve sometimes checked my watch during longer garden segments in past seasons. Here, the editing keeps things moving, and the payoff of seeing a full decade of growth—and a whole backyard built around it—is earned. The garden doesn’t just look good; it feels like the center of the home.
DIY Confidence Scale
Adobe brick making: Confident. If you have clay-heavy soil, sand, straw, and a form, you can make a test brick. The drop test won’t lie. If it breaks, adjust the mix, not your ego.
Earthen floor patch: Intermediate. The ratios are forgiving, but burnishing to match the surrounding surface takes a sensitive hand. And you’ll need to wait for the right cure before applying linseed oil—patience is part of the craft.
Tom’s miter trick: Moderate. Requires two boards precisely the same width and a steady pencil line. Once you’ve done it a few times, you’ll wonder why you ever carried a T-bevel for baseboard.
Additional Resources
Season 25 opens with a miter, a mud brick, and a mojito. Not a bad way to remind us that the best home improvement stays useful long after the crew packs up.
Keep reading
Related episodes & guides