
This Old House S48 E6: Essex County Colonial: Removed, Reused and Reclaimed
Essex County Colonial: Removed, Reused and Reclaimed. Wallpaper comes off the walls, salvaged wavy glass fixes the 1893 sash, a cedar bracket replaces a post, and 130-year-old timbers become new floors.
Season 48, Episode 6 of This Old House is called Removed, Reused and Reclaimed, and the three words line up with the hour. Wallpaper comes off the walls at the Essex County Colonial, the 1893 Dutch Colonial Revival in New Jersey. Old wavy glass from one window is cut down to fix another. And 130-year-old timbers from a building in Plainfield come back as new southern yellow pine floors for homeowners Ethan and Harley. Between those, Zack Dettmore and Justin Taylor hang a cedar bracket under the new mudroom roof so nobody has to put a post between two sets of stairs. PBS lists a November 5, 2026 premiere and a runtime of 23 minutes and 42 seconds.
Since Essex County Colonial: Bigger Isn't Better, Kevin O'Connor says all of the mechanical rough-ins have been completed and inspected, which lets the job move on to insulation. Closed-cell insulation went into spot places like the attic the day before, and fiberglass batts are going into most of the exterior walls today. The basement trench for the new four-inch sewer line from last episode has been backfilled and has a new layer of concrete on it. Zack says lining up the inspections is always the stressful part. With that behind them, he says, it is all hands on deck.
Essex County Colonial: wallpaper is trial and error
Ethan and Harley have wallpaper upstairs and downstairs that they do not want to keep. Zack hands Kevin to painter Carter Henry and leaves, and Kevin says he is smart to run away from it. Carter's answer to how the paper comes off is a little bit of trial and error. The first try is normally a steamer, which gets through the paper and lifts it from the glue. Here that did not work.
The second option is a wallpaper-scoring tool with small serrated blades on the edge. Run it over the wall and it makes tiny holes, so a chemical stripper can soak through. Carter says the enzymes in the stripper lift the glue and let the paper come away. His crew member Kennedy has the sprayer going, and they have soaked this wall a couple of times after scoring it. The soaking softens the paper. Carter says it still takes patience, and they go little by little.
Why it is unpredictable comes down to what happened before the paper went up. The wall really should have been primed, Carter says, and some people did not do that. If it was not, the paper can lift part of the plaster or the drywall with it, and the wall becomes a mess to prep for paint. Paper over paper is common. Paint over paper is what he calls a total nightmare, because nothing gets through the paint, and at that point he says you are better off replacing the wall. Kevin says he knows that one well. This wall is a single layer, and Kevin thinks they got lucky. Once the paper is off, Carter's crew still washes the wall, may hit it quickly with a pad sander, and then primes everything so the next trade has clean walls to prep. More painting prep is on its topic page.
Essex County Colonial: borrowing wavy glass from another window
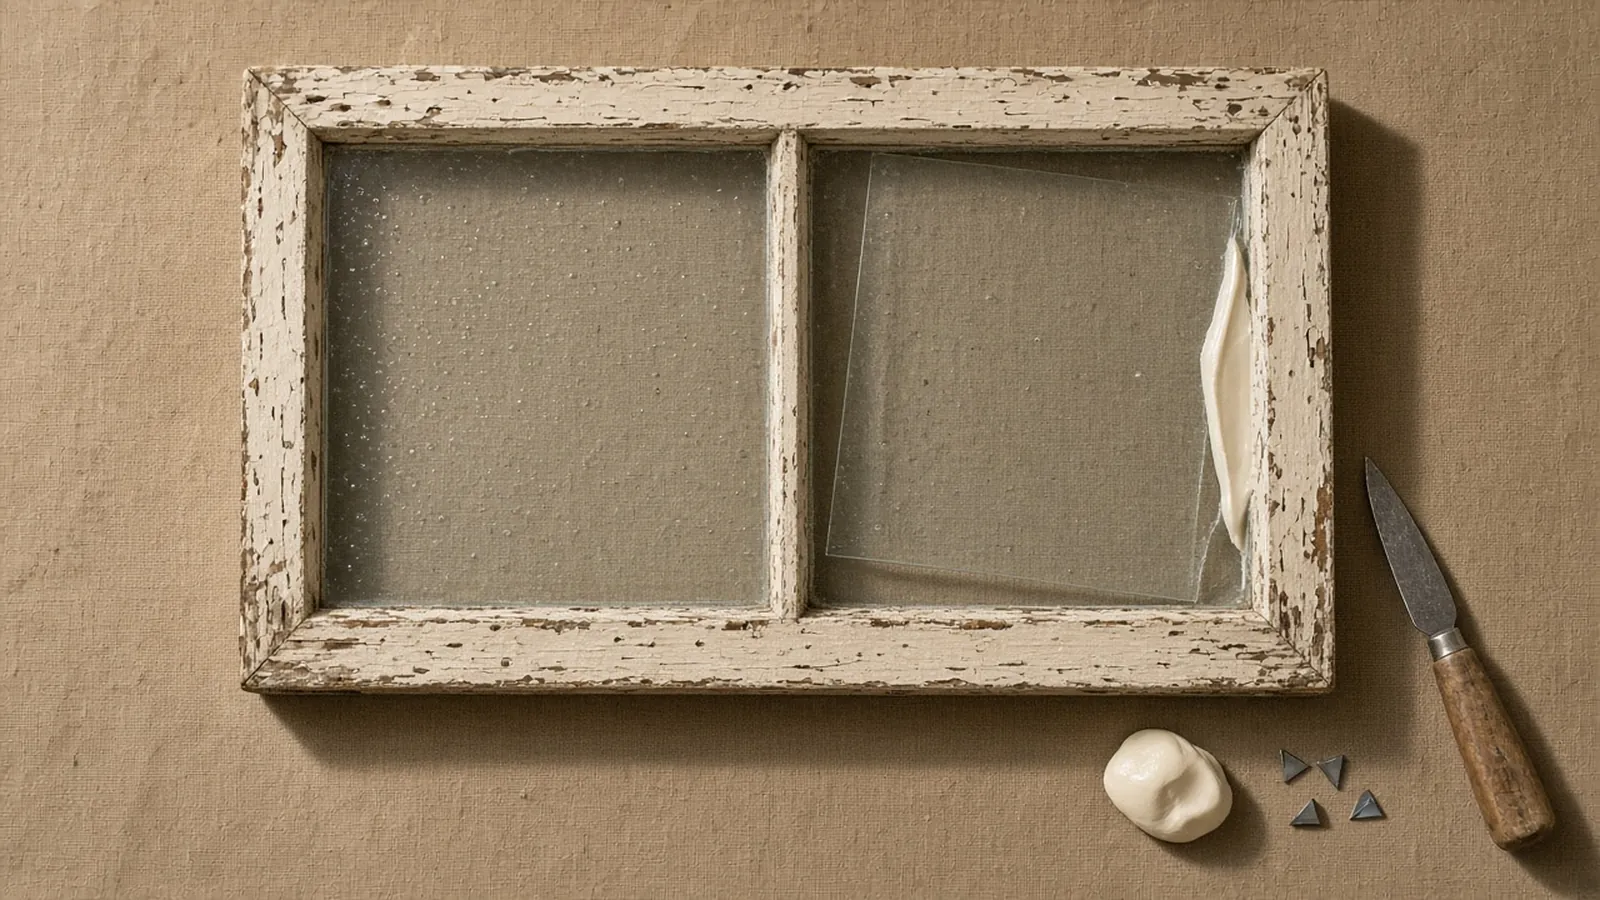
The windows are original to 1893, sash and glass both. Kevin points to the reflection to show the waves. Some panes are broken, and if they were replaced with new glass it would be perfectly clear. He calls that a poke in the eye. Window restoration experts Ben Hauser and Gordon Rutledge are on site to harvest original glass from other windows and from their archives, so the repairs disappear.
Ben explains how the lower sash came out of its opening. They cut the paint line holding the stop on the side, pried the stop off, and removed the sash chains from both sides. The chains get tied in knots so they do not fall down the pulley hole. The sash on the bench is cracked here and there too, but Ben says one piece of it is big enough to make the three pieces they need for the broken window. Its own opening gets glass from a window they salvaged from another old house, a big piece of wavy glass that they can cut down to size.
- Deglaze. Gordon starts by getting rid of the old glazing material. The glass is still secure afterward.
- Pop the points. Small metal glazing points hold the glass in, especially while new glazing dries. Kevin holds one up: pointed and sharp so it can be forced into the wood.
- Free the glass. The two broken corners come out of the way first. Then Gordon taps the bottom of the bottom rail with a hammer, which moves the frame forward and frees the good piece.
- Score and snap. Ben scores the glass and breaks it with running pliers. One jaw is convex and the other concave, so squeezing them with the score centered between them snaps the glass along the line. "It's not a cut," Kevin says. "It's just a score."
Gordon preps the openings in the old sash. He scraped out the old glaze back to bare wood, then applied shellac as a barrier between the wood and the glaze. A layer of bedding goes in next so the glass is not sitting wood-to-glass. The glass goes in, held with a modern glazing point that Kevin says is a little more convenient to push in and has tabs for the putty knife. Then the final glazing. Kevin says the process has not changed. Gordon says that is because it just works. It takes a couple of months for the glazing to be ready to paint. Last, Gordon cleans the glass with whiting powder, which he says absorbs excess oil off the glass and helps the glaze set. Kevin's verdict is that it looks fantastic. The windows topic page has more of this kind of repair.
Essex County Colonial: a cedar bracket instead of a post
At the back of the house, there was originally a deck off the door. Now there is the mudroom entrance and a new roof that overhangs it. A post could hold that roof, Zack says, but it would land right between two sets of stairs. A temporary bracket holds the roof for now. The architect designed a permanent bracket, which the homeowners approved, and the architect's engineer set the specifications: a 6x6 cedar post and a fastener schedule that calls for 6-inch-long timber screws.
The layout starts with a string line that marks the outside edge of the bracket. Zack holds an angle finder against the bottom of the beam and lines its other leg up with the string, just kissing it, and reads the angle for the top cut in its viewfinder. Justin measures the bottom angle at 30.4 degrees. The top setting he uses later is 61 degrees. The length along the outside, with a square as the reference, is 84 5/16 inches. Justin points out a little belly in the tape first.
They do not want to risk a mistake on the cedar, so they make a practice cut on a 2x6 template first. The angles check out on both ends. The template goes on top of the 6x6, referenced to the outside edge where the string line was, and they mark and cut the real piece. It test-fits on a cleat. Zack says the top is perfect.
The engineer also set the spacing for six fasteners. Justin marks 6 inches up from the bottom, then an inch and 3/4 up from that twice, and uses a combination square set to an inch and 3/4 to mark the center of each screw. He starts each hole with a plug cutter in a drill-press attachment, which keeps the cutter centered as it enters the wood. The plug hides the fastener. After the screws, Zack glues the holes and taps in cedar plugs they made. Once the glue sets, the plugs get cut flush and sanded, any checking in the cedar gets epoxy, and the whole bracket gets primed. The carpentry topic page collects the other exterior framing in this season.
Essex County Colonial: old timbers, new floors
Ethan and Harley loved the old southern yellow pine floors, Zack says, but they were too thin to sand, so all of them had to come out. To keep the character, he visits a local mill a few miles from the project house. Craftsman Anthony Saraceno says if it has to do with reclaimed wood, they do it. For this job the wood came from about 20 minutes away in Plainfield, a turn-of-the-century building from about the same period as the house. They salvaged the vertical posts, floor joists, decking, and rafters. Anything salvageable, Anthony says, they got their hands on. Zack's reason for coming here is that the homeowners wanted what they had: a softwood look with a durable, old-growth character.
- De-nailing. The first step is pulling every nail, screw, and staple out of a post that came off the building's second floor. Anthony says the transformation stops there if the metal is not out, because it cannot go through the equipment. After the visible metal comes out, a metal detector finds what is hiding. He uses just the front portion of the detector, because a passing wand gets lost. It is slow, and Zack finds one he skipped.
- Resaw. Joists and rafters that have already been de-nailed go to the band saw and come out as 1-inch flooring blanks. Zack's reaction is to the tight growth rings.
- Kiln. The mill runs three kilns, and the blanks spend about a week and a half to two weeks inside. A board that sat around for more than 100 years still read 15% to 16% on Anthony's moisture meter. He says 6% to 8% is ideal and 9% is acceptable. Anything wetter needs more time.
- Planer. The planer makes two parallel sides and takes off pitch, the resin that came out of the knots in the kiln. Anthony says pitch and the equipment are not exactly friends.
- Rip and molder. A straight-line rip sizes the boards for the molder, which cuts the tongue, the groove, the relief cuts on the bottom side, and the final face plane.
Anthony's reason for the kiln is the house the floor is going into. With modern heating systems, heat pumps, and well-insulated, almost net-zero homes, he says the house itself becomes the kiln. Wood that goes in wet shrinks, and there are problems. Zack says the finished boards look better than what was in the house: tighter-grained, but still the tough, hard pine they wanted. The boards go to the house to acclimate and be installed, and Zack expects sanding in a month or two before a finish. The flooring topic page has the rest of the floor work on the site.
DIY Confidence Scale
Stripping wallpaper: 4/10. A steamer, a scoring tool, and a stripper are homeowner gear, and Carter's sequence is easy to copy. What you cannot control is what is underneath. Unprimed walls can lose plaster with the paper, and if somebody painted over the paper, Carter would rather replace the wall.
Reglazing a sash with salvaged glass: 6/10. Deglazing, points, bedding, and glazing are learnable on one window at a time. Cutting 130-year-old glass is the hard part, because there is no second piece if the score runs wrong. Ben and Gordon also had a salvaged window big enough to cut from, which most homeowners do not.
A cedar roof bracket: 8/10. The angle-finder and template trick is worth stealing for any angled cut, but this bracket carries a roof. An architect drew it and an engineer specified the post and the screw schedule. Do not size this one yourself.
Milling reclaimed flooring: not a DIY job. The takeaway is the moisture number. If you buy reclaimed flooring, ask what it reads. Anthony wants 6% to 8%.
Additional Resources
The previous hour was the sewer model, the loose stair, and the pocket doors: Essex County Colonial: Bigger Isn't Better. The preview after this episode is a complicated tile job in the primary shower, custom kitchen cabinets that have to fit every angle of the walls and floors, and a 130-year-old tub made to look new. That is the next hour. The episodes already up are on the Season 48 episode guide.
The weekly recap
Get each new recap the day it's posted.
Get each new This Old House and Ask This Old House recap by email, the day it's posted. No spam, unsubscribe anytime.
From the captions
Spotted on the job
Tools, materials, and techniques the episode actually showed or discussed. Names stay generic unless the episode said a brand. A name links to an Amazon search only when it is something a person could buy.
As an Amazon Associate, This Old Recap earns from qualifying purchases.
Tool
DIY-friendly
wallpaper scoring tool
When steam would not lift the paper, Carter's crew ran a scoring tool with small serrated blades over the wall so the stripper could soak through.
Tool
DIY-friendly
wallpaper steamer
Carter normally starts with a steamer to lift the paper from the glue. On this wall it did not work.
Tool
Pro-only
running pliers
Ben snaps scored antique glass with running pliers, one convex jaw and one concave, centered on the score.
Material
DIY-friendly
glazing points
The old pointed metal points pop out to free the glass. A modern point with tabs for the putty knife holds the new piece.
Material
DIY-friendly
whiting powder
Gordon cleans the reglazed glass with whiting powder, which absorbs excess oil and helps the glaze set.
Tool
Pro-only
angle finder
Zack and Justin read the top and bottom cuts for the cedar bracket off a string line, then test them on a 2x6 template.
Tool
Pro-only
plug cutter with drill-press attachment
Justin keeps the plug cutter centered so cedar plugs can hide the six timber screws in the bracket.
Tool
Pro-only
moisture meter
Anthony reads 15% to 16% in an old board before the kiln and wants 6% to 8% before flooring goes into a house.
Keep reading
Related recaps
Also from the Essex County Colonial
This Old House · S48 E4
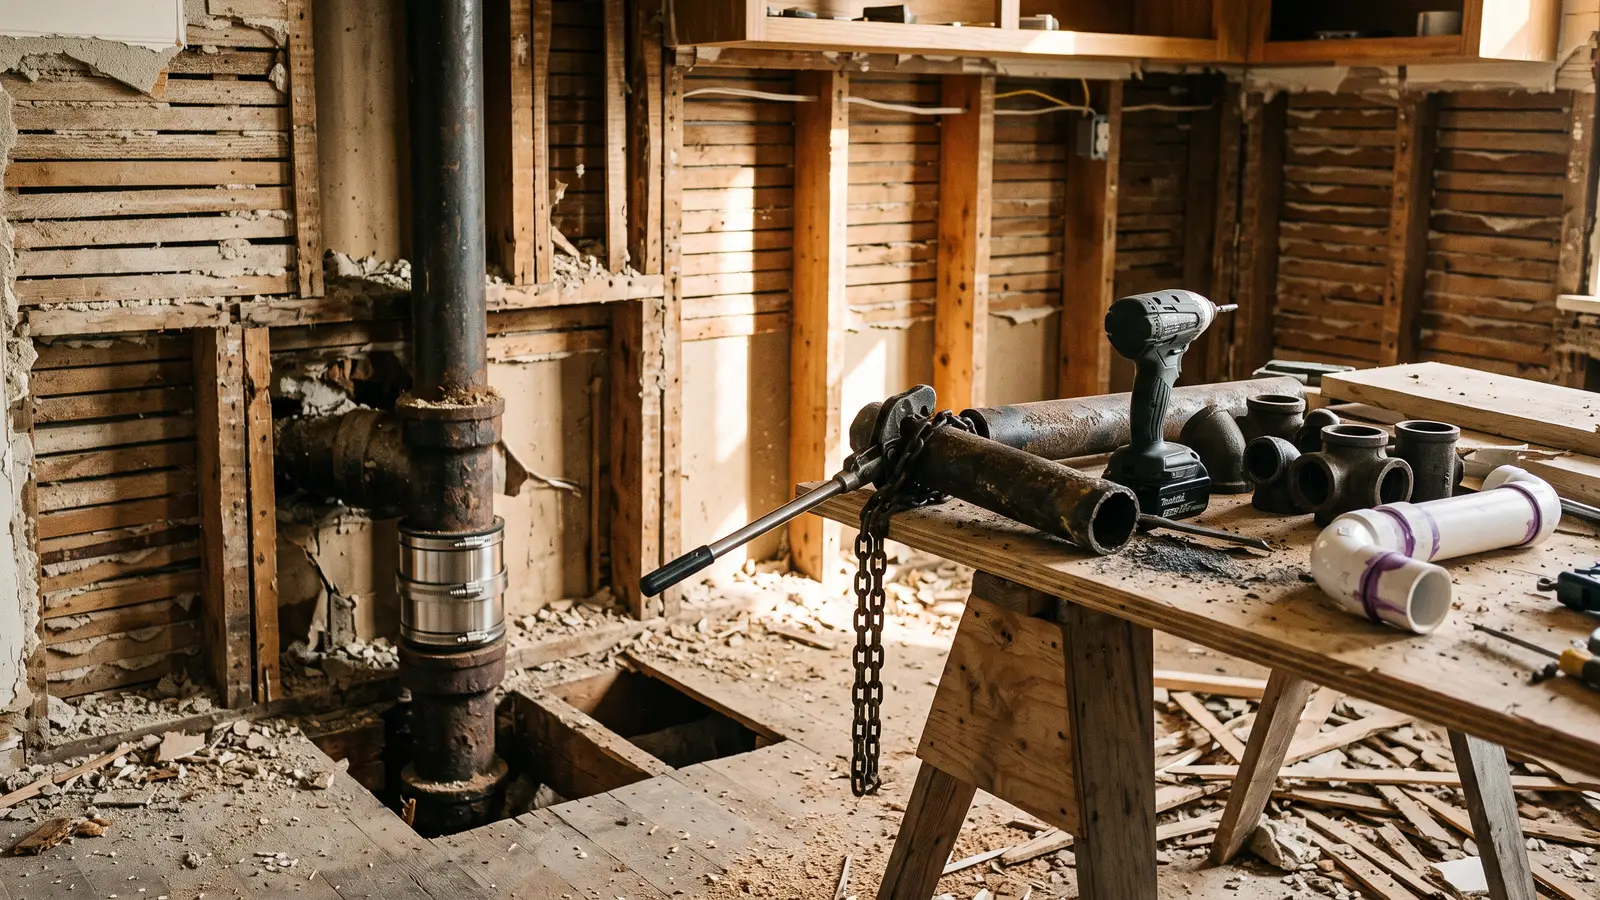
This Old House S48 E4: Essex County Colonial: Making Connections
Also from the Essex County Colonial
This Old House · S48 E3
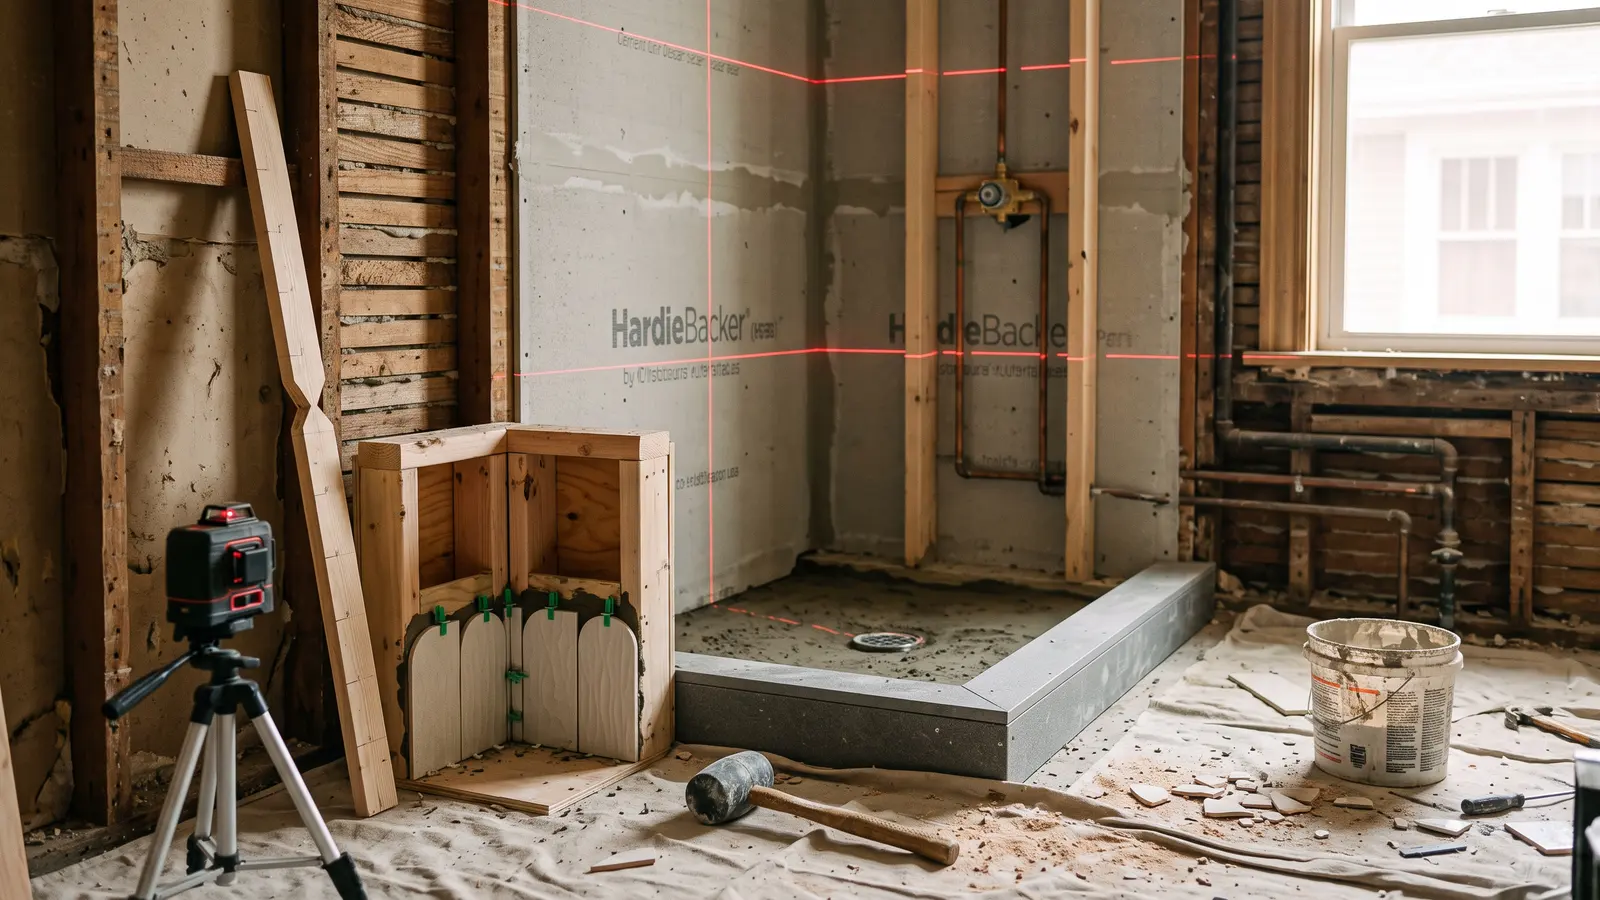
This Old House S48 E3: Essex County Colonial: Knock on Wood
Also about Flooring
This Old House · S47 E17
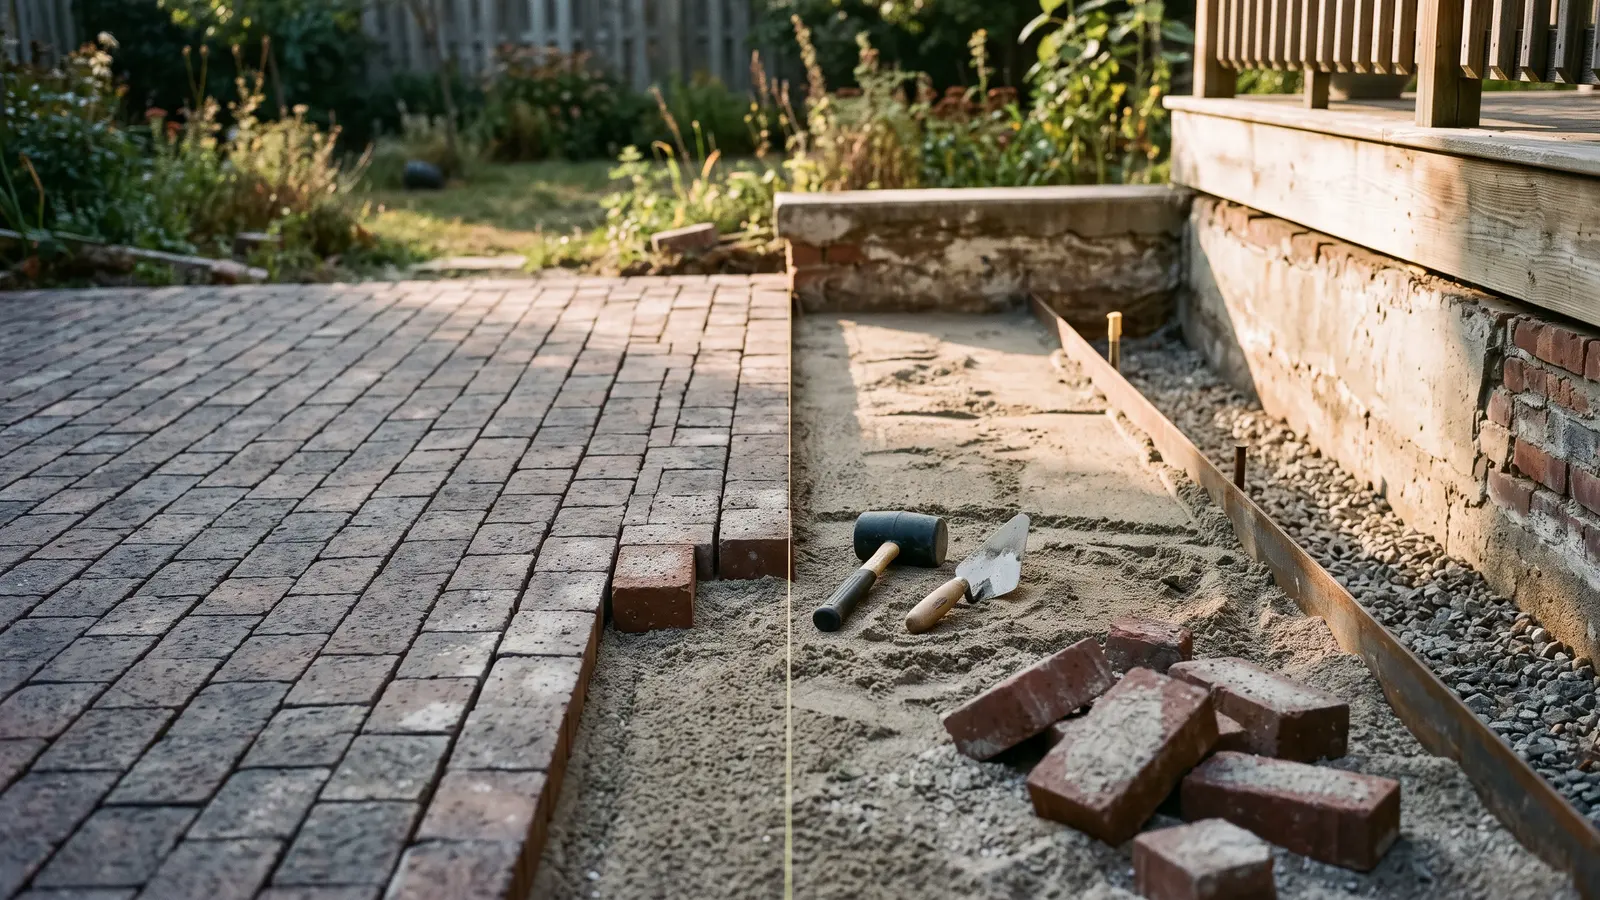
This Old House S47 E17: Porch Colors, a Brick Paver Patio, and Weaving Salvaged Douglas Fir
Also about Flooring
This Old House · S47 E18