
Ask This Old House Season 23 Episode 17: Cape Cod Outdoor Shower, Cedar Enclosure, and the Drainage Trench That Makes It Work
Jenn Nawada and Mark McCullough lay out a Cape Cod outdoor shower between two windows, Mark runs a pitched drain line away from the foundation, Nathan Gilbert assembles a white-cedar kit, and Richard Trethewey taps hot water through a frost-proof hydrant. The cedar and bluestone are what you see. The grade, gravel, and pitch decide whether the house stays dry.
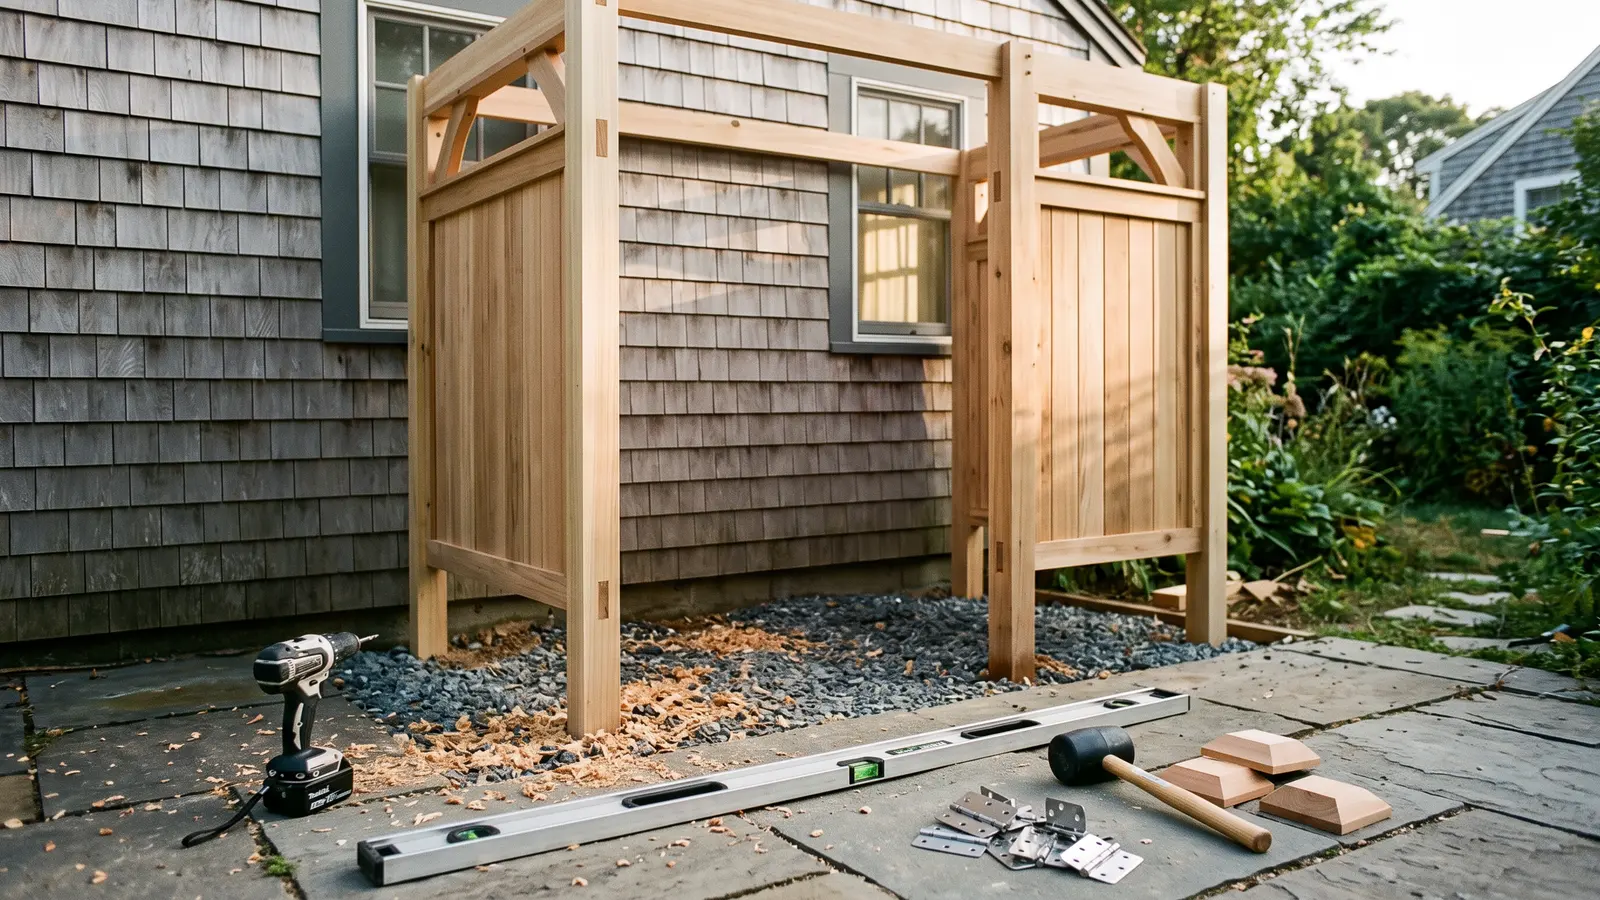
Season 23, Episode 17 of Ask This Old House goes to Cape Cod for a single backyard project that needs four trades: landscape layout, drainage, carpentry, and plumbing. The homeowner request is an outdoor shower, which sounds like a summer luxury until you watch the trench go in. The cedar enclosure and bluestone base get the camera time at the end. The pitched pipe, gravel bed, and freeze-proof water supply are what make the thing safe to use next to a house.
A Cape Cod Outdoor Shower Starts Between Two Windows
Jenn Nawada meets Colleen and Gavin, who bought the house a few months earlier and spent their first stretch upgrading electrical, stripping the heating system, and adding a new water heater. Now they want to use the backyard. They already have a patio, deck furniture, a grill, and a fire pit. What they want is an outdoor shower, partly for the Cape Cod vibe and partly as a contained spot to wash their dog, Raffi.
Colleen points to the space between two windows. Jenn measures the area, then comes back with a pencil-and-paper layout. The shower goes between the windows, but Jenn also wants to fill in the old window opening below so water doesn't splash back into the house. The plan moves a Rose of Sharon and some rhododendrons, both of which Jenn calls easily transplantable. For the ground surface, she proposes natural stone, either stepping stones or bluestone, to fit the coastal landscape. The drainage plan uses gravity and the yard's existing slope, which is the first hint that this project is less about the showerhead than about where the water goes.
Mark McCullough Puts Drainage Ahead of the Shower
Mark McCullough arrives to talk grade. He checks the gutters and downspouts and notes that the homeowners are already managing water well. Then he looks at the slope and says gravity is their friend here, provided the pipe has ample pitch and carries water away from the house as fast as possible. Gavin asks the right question: if you dig a hole near the house, how do you keep water from going back into it? Mark answers that water backing into the foundation and then into the basement is the thing to avoid. That is why the pipe gets pitched and run as far from the house as the yard allows.
The crew digs with a mini excavator, which Mark owns but notes can be rented. They apply a leak-proof barrier to the foundation as an extra layer of protection. Then comes the base: crushed stone in the trench, followed by a perforated pipe wrapped in landscape fabric. The fabric keeps gravel out of the pipe openings. More gravel covers the pipe. The work follows the same base-first rhythm Mark used on the shed foundation in Episode 11, where crushed stone was watered and compacted before anything else went on top. The trench here is a drainage system, not a decorative bed, and the edit compresses the digging and grading into a few minutes. On site, that pitch is the whole ballgame.
Jenn and the homeowners finish by fitting fabric paper to the gullies, broadcasting seed over the disturbed areas, and watering. She tells them the seed should germinate in about seven to fourteen days. That part is homeowner-friendly. The trench that keeps the basement dry is not.
Nathan Gilbert Assembles the White-Cedar Kit
Nathan Gilbert drives down to the Cape with a shower kit. He likes working there with his dad, and he says red cedar and white cedar are common on Cape and Islands homes. The kit he chose is white cedar because it is easy to work, ages well, and fits the local look. The kit includes a pre-made door, pre-made panels, posts that are already mortised to receive the panels, and a box of accessories: post caps, hinges, and latches.
Nathan mounts two cleats to the wall, about an inch off the window. He pre-drills at the high points of the shingle tips, then uses structural screws. He finds center on the workbench, checks the one-inch mark, and pivots a four-foot level off that mark to set the left cleat. The panels go in with pre-drilled screws. The posts get checked for plumb in both directions, then temporarily braced across the top so they do not flop around while the crew backfills.
For backfill, Nathan uses crushed bluestone. He adds water in a light mist and tamps all four sides. Colleen compares the mix to oatmeal, which is a better description than most construction manuals manage. The kit still needs door stops, panel caps, and a piece of fascia. The hinges use wood screws and a carriage bolt to sandwich everything together. A kit simplifies the cutting, but it does not remove the need for two people, a level, and patience. The television version makes it look like a day in the sun. The real work is in the prep, the bracing, and the compaction.
Richard Trethewey Adds Hot Water Without Freezing It
Richard Trethewey meets the homeowners at the bulkhead, where the outdoor faucet connects to the cold water supply on a well system. He cuts back the existing line and tees into the hot and cold supplies with a copper-to-PEX fitting, then runs PEX to the shower location. The plumbing lesson is the interesting part. In warmer parts of the country, an outdoor shower might just be two faucets and a hose. In New England, freezing is the design driver. Richard explains frost-proof sillcocks, which have the shutoff set back inside the wall. He also mentions hot and cold wall hydrants. For this project, he uses a single-control fixture with the shutoffs set back for freeze protection and a temperature dial on the face.
Colleen wanted a dark finish, and the chosen fixture has a black showerhead and hand shower. Nathan inlays a cedar block with a two-inch hole into the wall and adds flashing tape to protect the wallboard behind it. That block gives the hydrant a solid mounting surface. Richard slides the assembly through the wall to the lines inside. The hand shower connects with a hose, and Richard mounts the fixture on a surfboard-shaped bracket. He jokes that it is surf's up on the Cape. The important part is the winter routine: disconnect the hose, lift the fixture, and take it inside so it does not freeze or need varnishing. That is not a gimmick. It is what keeps the fixture alive through a Massachusetts winter.
Bluestone Base, Lilac, and the Work the Edit Leaves Out
Mark cuts drain holes into a bluestone slab for the shower base. The crew sets it square and level relative to the posts. Jenn plants a lilac, takes it out of the pot, loosens the root ball with a rake, adds compost, and backfills so the plant sits at the right height. Colleen operates the finished shower while Richard explains the controls: the outer knob turns it on and off, the inner dial sets temperature, and a diverter switches between the showerhead and hand shower.
This is the point where the prior post about Episode 14 applies. That episode's painting and sandbox work made the case that prep is the whole job. The same is true here. The cedar and bluestone are the visible reward, but the digging, grading, foundation barrier, gravel, perforated pipe, plumbing shutdown, leak checks, stone cutting, and planting prep are what make the shower last. Television compresses all of it. The finished enclosure looks like a weekend kit. The drainage trench is a different category of work.
DIY Confidence Scale
Ratings are for a reasonably capable homeowner with time, tools, and a second set of hands.
- Layout and landscaping: Moderate. Measuring, transplanting shrubs, planting a lilac, and seeding disturbed areas are realistic. Do not guess at drainage.
- Drainage trench: Low. The mini excavator can be rented, but pitch, foundation protection, gravel, and perforated pipe all have to be right. This is the part that protects the basement.
- Cedar enclosure: Moderate. A pre-made kit helps, but the posts need to be plumb in two directions, the panels need careful handling, and the backfill needs water and tamping. Two people minimum.
- Hot water hookup: Low. Teeing into existing hot and cold lines, running PEX, installing a frost-proof hydrant, and checking for leaks is licensed-plumber territory.
- Bluestone base: Moderate to high. Cutting drain holes, setting the slab square, and matching it to the posts takes stoneworking tools and a good eye.
Additional Resources
The cedar and bluestone will get the compliments. The trench keeps the basement dry. If you were building an outdoor shower, would you spend the weekend on the enclosure or write the check for the drain line?
From the captions
Spotted on the job
Tools, materials, and techniques the episode actually showed or discussed. Names stay generic unless the episode said a brand. A name links to an Amazon search only when it is something a person could buy.
As an Amazon Associate, This Old Recap earns from qualifying purchases.
Material
DIY-friendly
perforated pipe
They laid perforated pipe in the trench to direct water away from the house and down the hill.
Material
DIY-friendly
landscape fabric
Amazon search for landscape fabric (opens in a new tab)
They wrapped landscape fabric around the perforated pipe to protect it from the gravel.
Material
DIY-friendly
crushed stone
They added crushed stone at the base of the trench to help with drainage.
Material
DIY-friendly
white cedar
Nathan chose white cedar for the outdoor shower kit because it ages beautifully and suits Cape homes.
Product
DIY-friendly
shower kit
Nathan picked up a pre-assembled shower kit with a door, panels, posts, and accessories.
Material
DIY-friendly
bluestone
Mark used a bluestone slab for the shower base and cut drain holes into it.
Material
Pro-only
PEX line
Richard cut a T into the hot water line and ran a PEX line for hot and cold supply.
Product
Pro-only
hot and cold wall hydrant
Richard installed a frost-proof hot and cold wall hydrant with single control for the outdoor shower.
The weekly recap
Get each new recap in your inbox the week it airs.
One email the week the new episodes are up, with links back to the full write-ups. Confirm once. Unsubscribe any time.
Keep reading
Related recaps
Also about Drainage
Ask This Old House · S23 E19
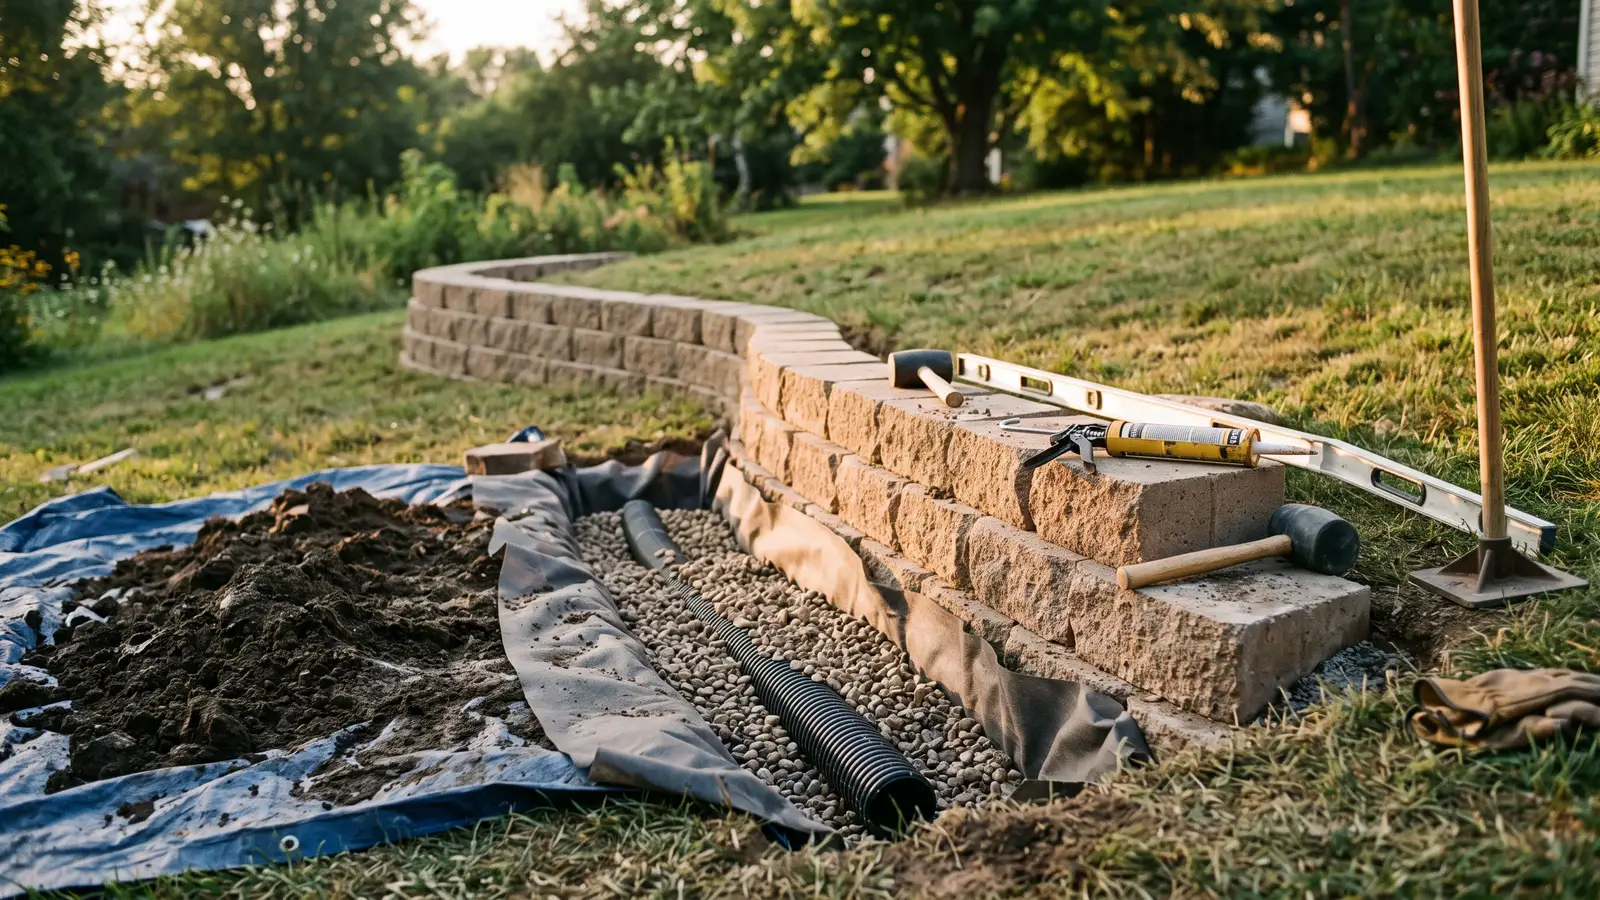
Ask This Old House Season 23 Episode 19: Mini Split Maintenance and a Retaining Wall That Is Mostly Drainage
Also about Landscaping
This Old House · S47 E7
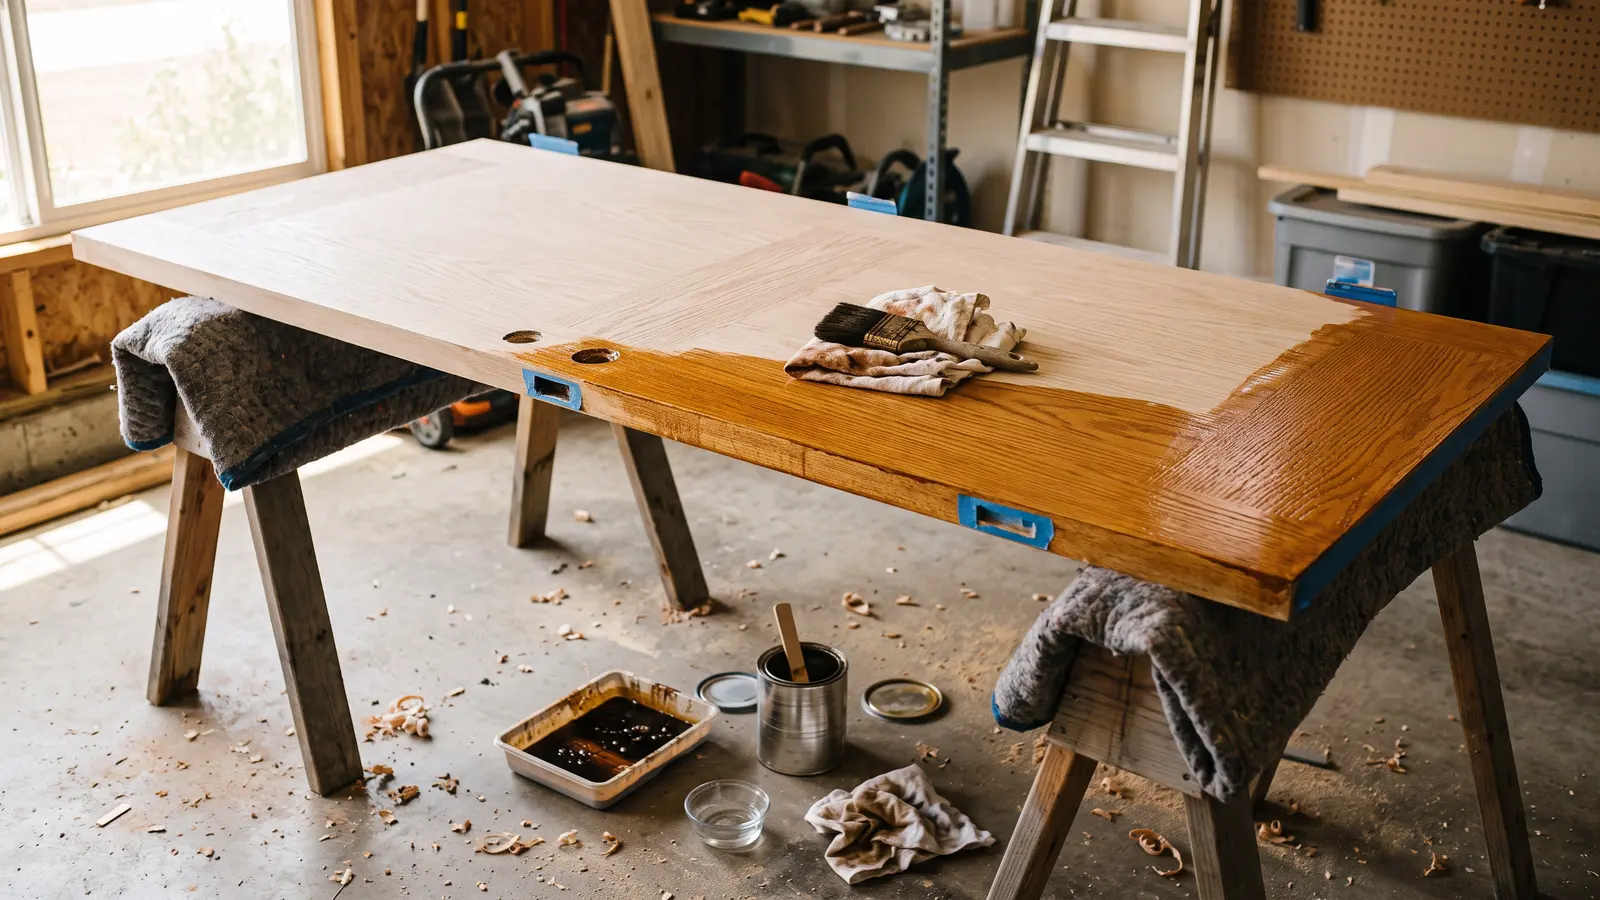
This Old House S47 E7: Boulder Retaining Walls, Door Staining 101, and Biltmore Village's Comeback
Also about Drainage
Ask This Old House · S24 E17
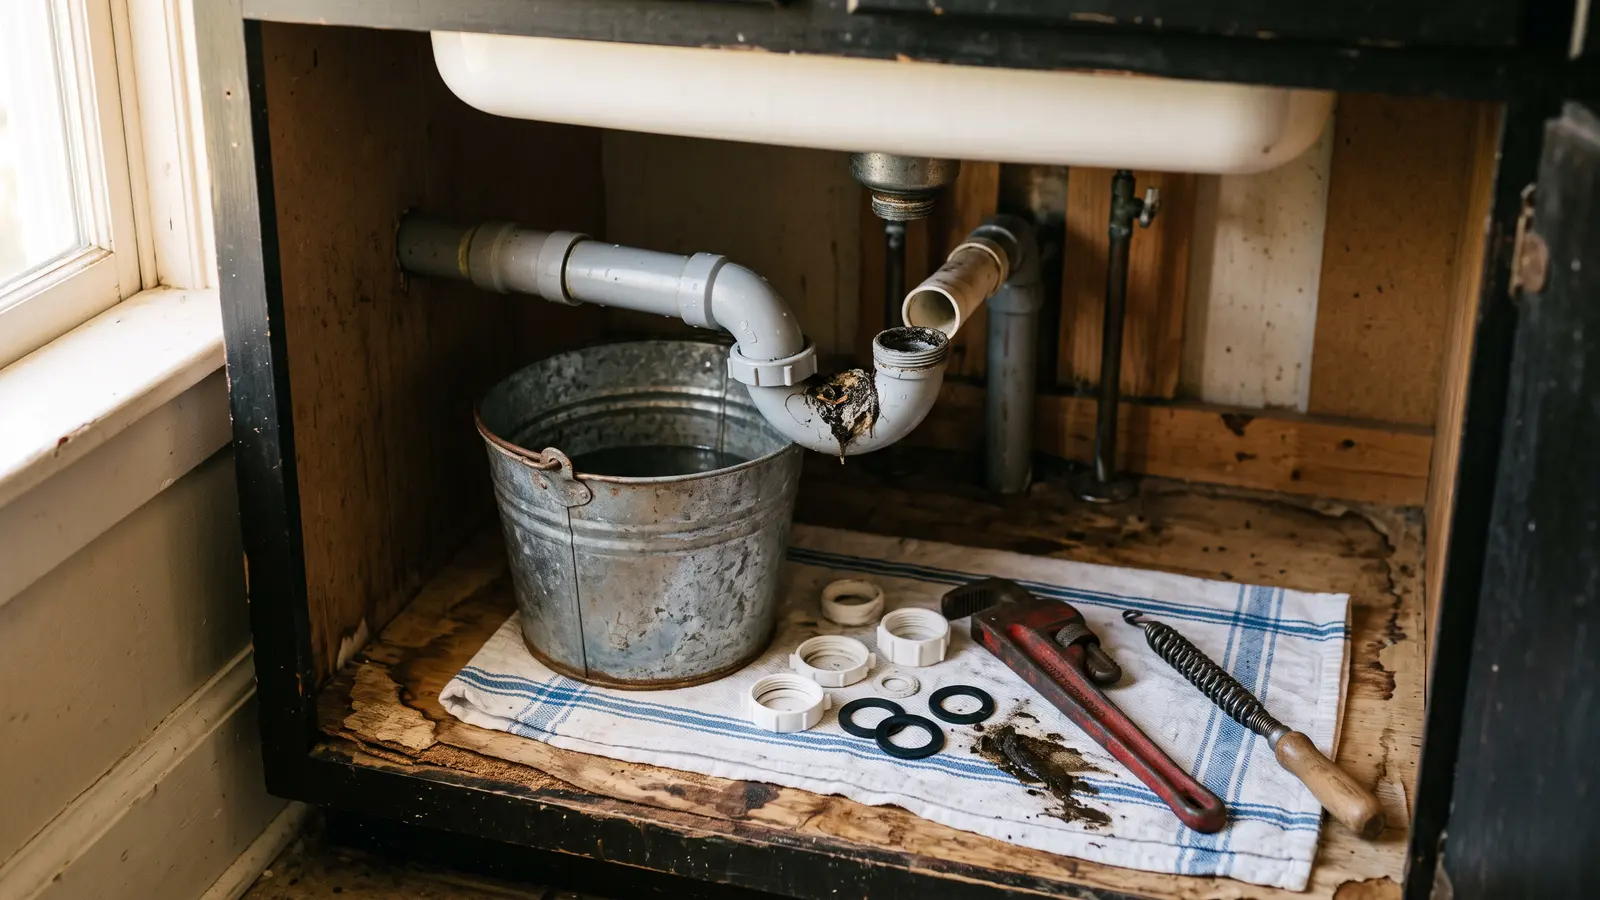
Ask This Old House S24E17: Lead Paint Testing, Sink Clogs, and Granite Steps for a Hill That Fought Back
Also about Drainage
Ask This Old House · S23 E6