
Ask This Old House Season 23 Episode 19: Mini Split Maintenance and a Retaining Wall That Is Mostly Drainage
Richard Trethewey shows what mini split upkeep actually involves: filters, cowl, coils, outdoor condenser. Mark McCullough and Jenn Nawada build a two-foot retaining wall for curb appeal. The wall is the visible win; the perforated pipe, gravel, fabric, and racked-back courses are the reason it should stay put.
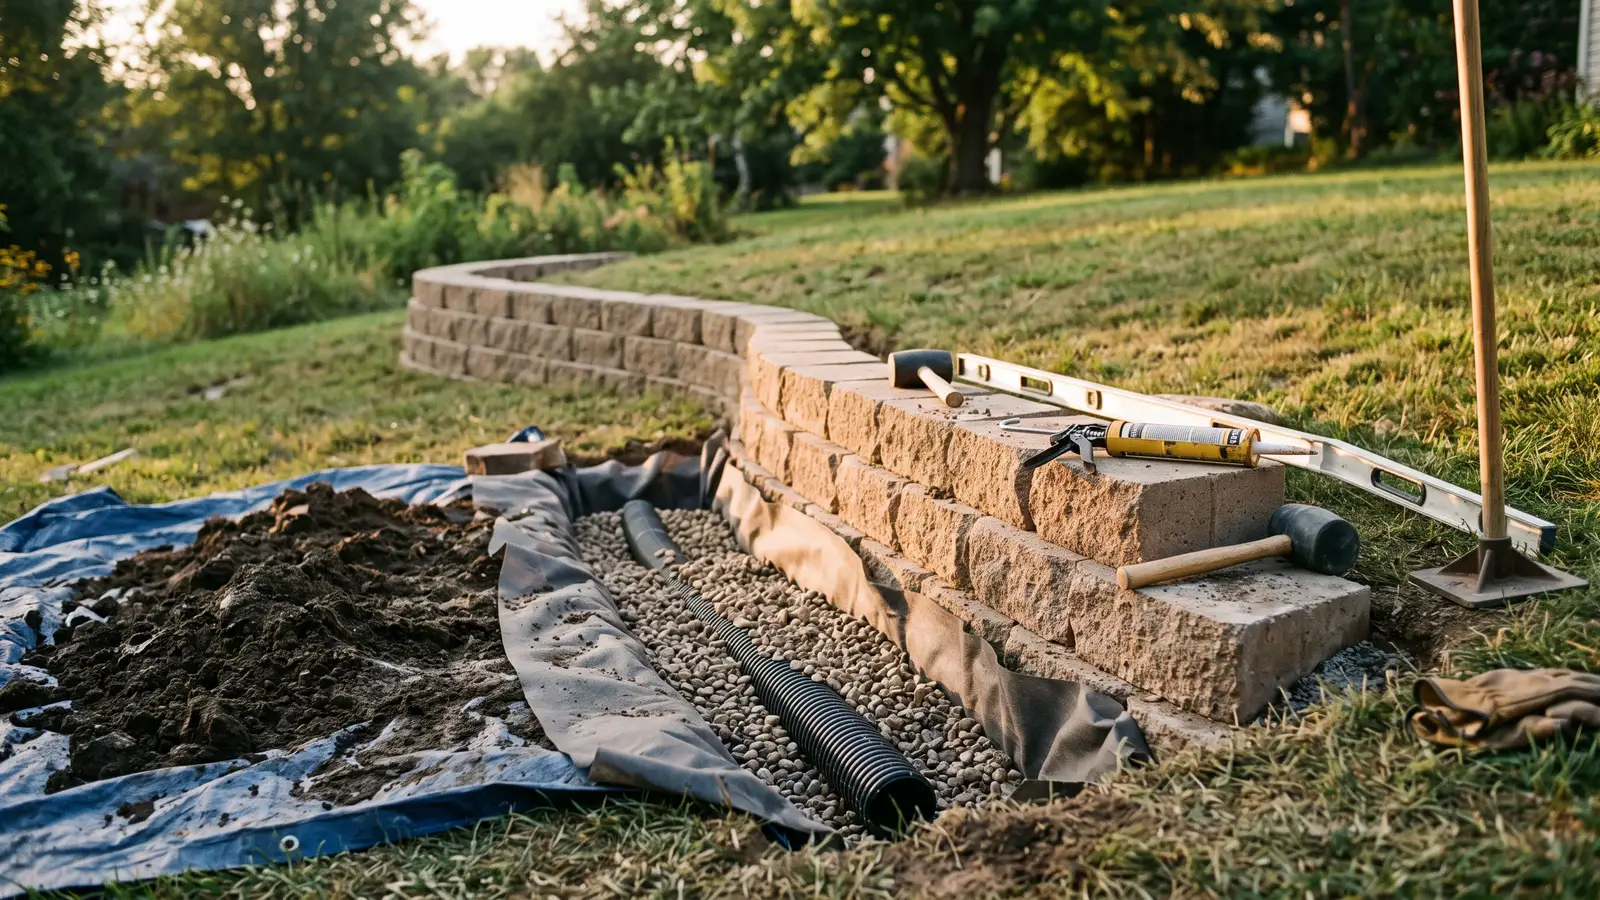
Season 23, Episode 19 of Ask This Old House pairs two jobs that look unrelated and aren't. Richard Trethewey walks through mini split upkeep, and Mark McCullough and Jenn Nawada build a two-foot retaining wall for a homeowner named Olivia on a corner lot. In both cases, the part you notice is the least important part. The filter and the block face are what catch your eye. The coil cleaning and the perforated pipe are what decide whether either job holds up.
Mini split maintenance is two jobs stacked on top of each other
Richard opens with a stat he says is his framing for the segment: mini splits cover the majority of the world's air conditioning market. The name describes the hardware. Unlike a window unit with everything crammed into one box, a mini split puts the indoor head and the outdoor condenser in separate places, connected by refrigerant piping. No ductwork anywhere. They run quiet, they heat in cold weather, and they still need service.
The owner-level task is the filter. Richard opens the front of the indoor head, which exposes a mesh panel that every bit of room air has to cross before it gets heated or cooled and blown back out the bottom. He holds a clean one next to a used one so you can see the difference. Vacuum it gently with a brush attachment, or take it to the kitchen sink and rinse it. This is the recurring chore that keeps the unit from choking, and he says it plainly: you can't get these clean enough.
Everything past that point is a different job. Richard starts by killing power at the breaker, because the indoor head has a digital display and electrical connections that have to be broken before anything comes apart. Then the cowl. He calls removing it the hardest part, mostly because you have to reverse-engineer how the thing was assembled. Two tools make it survivable: a magnetic screwdriver and something to hold the screws. Drop one inside the housing and you've created a problem that costs more than the cleaning.
Under the cowl: the turning vane that aims air around the room, held on spring clips, with a small motor driving it. Behind that, the diffusion vanes, two screws, then a panel he peels back. He warns that the first time you pull it, it feels like you're breaking it. What you're after is the coil, which he vacuums with a bristle brush before introducing any water.
The wet phase is where the segment earns its caution. Water and electricity don't mix, and Richard says it twice in spirit if not in words: the unit is off at the breaker, and the electrical components get covered before the spray bottle comes out. He uses a coil cleaner straight from the container and notes it's caustic, so eye and lung protection go on first. The kit includes a shield to keep the wall dry and a bucket to catch runoff, which is the kind of detail that separates a professional's van from your garage shelf. He hits the blower wheel too, then lets the assembly dry for about an hour. The outdoor condenser gets the same treatment: vacuum the coil carefully, then coil cleaner, with the fan blades treated as something to work around rather than lean on.
Television compresses the reassembly, but there's real time in that hour of drying and in tracking which screw went where. If you own mini splits and want a realistic division of labor, this is it. Cleaning filters is yours. Opening the case, breaking electrical connections, and spraying caustic cleaner next to covered electronics is a call to a technician unless you're comfortable with all three.
The drainage-first reasoning here rhymes with what Mark and Jenn did in the Cape Cod outdoor shower episode, where the gravel and pitch mattered more than the cedar. It also fits the maintenance-checklist theme from the Detroit house walkthrough: the simple recurring tasks are yours, and knowing where your competence stops is part of the job.
The retaining wall is a drainage project wearing a curb-appeal hat
Olivia's problem is two problems. She lives on a main road and wants more curb appeal, and she has water doing damage. Rain and downspout runoff push mulch out of the bed and into the grass, and it has buried the decorative stones out front. There's also a window well near the house that Mark doesn't like, because snow piles up there and melts into it.
Jenn looks at the slope from a different angle and settles it fast: retaining wall, not a regrade. The plan is about a two-foot wall running roughly 28 feet, returning into grade at the ends. Before any digging, they call 811 for a utility locate. Then Mark pulls a tape off the corner of the foundation to set layout, runs string lines, and establishes what he calls a benchmark: a single block leveled both directions. From there he spots a block every six feet down the line, each one leveled, so the first course can't drift. He rechecks square off the foundation with a small square and runs a line level across the string as they work backward.
That fussiness is the whole ballgame, and Jenn explains why. They picked a linear block with a smooth face, and any error in the first course telegraphs up the wall as visible wonk.
Mark brings a mini excavator for the trench, which tells you how much dirt this involves. The trench has to be wide enough for the block plus a four-inch drainage pipe, and he digs eight inches deep, noting that depth actually depends on the block manufacturer's instructions. After compacting, they add about six inches of gravel. The block system has corner blocks, stretcher blocks, and cap blocks, with a tongue-and-groove profile that locks courses together. They use construction adhesive on the caps and corners but not the stretchers.
Two details matter more than the finished face. The first course has cavities, and before the second course goes down, those cores get filled with gravel, which continues the drainage path and adds stability. Then Mark racks the wall back a quarter inch per course, so pressure from behind pushes the block into the tongue-and-groove rather than out of it. If that sounds backwards, it is the whole point of the interlock. The capstone overhangs slightly to act as a drip edge, since it takes the most weather.
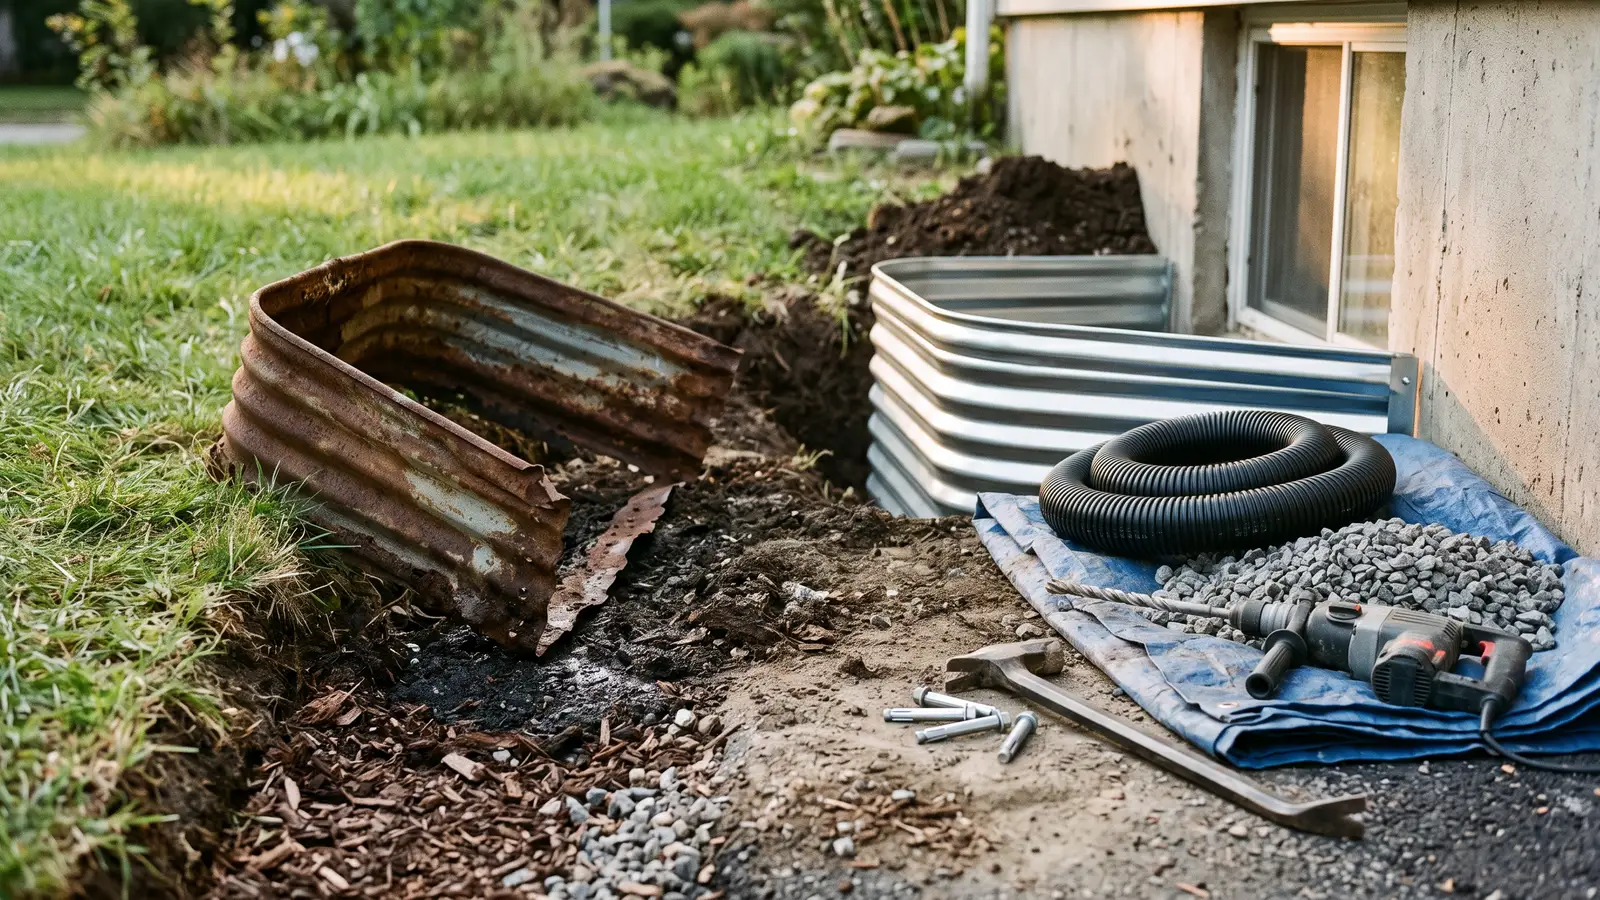
Behind the wall is the part the camera loves least and Olivia needs most. A perforated pipe, wrapped in fabric to keep sediment out, sits in the gravel. Gravel does double duty: it moves water toward the pipe and relieves the pressure that would otherwise push on the wall. The pipe outlets at the end. Both downspouts tie into the system through connectors, so roof water leaves the bed instead of washing through it. Jenn puts soil only halfway up the first course during backfill, and fabric paper goes in before the rest. The water's destination is away from the house, which is the same principle Mark applied on that Cape Cod shower drain.
Jenn plants low on purpose so nothing grows over the window, and leaves a gap between the bed and the foundation for access. Boxwoods anchor the corners, with Quick Fire hydrangeas, a Delaware Valley White azalea, a Cunningham White rhododendron, an oakleaf hydrangea, and a second azalea filling in. She leaves the strip behind the wall open for bulbs, perennials, or whatever Olivia wants to rotate through. One planting rule she repeats: set the plant slightly high, because planting too low rots the crown.
Here's where television flatters the work. A mini excavator, a compacted base, six feet of leveling intervals, an hour of drying, and a full planting plan don't fit in a segment's runtime. The edit also skips how long it takes to set and recheck string lines in real weather. What you see is a wall and a tidy bed. What you're buying is excavation, gravel, pipe, fabric, and patience.
What Is It, and the honest gap in the episode
The workshop segment runs through a wafflette, Mauro Henrique's shell game with a five-dollar bill, and Tom Silva's claim that little gray trays will soak up a flooded basement before Richard lands the real answer: pads that go under a washing machine or dryer to absorb vibration and stop the appliance from walking across the floor. Richard's counter-argument about using a pump instead is the best line in the segment. It's a minute of shop humor that the show has earned, and it doesn't pretend to be a repair.
DIY Confidence Scale
Mini split filter cleaning: 2/10. Open the front, pull the mesh, rinse or vacuum it gently, put it back. Richard's point is frequency, not difficulty.
Mini split deep coil cleaning: 7/10. Power off at the breaker, electrical components covered, caustic cleaner, water in a housing full of electronics, fragile fins, and a case that has to come apart and go back together. Skilled homeowners can do it. Most shouldn't start here.
Retaining wall: 6/10. The block stacking is the easy part once the first course is dead level. The grade is what raises the number. Digging a trench, compacting, setting six inches of gravel, filling cores, racking back a quarter inch per course, and getting the perforated pipe, fabric, and downspout tie-ins right is the difference between a wall and a wall that leans in three years.
Additional Resources
Two jobs, one rule: the maintenance you can't see is the maintenance that matters. Which of these would you actually tackle on a Saturday — the filter, or the trench?
From the captions
Spotted on the job
Tools, materials, and techniques the episode actually showed or discussed. Names stay generic unless the episode said a brand. A name links to an Amazon search only when it is something a person could buy.
As an Amazon Associate, This Old Recap earns from qualifying purchases.
Product
DIY-friendly
air filters
Richard shows cleaning mini split air filters by vacuuming gently or spraying them with water.
Tool
DIY-friendly
magnetic screwdriver
Richard uses a magnetic screwdriver to remove the mini split cowl and keep the screws from dropping.
Material
Pro-only
coil cleaner
Richard applies coil cleaner to the indoor and outdoor coils and warns to protect eyes and lungs.
Tool
Pro-only
mini excavator
Mark uses a mini excavator to dig the trench for the retaining wall base and regrade the soil.
Material
Pro-only
interlocking concrete blocks
Mark and Jenn use interlocking concrete blocks to build the retaining wall.
Material
DIY-friendly
construction adhesive
Olivia applies construction adhesive to the cap and corner blocks to help lock them together.
Material
Pro-only
perforated pipe
Jenn and Mark install perforated pipe behind the wall and connect downspouts to it for drainage.
Technique
Pro-only
rack back the wall
Mark racks back the wall by setting each course back slightly to resist pressure from behind.
The weekly recap
Get each new recap in your inbox the week it airs.
One email the week the new episodes are up, with links back to the full write-ups. Confirm once. Unsubscribe any time.
Keep reading
Related recaps
Also about Hardscaping
This Old House · S47 E7
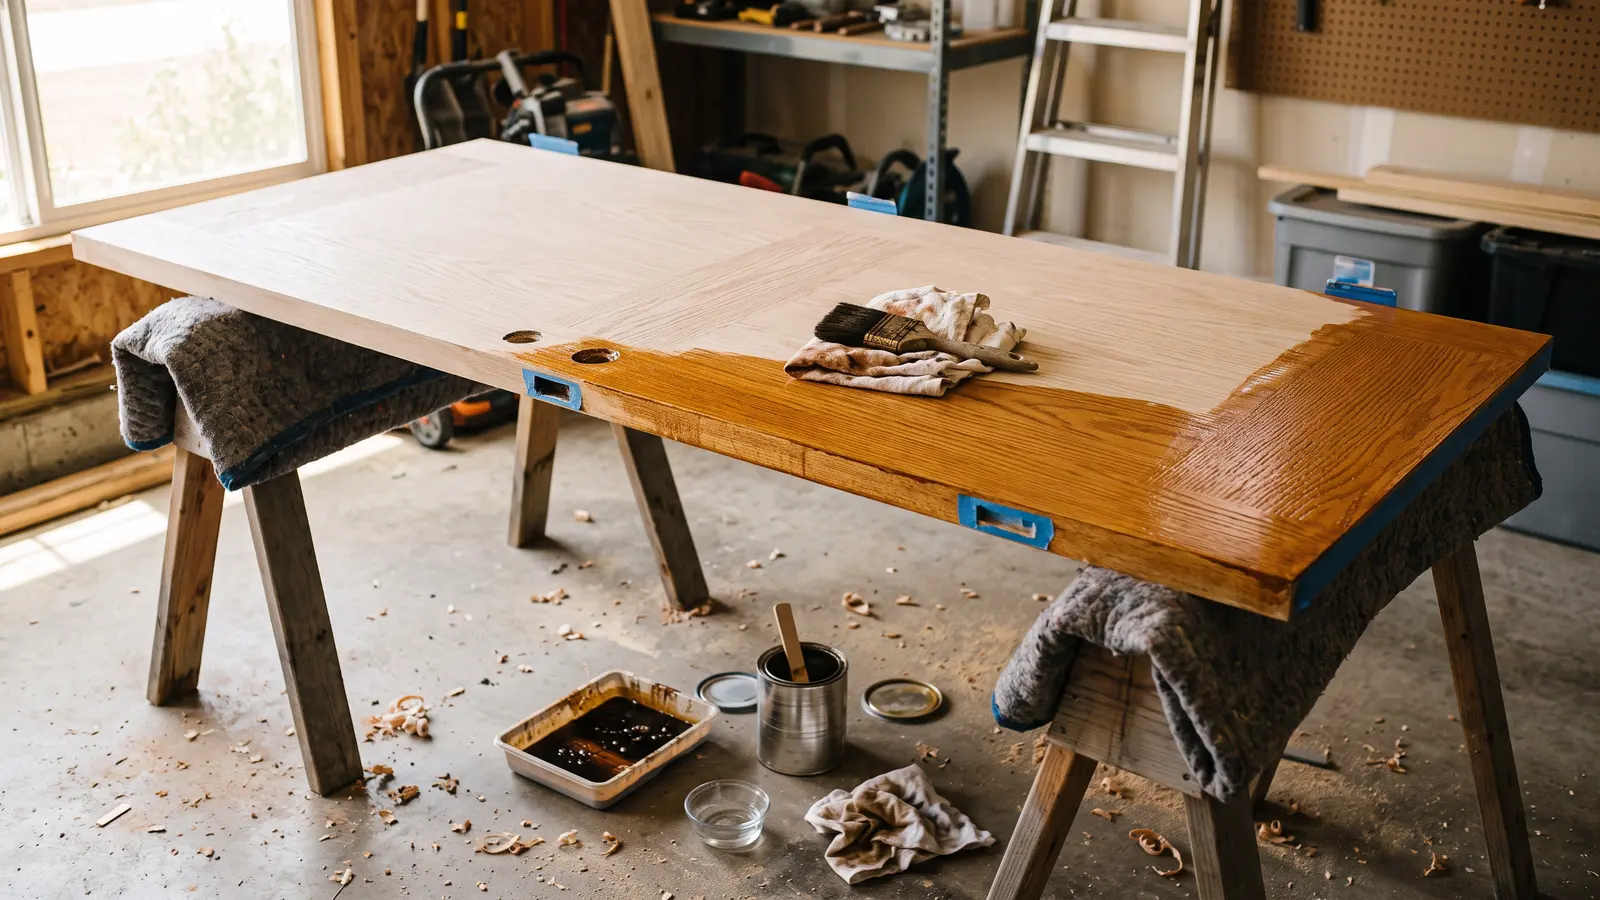
This Old House S47 E7: Boulder Retaining Walls, Door Staining 101, and Biltmore Village's Comeback
Also about Drainage
Ask This Old House · S23 E17
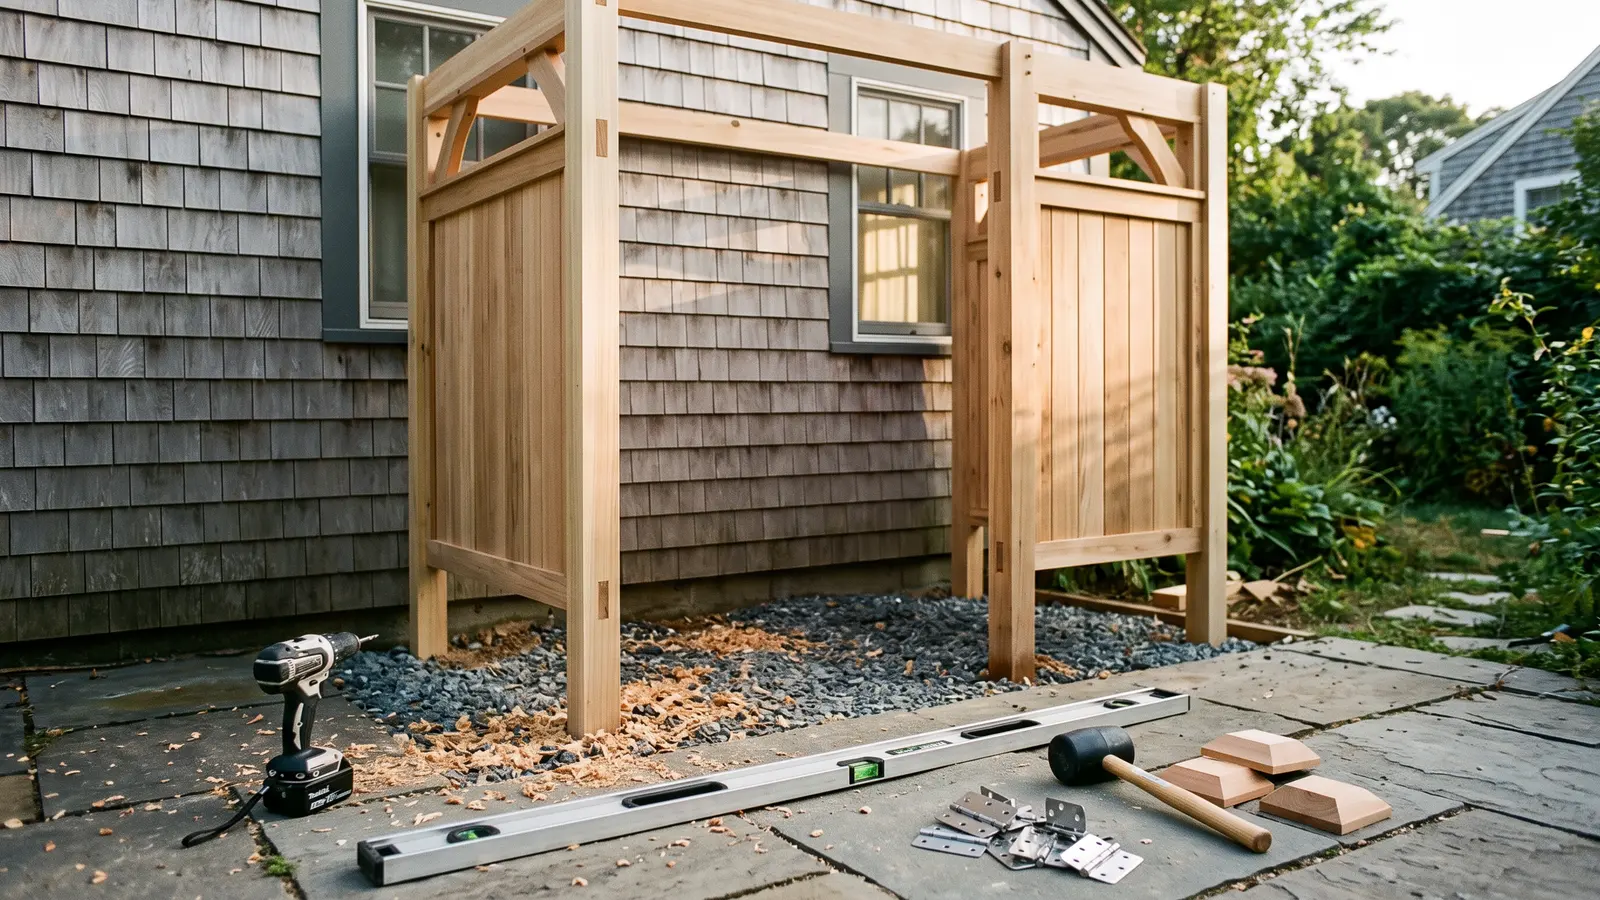
Ask This Old House Season 23 Episode 17: Cape Cod Outdoor Shower, Cedar Enclosure, and the Drainage Trench That Makes It Work
Also about Drainage
Ask This Old House · S24 E17
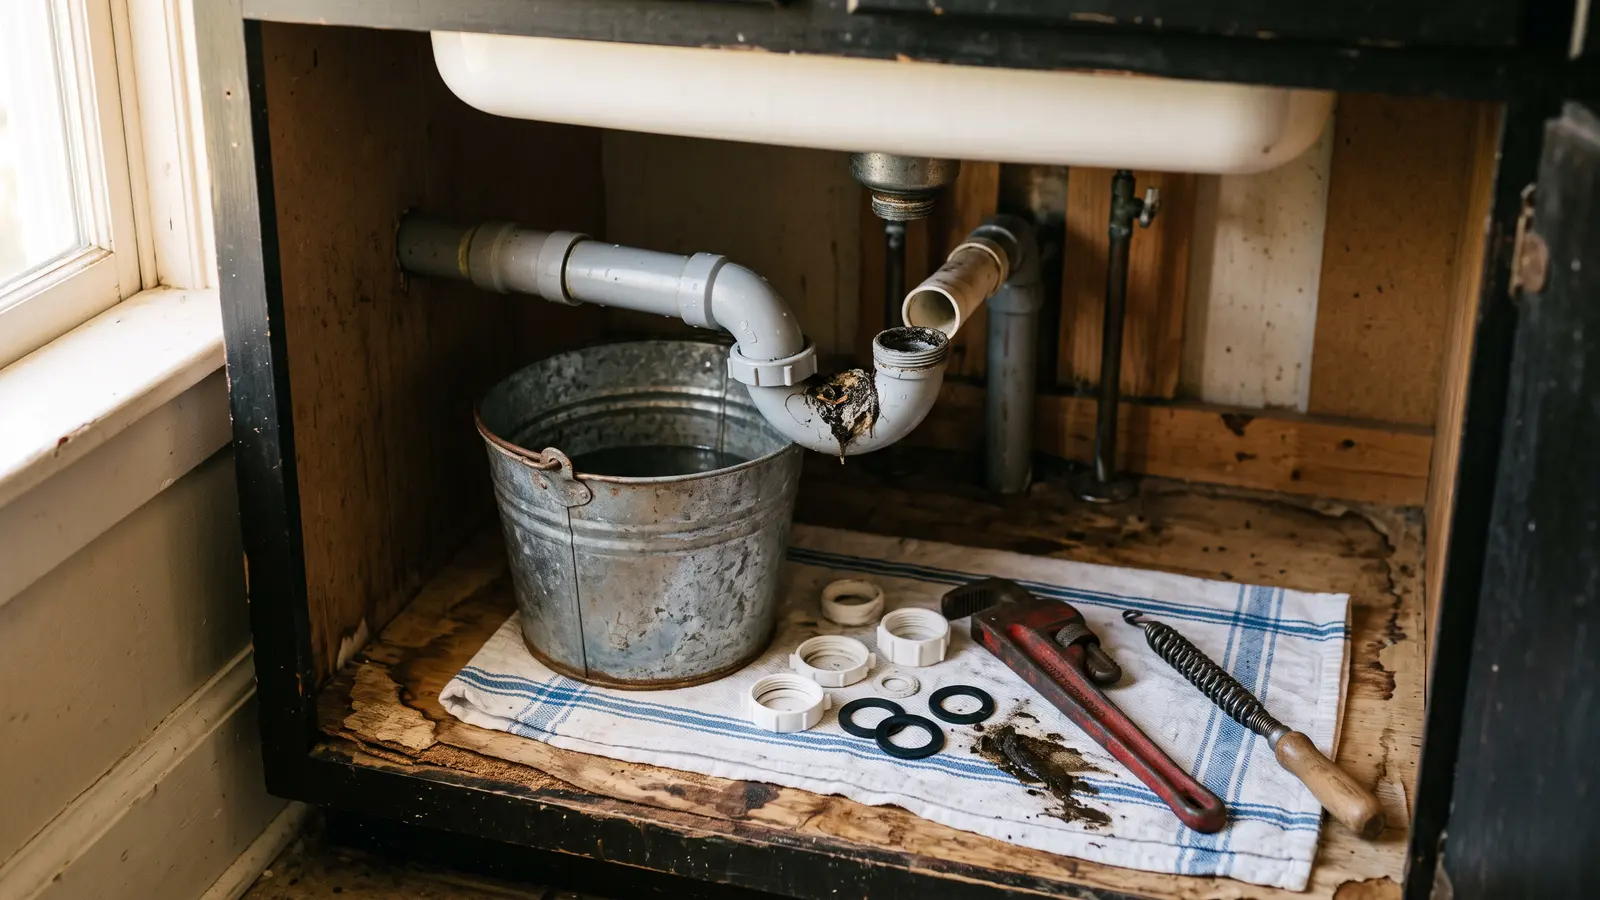
Ask This Old House S24E17: Lead Paint Testing, Sink Clogs, and Granite Steps for a Hill That Fought Back
Also about Drainage
Ask This Old House · S24 E10