Garage Overhead Storage, 3-Way Smart Switches, and the $40 Anode Rod Nobody Replaces: Ask This Old House S24E9
Nathan Gilbert helps an expectant mom tame garage chaos with a 600-pound-rated ceiling rack and heavy-duty shelving. Heath Eastman sorts out the traveler-wire puzzle behind three-way smart switches. Richard Trethewey opens up a neglected water heater and shows why the anode rod matters—and what happens when you ignore it for eight years.
Three unrelated house calls. One shared theme: the small, unglamorous maintenance task that buys you years of service from a thing you barely think about. This week on Ask This Old House, Nathan Gilbert organizes a garage before baby gear takes over, Heath Eastman makes sense of three-way smart switches, and Richard Trethewey pulls an anode rod that has been ignored past the point of usefulness. None of it is flashy, but all of it is the kind of work that determines whether a house runs smoothly or slowly drives its occupants nuts.
Garage Storage: One Kid, Infinite Stuff, and a Dad with a Wrench
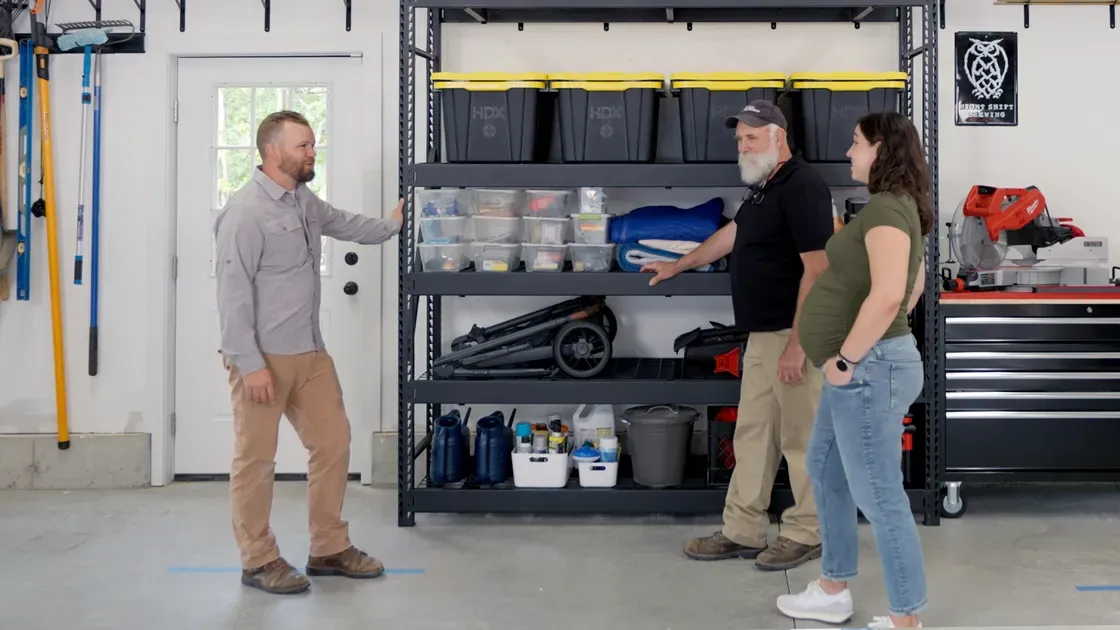
Nathan Gilbert arrives at Veronica’s house with his father Bill in tow. Veronica is expecting her first child, and her garage has reached that pre-baby inflection point: a free roadside dresser acting as a tool chest, plastic shelving as old as she is, and an overhead rack already crowded with brackets. Nathan maps a plan: a ceiling-mounted storage rack, a heavy-duty rolling toolbox, and an all-metal shelving unit that won’t sag in an unconditioned space.
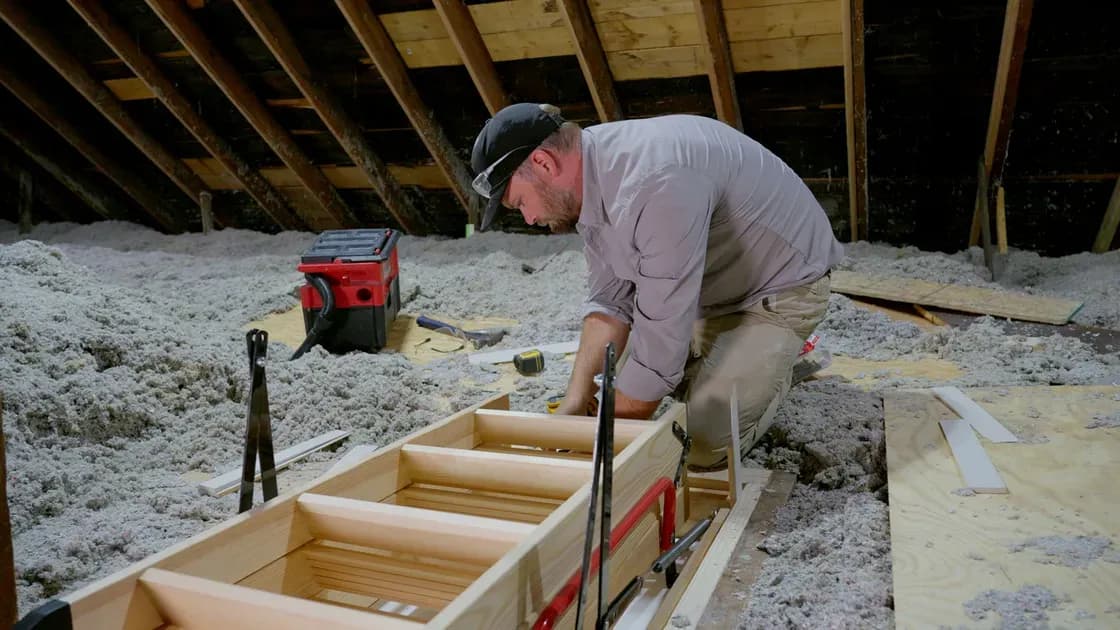
He pops a small ceiling access panel to confirm strapping and joists—16 inches on center, standard but verify before driving lags. He pre-drills each hole, secures brackets with lag bolts. The rack is rated for 600 pounds, but Nathan immediately walks that back: keep it light—totes, bins, seasonal items. He positions the rack 3 to 4 feet from where a ladder sits, so both sides stay reachable.
The toolbox replacement is heavy-gauge metal, soft-close drawers, big casters. Bill helps assemble the all-metal shelving while Veronica transfers tools. Adjustable shelves matter because unconditioned garages collect oddly shaped objects. Nathan finishes by setting the stroller on a bottom shelf right near the car door, a layout he uses at home. It’s one of those details that sounds obvious after you hear it, but plenty of garages force you to shimmy past the water heater every time you unload a toddler.
Bill’s presence as a helper is worth noting because hanging an overhead rack alone is a good way to drop a bracket on your head. Two people and a couple of step stools make it manageable. The television edit compresses the time it takes to find four joists, drill pilot holes, run lags, and hoist rack sections into place—but if you’ve held a 10-pound bracket overhead while lining up a bolt, you know this isn’t a ten-minute job. Nathan’s approach echoes the patience he showed swapping solid-core doors in the previous episode.
Three-Way Smart Switches: The Traveler Problem, Solved
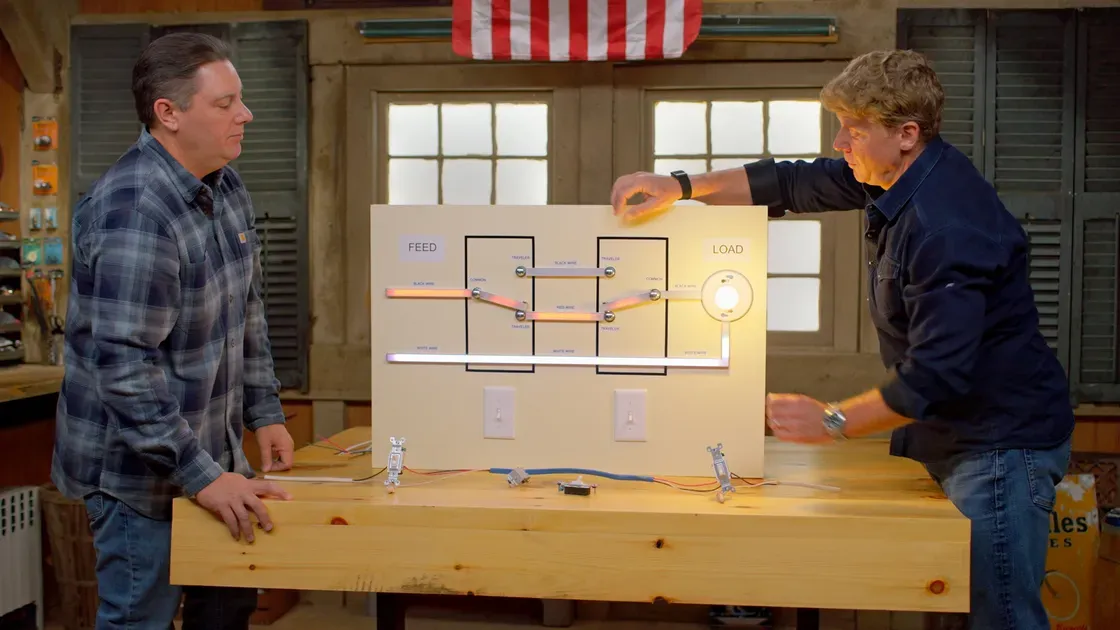
Heath Eastman stands at a staircase with two existing three-way switches controlling a single overhead light. The homeowner had already swapped two single-pole switches for smart ones, but the three-way configuration stumped him. Heath walks through the wiring anatomy: a single-pole has two screws, a three-way adds a black common screw plus two brass travelers.
At the first location, he finds the common by looking at which wire was on the old switch’s black screw—the black wire. Travelers stay paired. The smart switch gets ground first, then red traveler to red terminal, black traveler to blue, common to black. He folds wires into the box without cramming; overpacked boxes can loosen wire nuts or pinch conductors.
The second switch location is where homeowners get tangled. Heath shows two options. The first is a wireless remote: wire-nut all three wires together, tuck them in, mount the remote. It works but leaves guests poking a blank paddle. Option two keeps a physical mechanical switch, and that’s the path Heath takes. Because the red traveler is connected to the smart switch’s red terminal, he pigtails the red traveler with the common wire (which goes to the light) and lands that assembly on the new switch’s common screw. The leftover black traveler goes to one brass screw; the other brass stays empty. The result is a three-way circuit the smart switch interprets correctly, and a physical toggle that still behaves normally. Heath tests from both ends; the light obeys.
He kills the breaker before opening any box, and checks the second box with a non-contact tester even after the breaker is off—stairwell lights can land on a different circuit. That reminder, plus the fact that he didn’t cram wires, is the kind of quiet safety lesson that sticks.
The Anode Rod: A $40 Part That Could Save You $1,000
Richard Trethewey meets Brennan in a 250-year-old house. The 8-year-old tank-style water heater has a note from the previous owner: “Change the anode rod.” Brennan ignored it. Richard explains: the anode rod—aluminum, magnesium, or zinc—sits inside the tank and corrodes first, sparing the glass-lined steel. Replace it every 2 to 5 years, and a tank can last twice as long. A new rod costs about $40. A new water heater approaches $1,000.
Richard’s removal method accounts for a rod that’s been stuck for eight years. He shuts the water, drains just enough to lower the level below the tapping (the remaining water weight keeps the tank from spinning), opens a hot faucet upstairs for venting, and turns off the gas. The anode nut is 1 1/16 inches. He starts with a breaker bar and 12-point socket; no luck. He steps up to a heavy-gauge ratchet with a pipe extender, and has Brennan hold a strap around the tank to counter the torque—too much force can bend water lines, gas connections, or venting. When that also fails, an impact gun with a six-point socket (better grip, less risk of rounding the nut) breaks it free. The old anode is a wiry skeleton, almost completely consumed.
Because the tank shows corrosion on top, Richard declares it too late and installs a new water heater, extracting a promise from Brennan to maintain the anode every two to three years. He also mentions draining a few buckets from the bottom spigot every six months to clear sediment—a free, boring task that improves efficiency and extends life.
DIY Confidence Scale
Overhead garage storage rack: 3/10. You need a stud finder, drill, socket set, level, and a helper who can lift weight overhead without wobbling. The risk is low, but the physical awkwardness is high. Pre-drill every hole.
Three-way smart switch installation: 5/10 if wiring matches the textbook, 7/10 if it doesn’t. Core skill is identifying travelers and common wire from the old switch before disconnecting anything. The pigtailing trick at the second location is easy to reverse but easy to confuse.
Anode rod replacement: 7/10. The risk isn’t personal injury—it’s damaging the water heater, plumbing, or gas vent. Breaking a rusted anode free with impact gun works until it doesn’t. Homeowners don’t typically own a strap wrench or that six-point socket. Worth learning, but have a backup plan the first time.
Additional Resources
Three segments, three reminders that a little proactive work—lag bolts into solid framing, a correctly identified traveler wire, a fresh sacrificial rod—buys years of problem-free living. The anode rod note on Brennan’s old heater is the real star here: a scrap of paper that tried to prevent a thousand-dollar repair and got ignored until Richard showed up with an impact gun. What would a note like that say in your house, and where would it be buried?
Keep reading
Related episodes & guides
Season 24 · Episode 14
Ask This Old House S24E14: 3-Way Switches, Split Rail Fence, and the Wet Paint Rescue