
This Old House S48 E7: Essex County Colonial: What's Old Is New Again
Essex County Colonial: What's Old Is New Again. The 130-year-old clawfoot tub is stripped and buffed, a white oak cabinet panel is scribed to a hexagon tile floor, and the brass door hardware goes in a slow cooker.
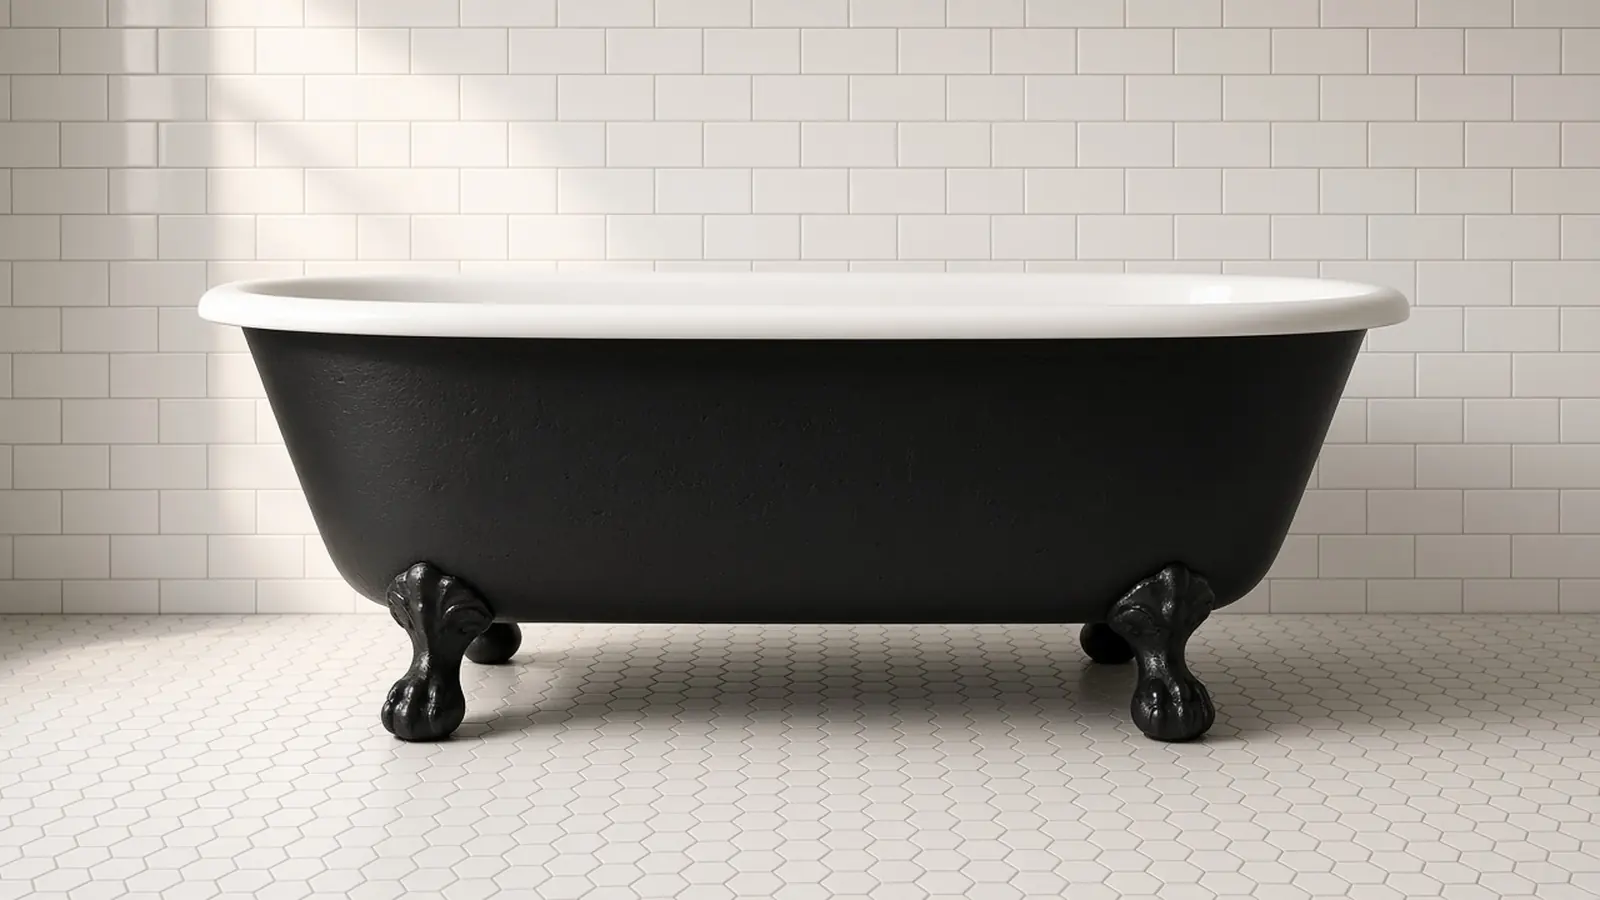
Season 48, Episode 7 of This Old House is called What's Old Is New Again, and almost everything in it is original to the house. The cast-iron clawfoot tub upstairs gets stripped and refinished instead of thrown out, the brass door hardware goes into a slow cooker, and the new primary bath is tiled to look like it has been there since 1893. The one big new thing, the white oak kitchen cabinetry, gets scribed to every wobble in a handmade tile floor. This is the Essex County Colonial, the 1893 Dutch Colonial Revival in New Jersey that Ethan and Harley are renovating. PBS lists a November 12, 2026 premiere and a runtime of 23 minutes and 42 seconds.
Since Essex County Colonial: Removed, Reused and Reclaimed, Kevin O'Connor says the old back deck has come down completely. It ran the length of the house. A smaller deck replaces it, with a few steps down from the old kitchen door and then a step or two onto what Kevin says will probably be a new bluestone patio. That makes the back the primary entry, and it lands in the old half bath, which is now the new mudroom Ethan and Harley asked for with two young kids. The half bath moves around the corner. In the family room, the wallboard is up on the walls and the sloped ceiling, two new skylights make it bright, and under the floor protection is the new southern yellow pine milled from old factory beams last episode. It runs throughout the first floor and upstairs. Up a couple of steps, everything in the kitchen is new. The basic layout is a fridge in one corner, cabinets, the stove, and more cabinets wrapping around, with a built-in banquette by the windows that Ethan is building himself. The kitchen floor is not wood. Kevin shows handmade clay hexagon tiles under the protection.
Essex County Colonial: a primary shower laid out for full and half tiles
Upstairs, Zack Dettmore and tile setter Gary Moreland are back in the primary bath. Kevin's recap of the plan is that Zack and Charlie adjusted the framing dimensions so the subway tile would need no cuts, only full tiles and half tiles. Zack says it worked well on most of the walls: full tile, half tile, full tile, half tile. The exception is the back wall of the shower. They chose to make the shower larger than it would have been if they had shrunk it to the exact grout line, so the layout there is not perfect. Zack says a bigger shower was more worth it for the homeowners.
Gary's fix keeps the grout line centered. He added an inch and 1/8 to one tile and took an inch and 1/8 off another, so instead of a perfect half, some are a little bigger and some a little smaller. Zack says the whole exercise was about the vintage look. They want the room to look and feel like a bathroom that has been there for 130 years.
- Spacers. Gary says he has been using tile spacers for about 15 years and calls them a game changer. Kevin marvels that tile setters used to do this by eye.
- Inside coves start full. Gary wants a staircase pattern, so his next cut is the cove. Every inside cove starts with a full tile, and it is up to him to make the cut.
- Sand the chips. His saw cut leaves tiny chips along the edge. Once it is grouted, Gary says, you will see every bit of that chip, so he takes it down with a 60-grit sanding pad.
- Trim the sanitary cove base. The sanitary cove base came with a 3/8-inch lip, but the floor tile is only 1/8 inch thick. Left alone, you would see that exposed lip the entire way around the shower. Gary cut down every piece, and the cut piece lines up with the sweep. He says it looks better and is easier to clean.
Kevin calls the attention to detail phenomenal. Zack's preview of the next episode is that they will probably still be tiling this bathroom. The tiling topic page has more of the season's tile work.
Essex County Colonial: stripping a 130-year-old clawfoot tub
Kevin says he was not surprised to find an old cast-iron tub in the house, but he is surprised Ethan and Harley want to save it, because most people do not. Zack's answer is why not. It is original to the house. A quick internet search on the markings, "SMC" and the size, 5 1/2, told them it was manufactured in Pittsburgh. All they need is to get the paint off the outside so new paint has a good bond.
The paint could be lead-based. They do not know, so Zack does not want to sand or scrape it dry. Instead he uses a paste stripper, puts on a respirator because it is a corrosive product, and pops the legs off so they can be coated too.
- Spread it thick. Zack aims for about 1/4 inch of paste anywhere there is paint. He says you do not need to be too careful, just cover the whole tub.
- Cover it with kraft paper. The paper keeps the stripper from evaporating, so it stays moist and keeps working on the paint. The legs get wrapped the same way.
- Wait 24 hours. Then the paint should strip away easily.
The next day, Kevin is suited up. Because everything is wet, Zack says, dust is less of a worry, but they treat it as a lead situation anyway. The scraped-off paint goes into a garbage bag that gets sealed and disposed of properly. Zack wants the bristles kept lubricated as they scrub. The result is down to bare metal, which Zack says is exactly what they want to see. The enamel inside is still to come, and he warns that will be a lot of elbow grease.
Essex County Colonial: inset cabinets scribed to a hexagon tile floor
Zack calls cabinet day his favorite time of the job. Master cabinetmaker Kevin Fassnacht built the kitchen cabinets and is on site installing them. Zack admits Kevin was the first call he made when he got the job, because he was a little stressed that the homeowner is a cabinetmaker himself. Kevin F. says it is a little intimidating, knowing Ethan knows what he is looking at.
Zack notices that most of the run is inset cabinetry, a frame mounted on a plywood carcass, but one section up top shows exposed plywood like an overlay cabinet. Kevin F. explains the difference. In frameless, the door overlays a 3/4-inch plywood box. In inset, the door sits inside the solid wood frame of the cabinet, which he says is very true to the era of a historic home. Most frames were made in his shop. The exposed section is an inset cabinet he is building in the field.
The cut that worries him is a full-depth panel that runs all the way back to the wall. It has to be scribed twice: first to the wall, which is the easier one, then down to the undulations of the tile floor.
- Tape and plumb. Tape goes on the stile being scribed. Kevin F. finds an arbitrary point on the floor with a laser and splits the laser line so he can see it on both the wood and his finger. Then he double-checks with a level.
- Level the box. The cabinet must have shifted overnight, he says, so he brings it back to the laser line top to bottom, to be sure the panel and the box are perfectly parallel.
- Stack magnetic shims. To set how much to take off, he stacks magnetic shims that come in 1/8-inch increments until they fill the distance from the panel edge to the inside of the box. It reads 1/8 short, so he adds one more. Zack likes how it removes a little human error.
- Cut, plane, refine. The scribe line is marked on the tape for a hard line to cut against. A track saw removes most of the material, a power plane creeps up to the line, and a hand plane finishes a clean scribe.
The wall edge lines up exactly on both sides. For the floor, Kevin F. uses a compass he modified with a hook on the end, so it drops into the grout lines and traces how inconsistent the tile is. The same sequence follows: the track saw first, then a belt sander, an angle grinder, and a combination of tools to hone in on the tile. The panel slides into place, and Kevin F. says everything jibed out exactly where it needed to be. Zack says Ethan and Harley, especially Ethan, will appreciate him going the extra mile on the white oak cabinets. The finish carpentry topic page collects more scribing and cabinet work.
Essex County Colonial: brass door hardware in a slow cooker
Zack says one of the things they love about this house is the original doors, hardware, and hinges. The unfortunate part is they are all coated in paint, and bringing them back has been Mike Dull's job. Mike put the hardware in a slow cooker filled with water and let it soak overnight. Zack asks if he added anything. Just water, Mike says, and Zack says they have been doing a lot of this lately and it has been working well.
Mike pulls out a full mortise lock, and the paint is already trying to peel. They work quickly, because the paint comes off easier while the hardware is hot. They also found out the hardware is solid brass. Zack points out there is not a bit of plastic in it.
The wooden doorknobs were never painted, but Zack says they carry about 130 years of hand grease and oil. His self-described lazy approach is to chuck each knob in an angle drill and spin it like a lathe, then finish with a pad. Zack's verdict is that it came out pretty well, and he says he will text Ethan to ask whether he wants the brass buffed further or if that is good enough. Zack also tells Mike not to make any more meals in the slow cooker.
Essex County Colonial: buffing the enamel and painting the tub
Since Kevin saw it, the tub has dried, gotten a couple of coats of primer, and had its outside sanded. Then it went up out of the rain so they could work on the inside. Zack's goal for the enamel is to buff out surface scratches so it is easier to clean and looks, maybe not as good as new, but way better than it did.
His explanation starts with a hardness scale. Aluminum and copper sit down around 2 or 3, diamonds are at 10, and the tub's enamel is akin to glass, which is about a 6. So they use a polish formulated for glass, the kind of thing you would use to buff a scratch out of a windshield. Kevin names the compound: cerium oxide.
- Make a paste. Zack saturates the pad with water, adds the powder, and adds more powder and water as needed, starting slow.
- Watch the consistency. Zack's first mix is a little too wet. He wants more paste, enough to see lines in it. Kevin sums it up as thick enough that it is not running down the side, thin enough that it is not bunching up.
- Split the tub. Kevin does the bottom and Zack the top. Wipe a spot to check, then rinse.
Kevin likes that it only takes gloves and eye protection, with no fumes and no toxic paint. Zack calls it a great DIY project that you really cannot mess up, because if you make it too shiny, you just dull it back down. After the rinse, Zack says it has a nice shine and no longer looks dirty.
Then they flip the tub, Zack gives the outside a quick once-over with sandpaper to knock off anything high, and it gets black paint. Zack thinks Ethan and Harley picked the color because of the black-and-white tile, so it ties in. Kevin asks about gloss. Zack says the final coat is matte, so the tub does not punch out too much and does not highlight the pitting on the old cast iron. Zack says it is ready for another 130 years. More of this kind of rescue is on the restoration topic page.
DIY Confidence Scale
Laying out subway tile for fulls and halves: 6/10. Planning the framing around the tile is the trick worth copying, and spacers make the setting easier. Gary's inch-and-1/8 adjustments and the trimmed sanitary cove show how much finesse a vintage look still takes.
Stripping a cast-iron tub: 5/10. The paste-and-paper method is simple, but assume lead. Zack wore a respirator, never sanded or dry-scraped, and bagged and sealed the waste.
Buffing old enamel: 3/10. Zack's own call is that you really cannot mess it up. It takes gloves, eye protection, a pad, cerium oxide, and water.
Scribing a full-depth cabinet panel to a tile floor: 8/10. The laser, the magnetic shims, and the hooked compass are clever, but Kevin F. called this the cut that worried him, and this was a cabinetmaker's job.
Slow-cooker paint stripping: 2/10. Water, overnight, and work while it is hot. Use a slow cooker you will never cook in again.
Additional Resources
The episode page credits Moreland Tile, LLC for the tile and Fine Point Cabinetry for the kitchen cabinets. The previous hour was the wallpaper, the salvaged wavy glass, the cedar bracket, and the reclaimed pine floors: Essex County Colonial: Removed, Reused and Reclaimed. The preview after this episode is Ethan's own woodworking shop, which he also uses to teach kids, plus vintage subway tile taken to a whole new level and trim carpentry. That is the next hour. The episodes already up are on the Season 48 episode guide.
The weekly recap
Get each new recap the day it's posted.
Get each new This Old House and Ask This Old House recap by email, the day it's posted. No spam, unsubscribe anytime.
From the captions
Spotted on the job
Tools, materials, and techniques the episode actually showed or discussed. Names stay generic unless the episode said a brand. A name links to an Amazon search only when it is something a person could buy.
As an Amazon Associate, This Old Recap earns from qualifying purchases.
Tool
DIY-friendly
tile spacers
Gary has used spacers for about 15 years and calls them a game changer for keeping subway tile grout lines even.
Tool
DIY-friendly
60-grit sanding pad
Gary sands the tiny chips off a cut tile edge, because grout would show every one of them.
Material
DIY-friendly
paste paint stripper
Zack spreads about 1/4 inch over the tub's painted outside and covers it with kraft paper for 24 hours, wearing a respirator.
Material
DIY-friendly
cerium oxide polish
Mixed with water into a paste on a pad to buff surface scratches out of the old enamel, like polishing a windshield.
Tool
Pro-only
magnetic shims
Kevin Fassnacht stacks 1/8-inch magnetic shims to set exactly how much to scribe off a full-depth cabinet panel.
Tool
Pro-only
track saw
Removes most of the waste before a power plane and hand plane finish the wall scribe.
Tool
Pro-only
scribing compass
A compass with a hook added to the tip drops into the grout lines to trace the uneven tile floor.
Technique
DIY-friendly
slow cooker paint removal
Painted brass door hardware soaks overnight in plain water in a slow cooker, and the paint scrapes off while it is hot.
Keep reading
Related recaps
Also from the Essex County Colonial
This Old House · S48 E5
This Old House S48 E5: Essex County Colonial: Bigger Isn't Better
Also from the Essex County Colonial
This Old House · S48 E4
This Old House S48 E4: Essex County Colonial: Making Connections
Also about Kitchen Cabinets
This Old House · S47 E5
This Old House S47 E5: Air Sealing Wizardry, FEMA Tree Removal, and the Grove Park Inn's Stonework
Also about Bathroom
Ask This Old House · S23 E1